
 وانزو ليتا للكهرباء المحدودة.
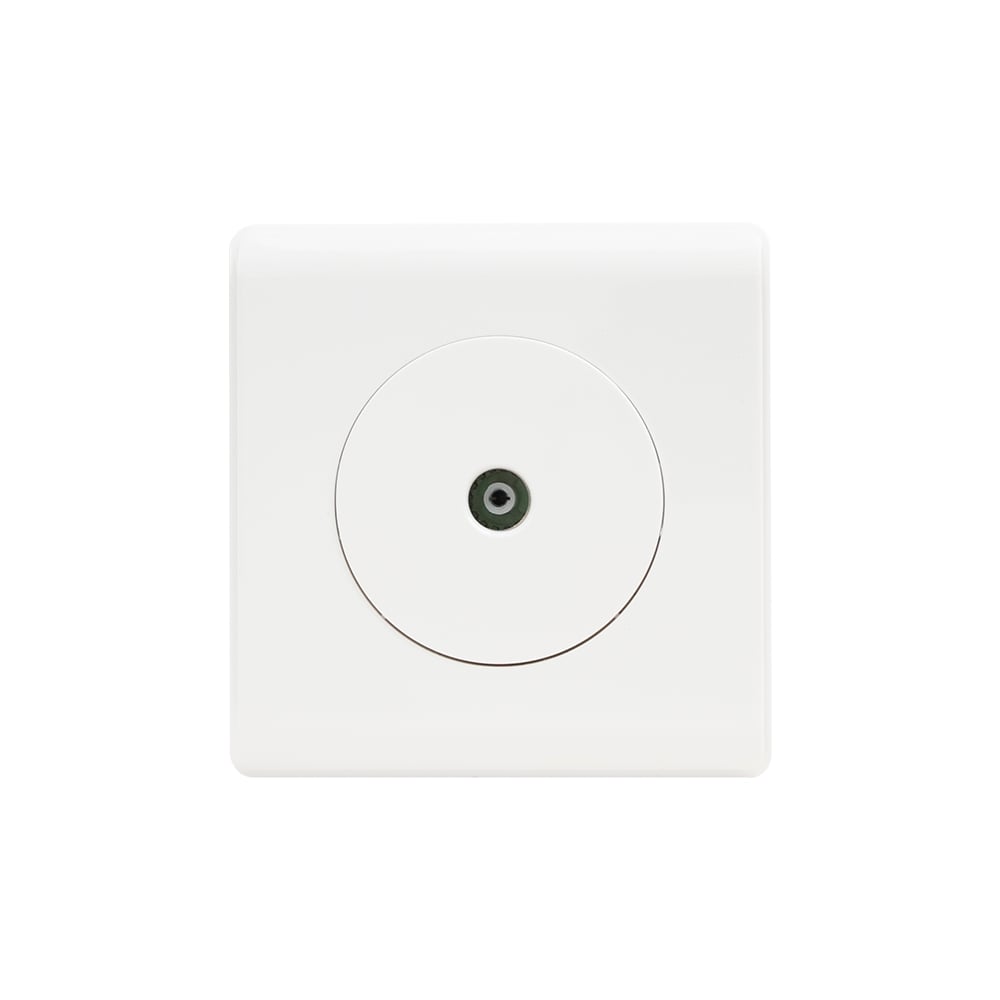
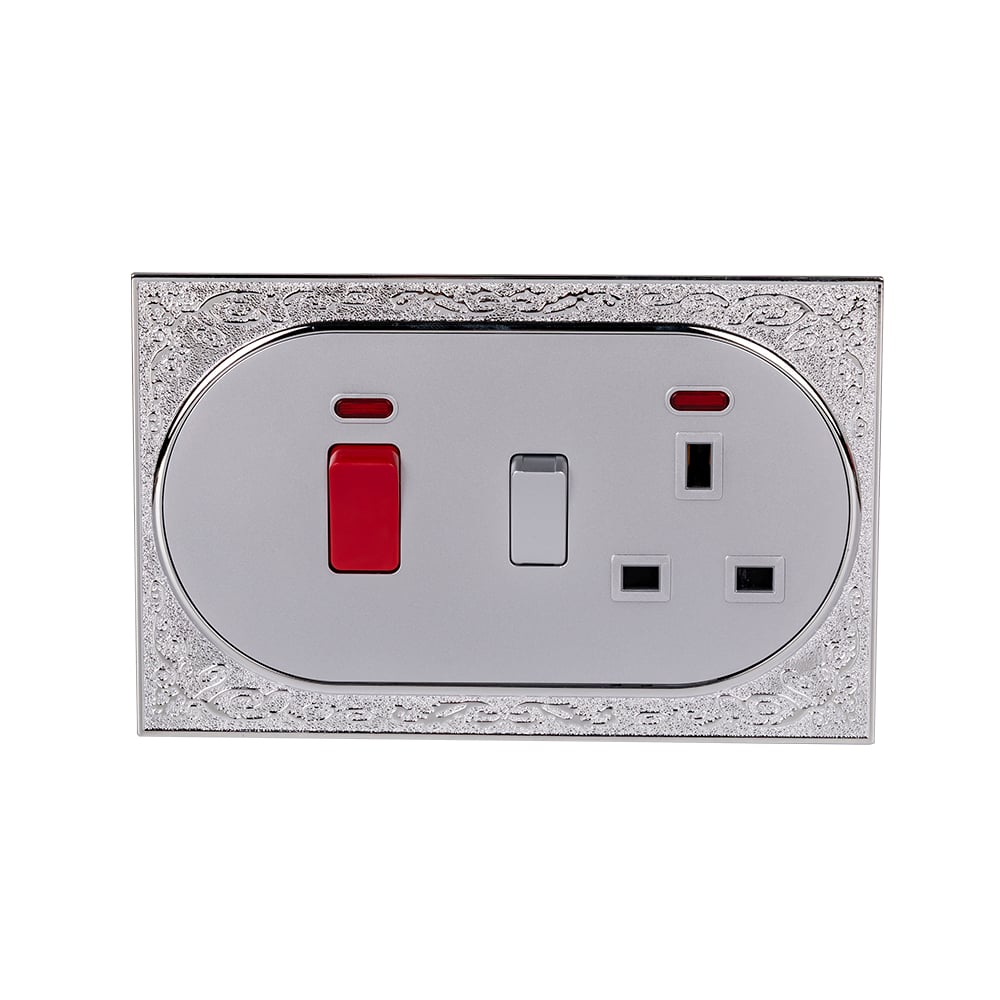
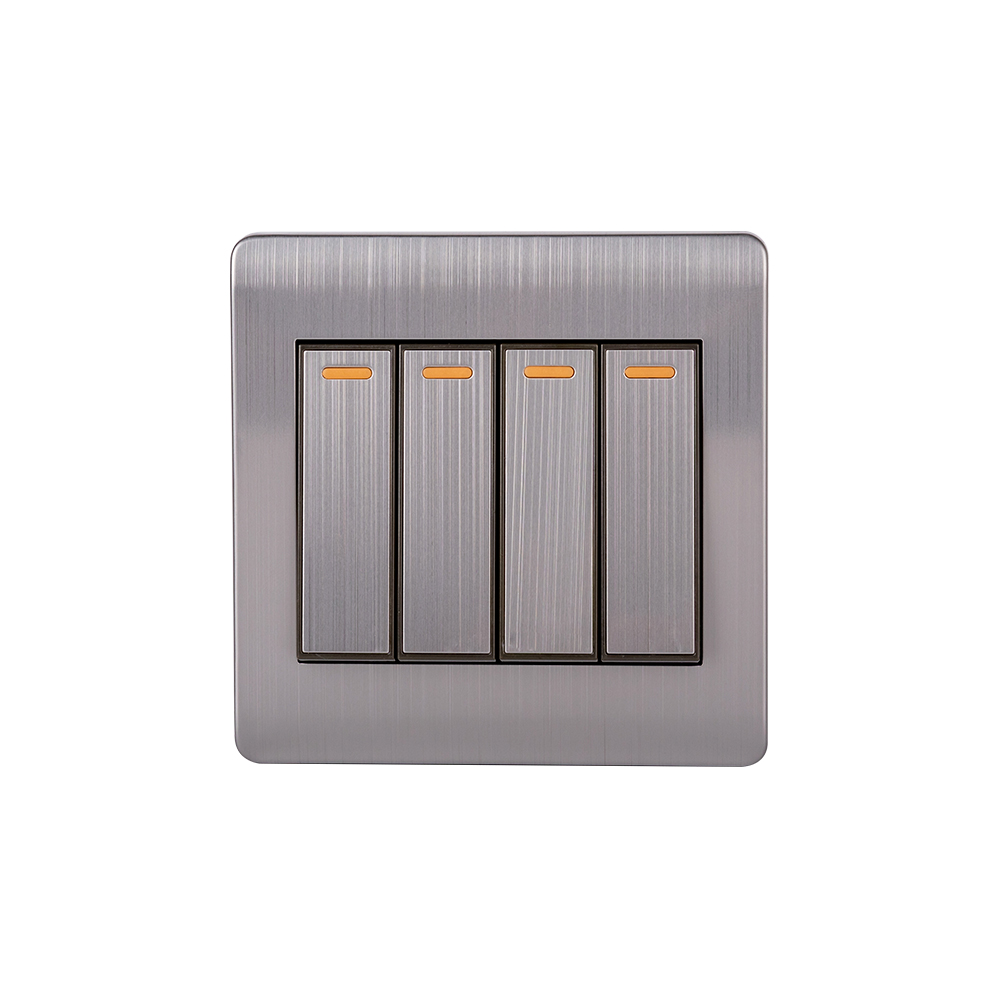
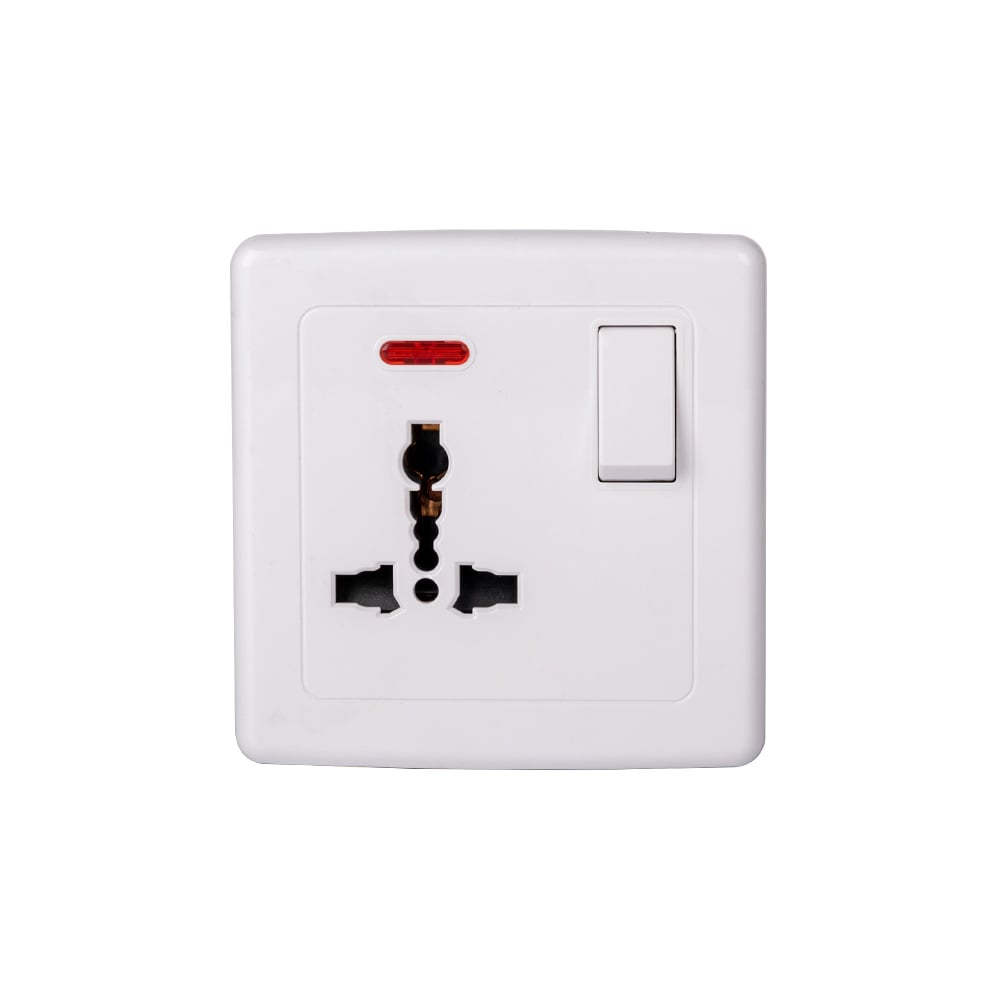
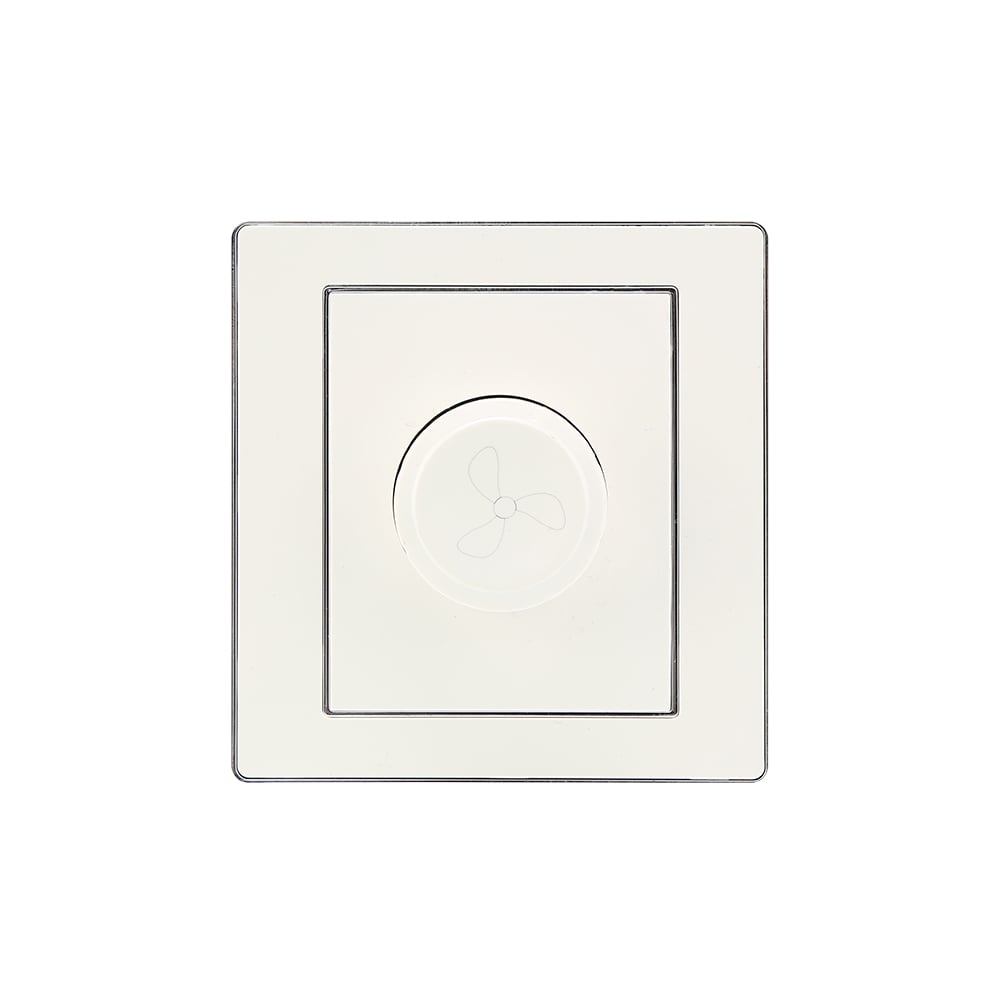
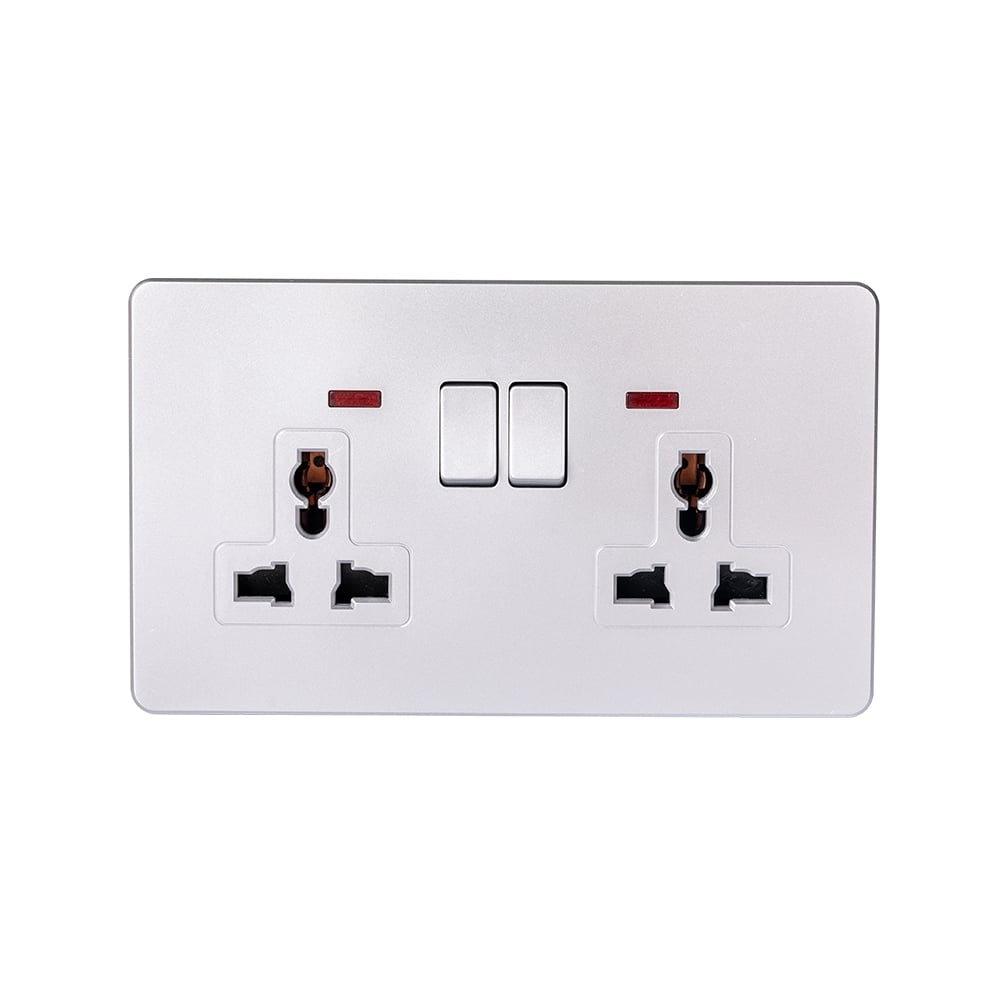
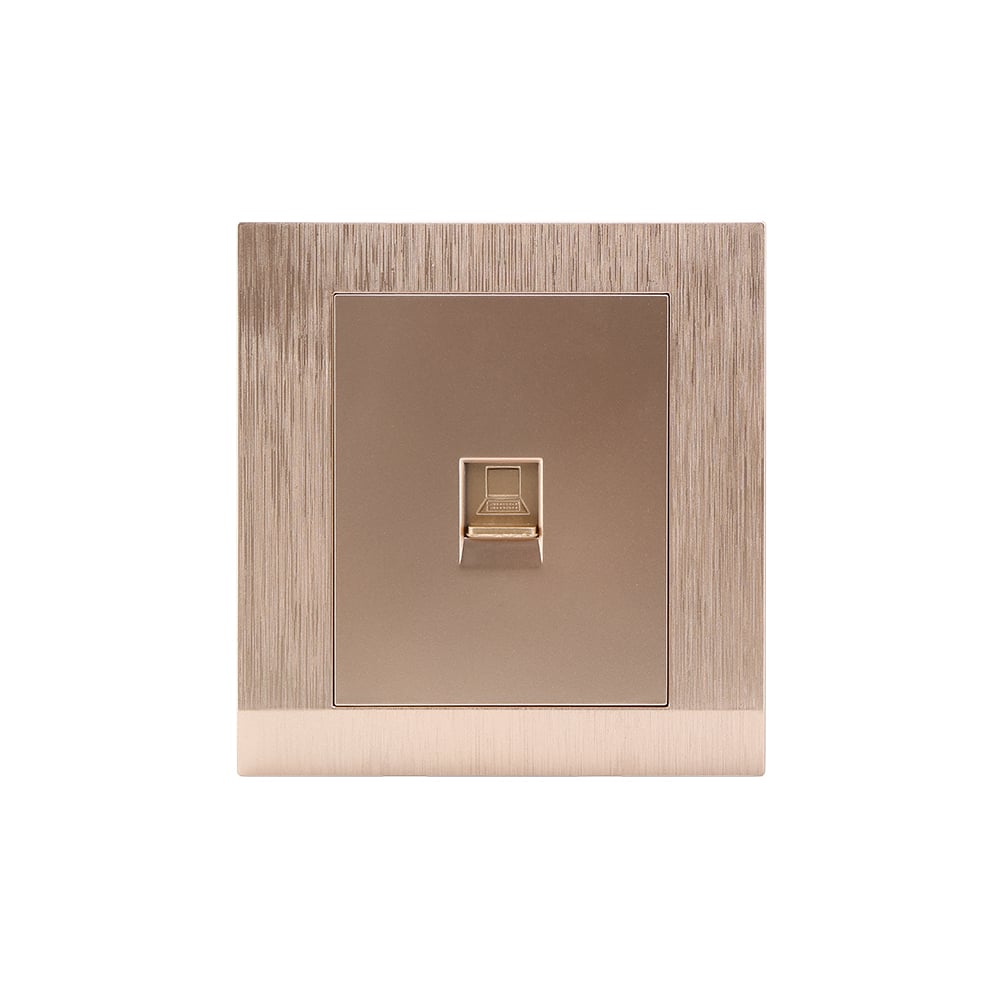
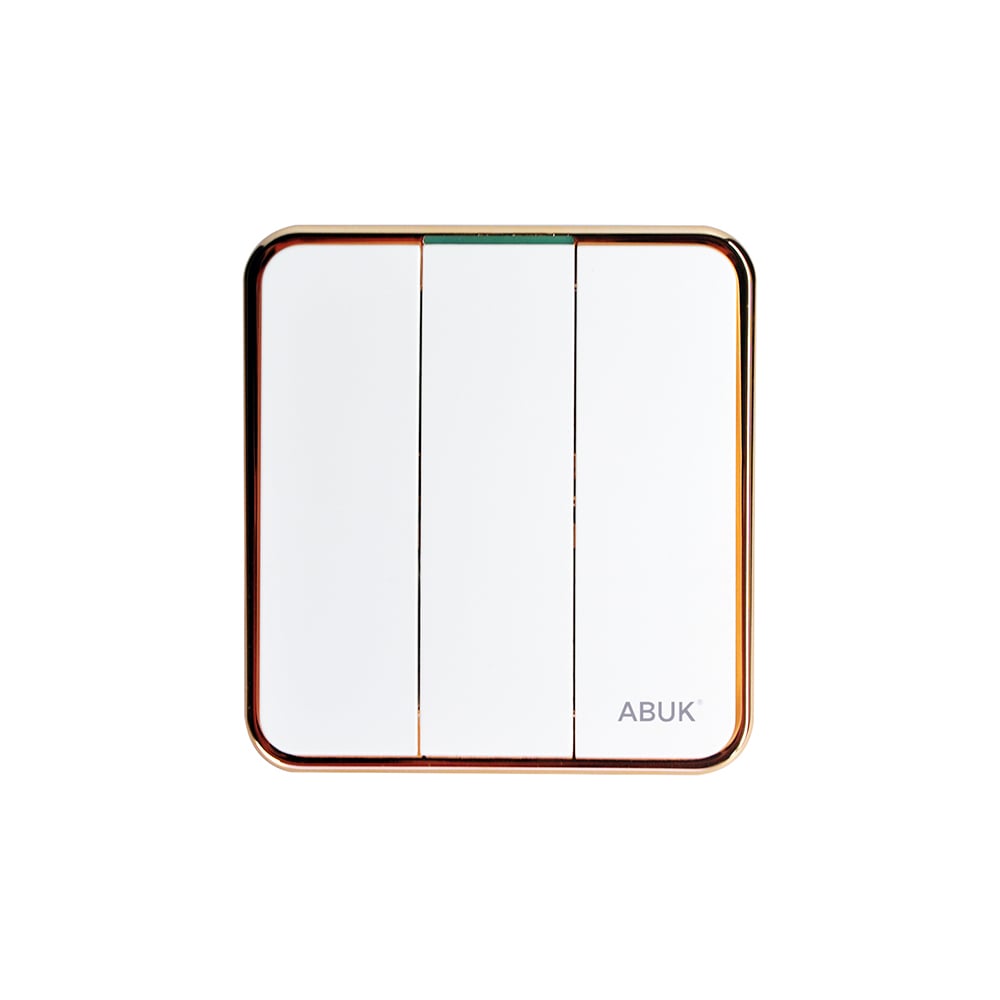
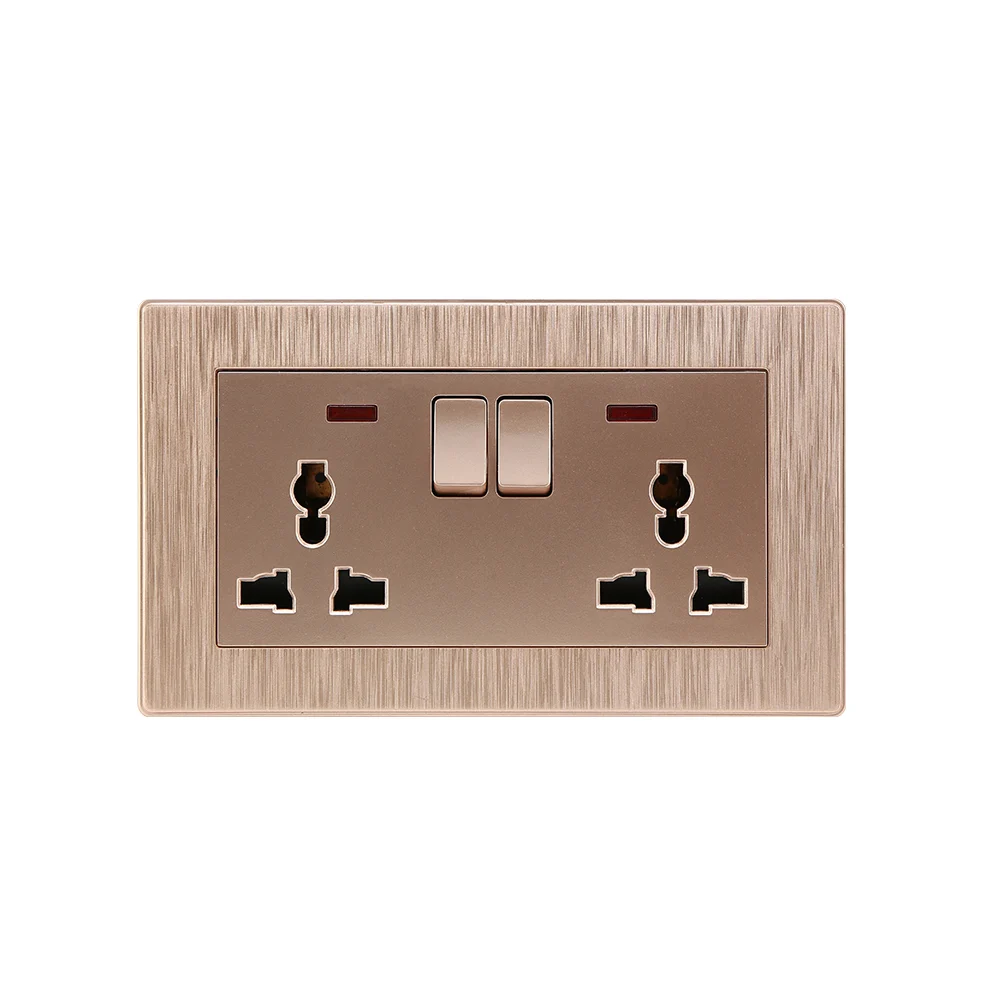
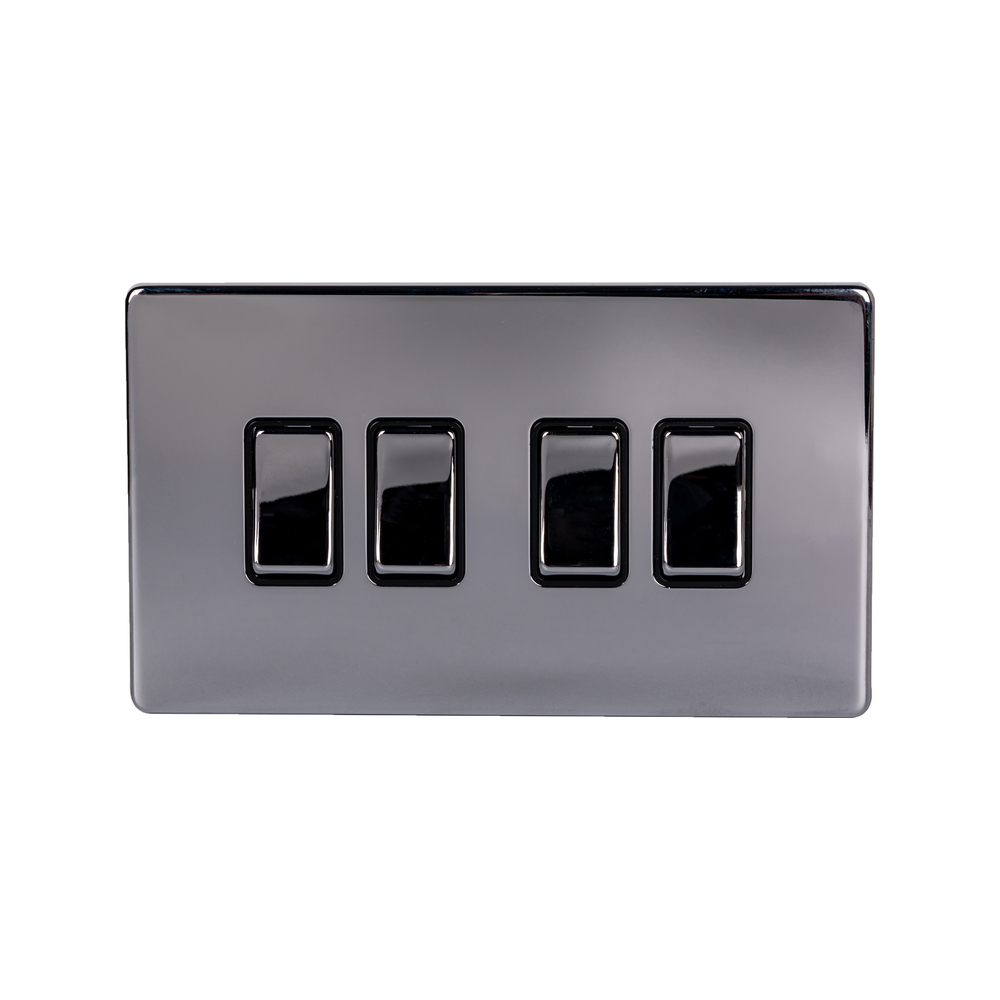
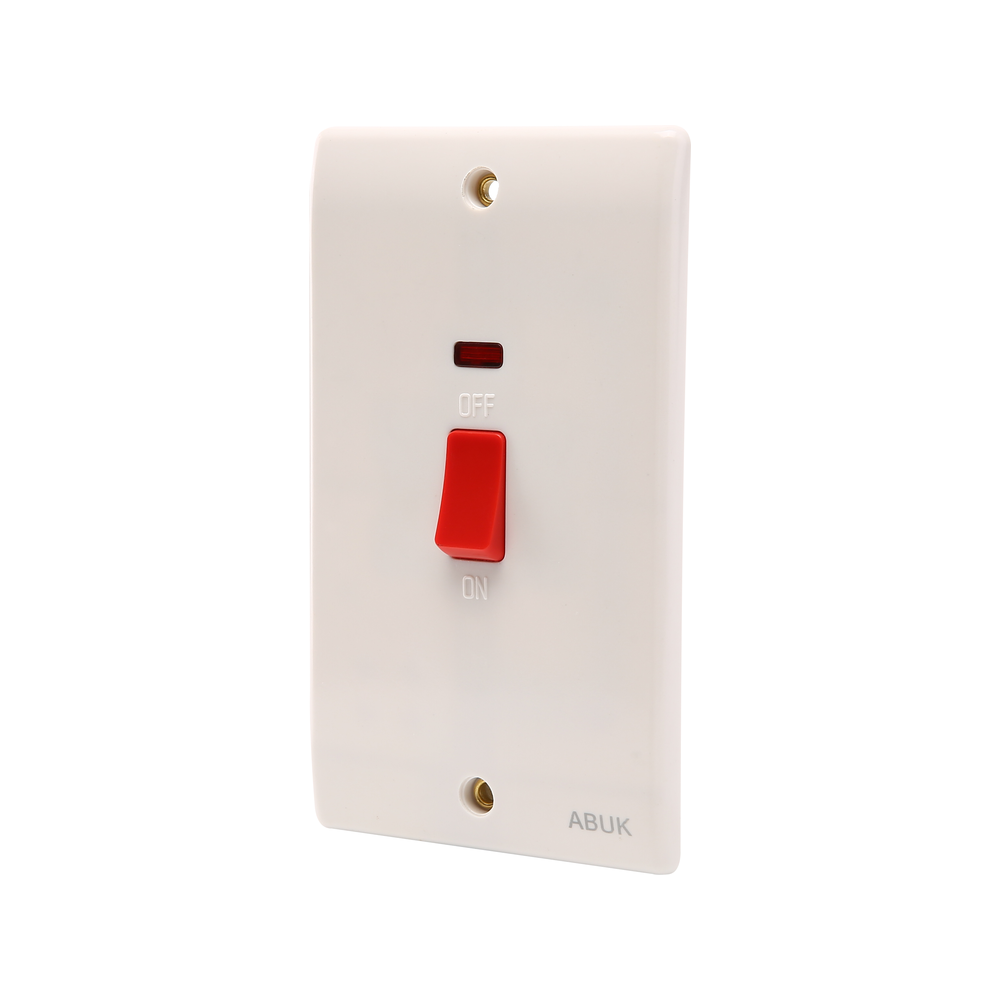
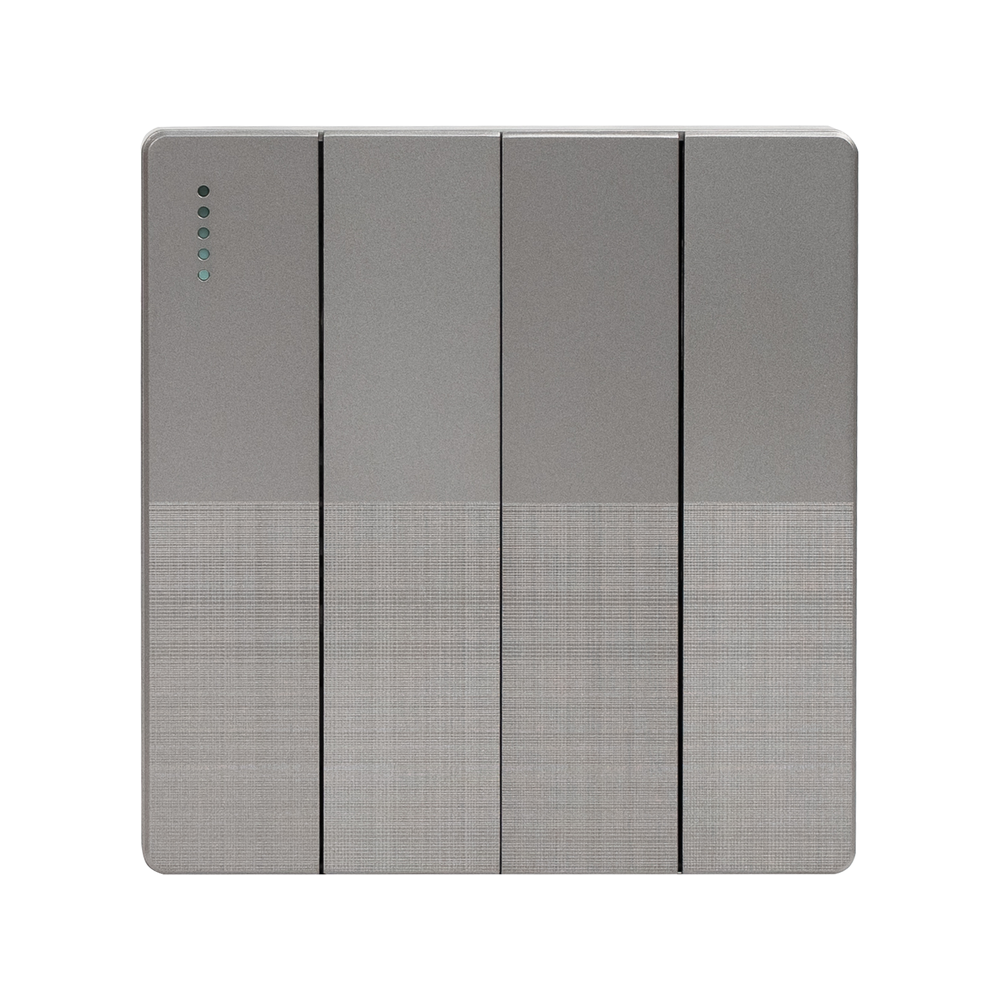
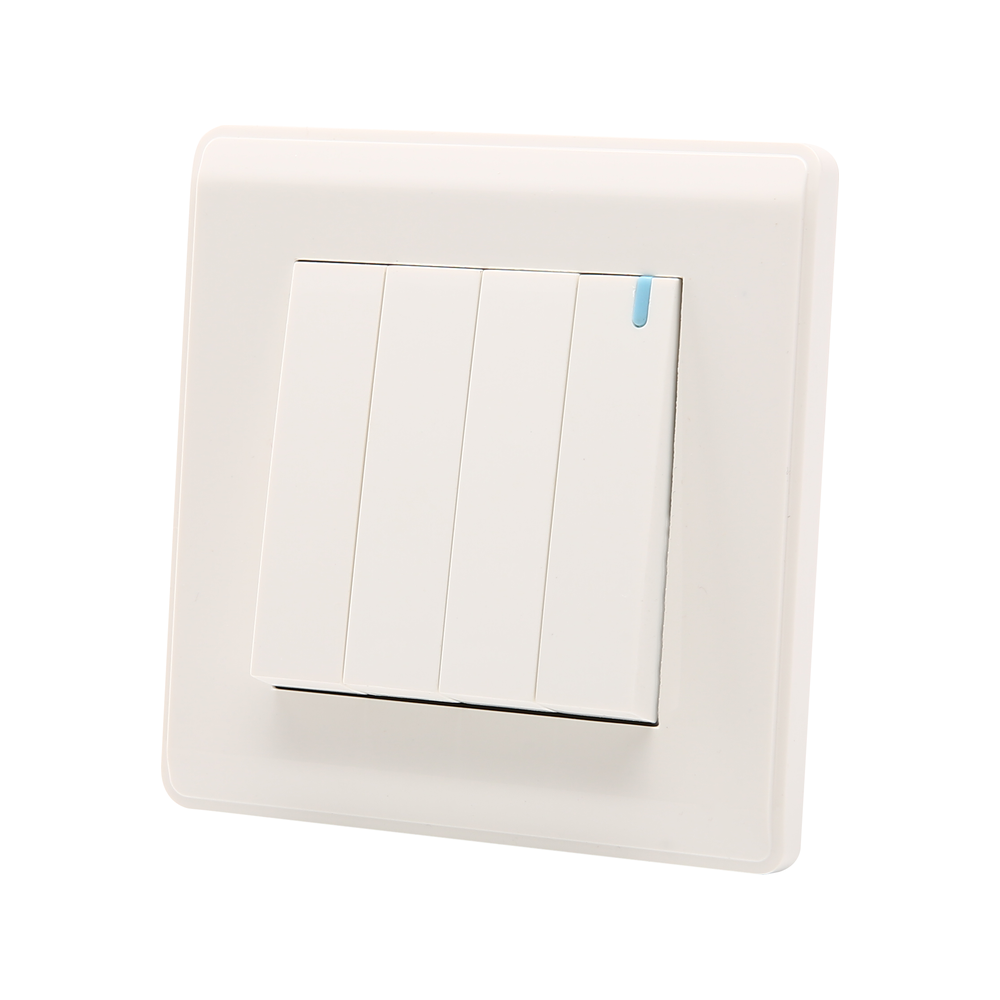
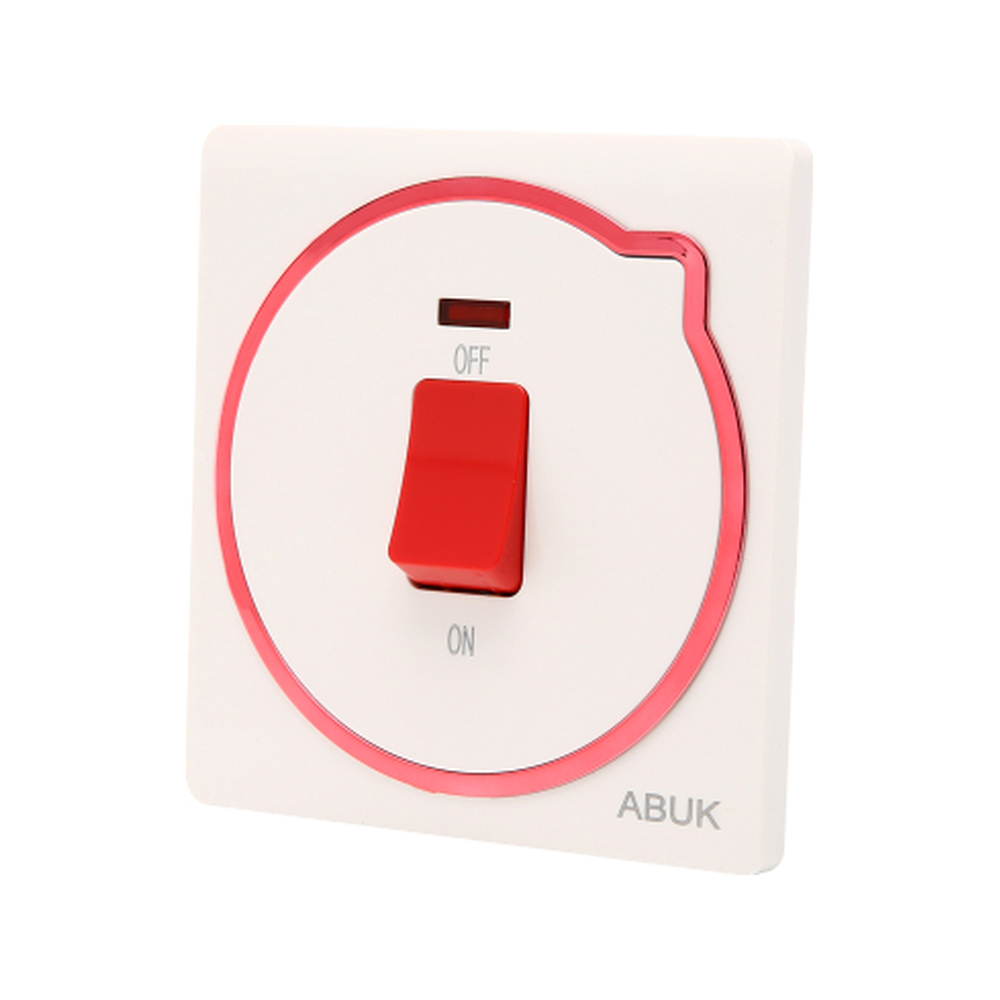
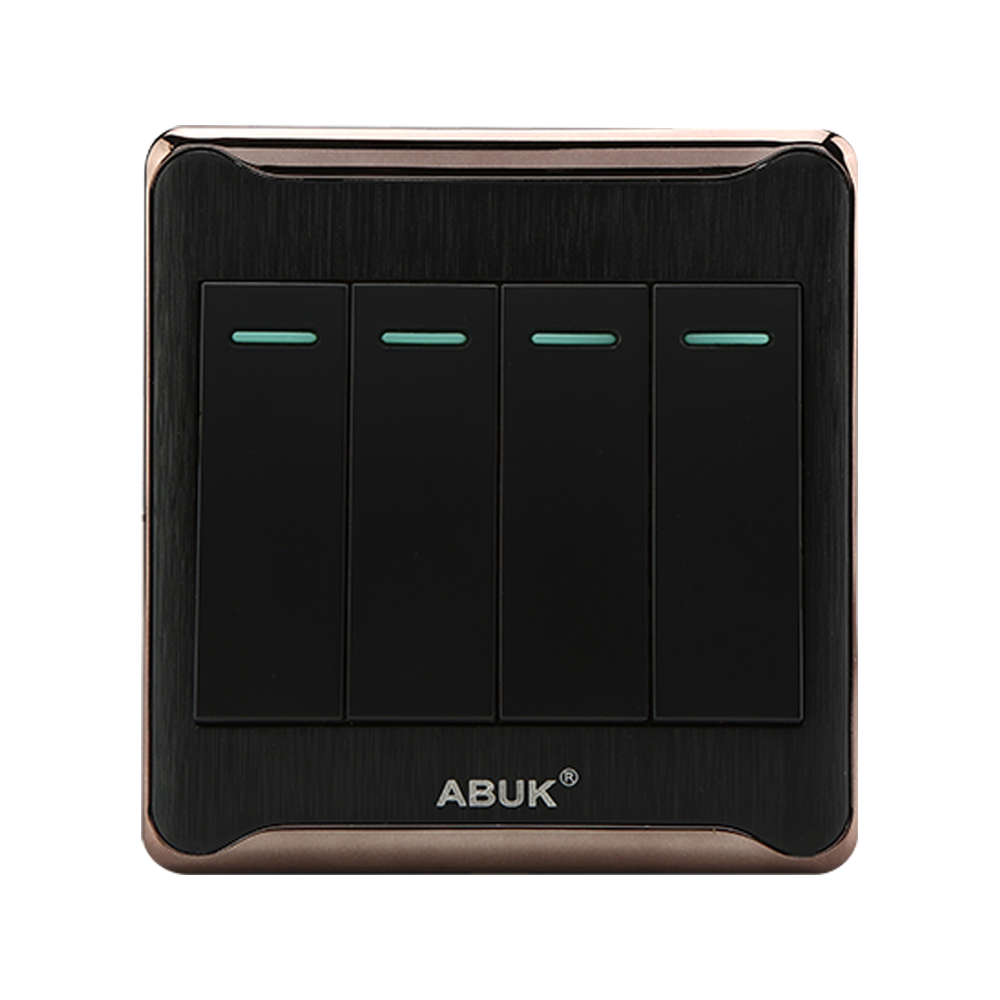
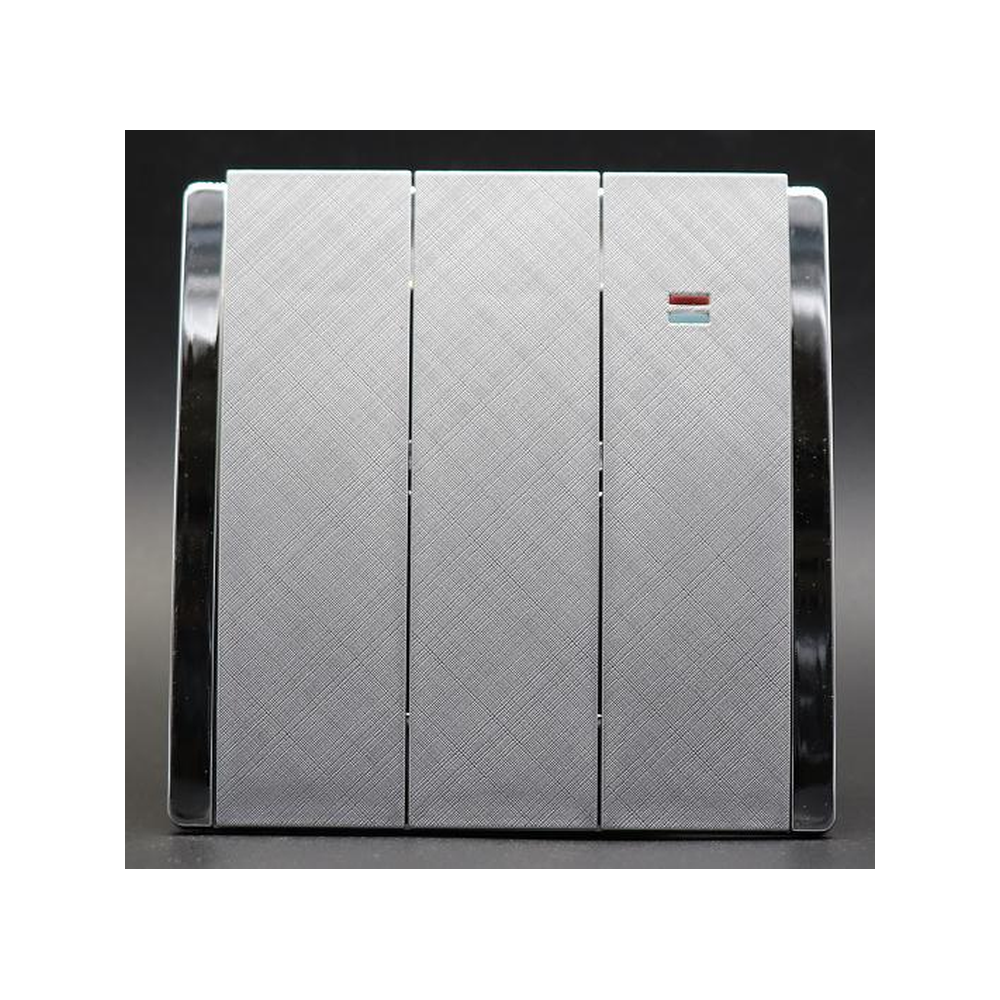
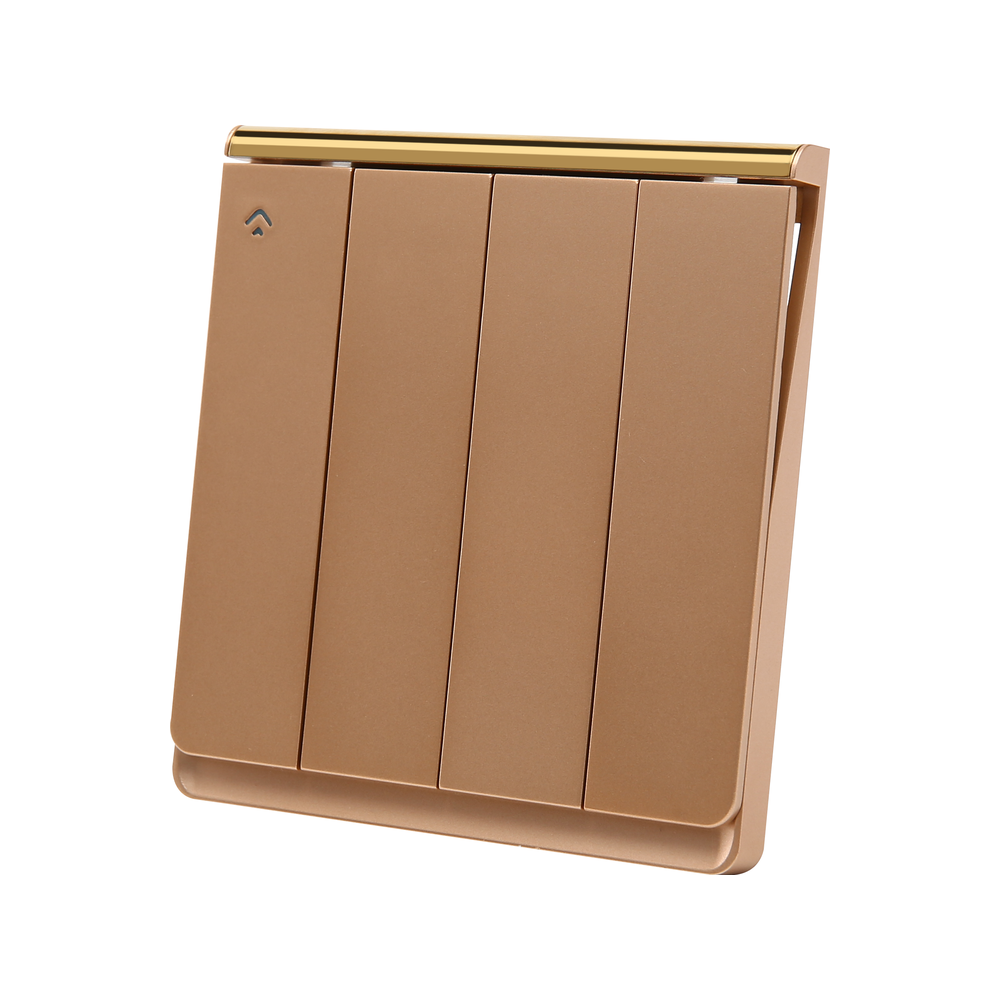
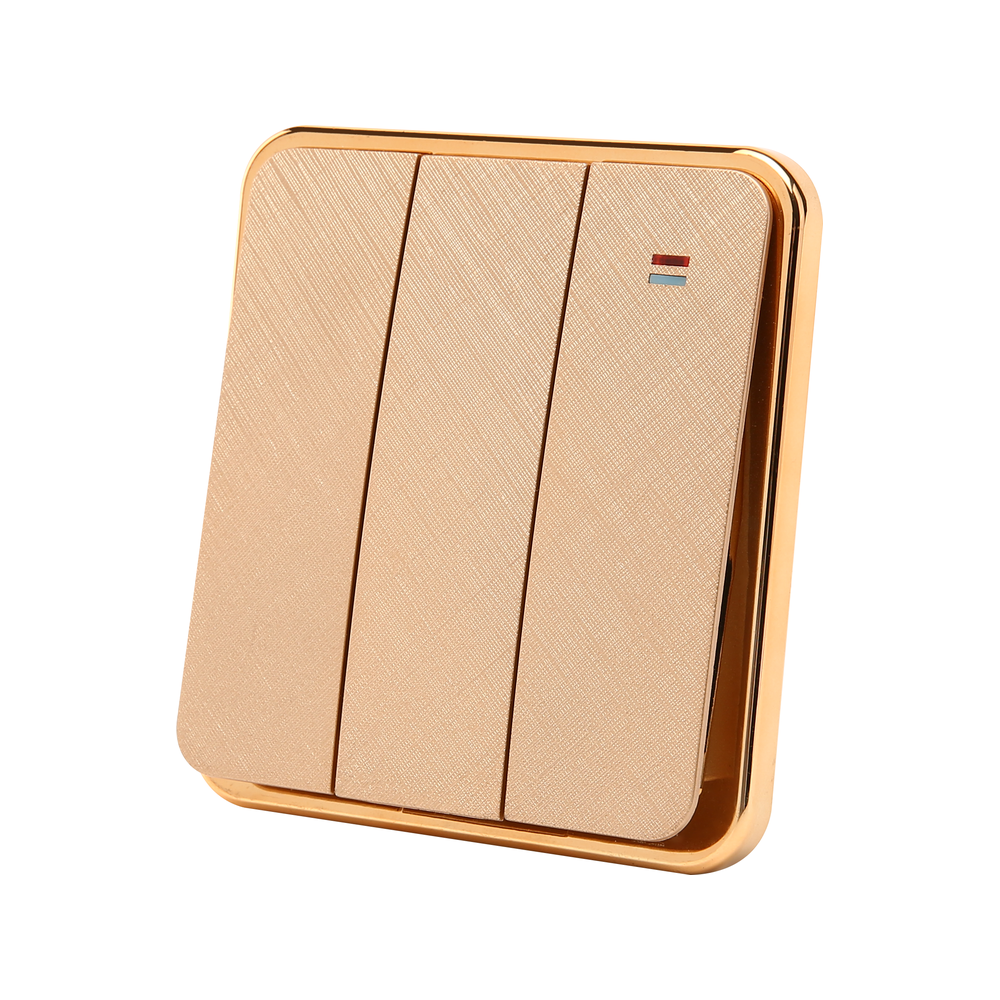
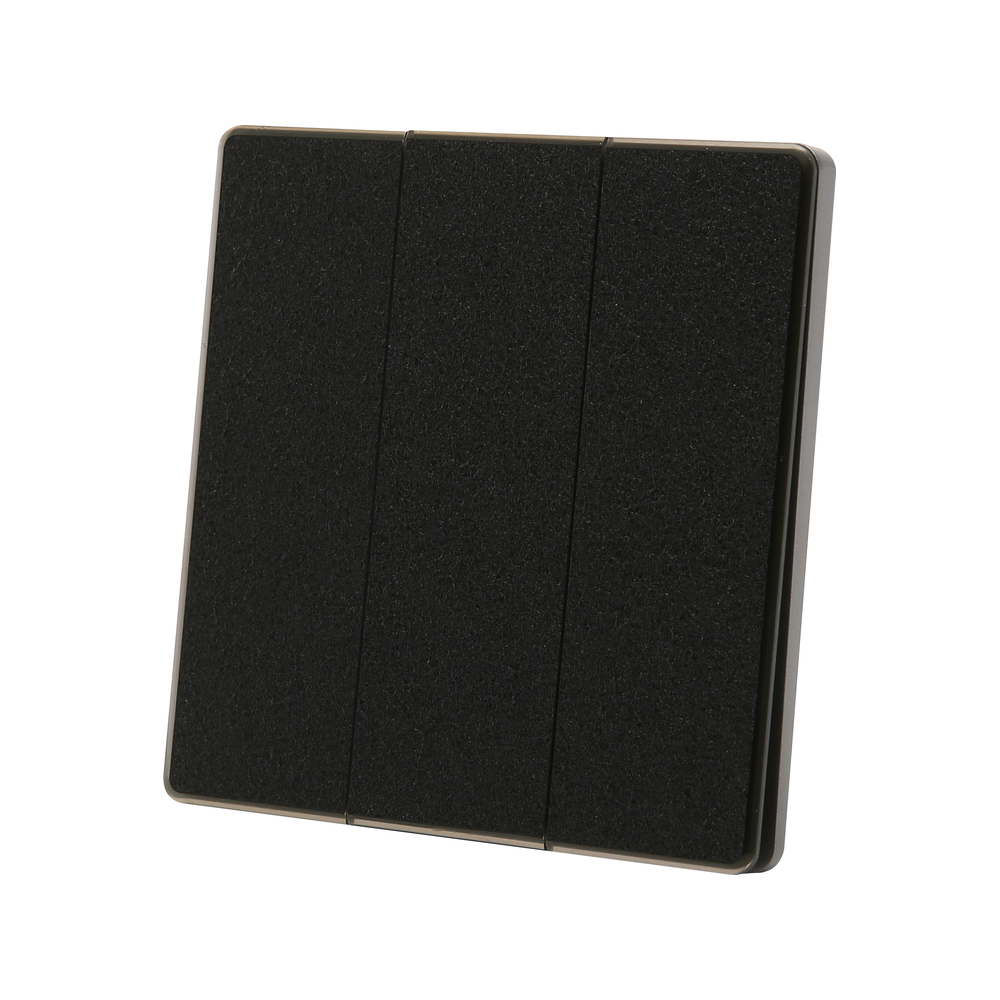
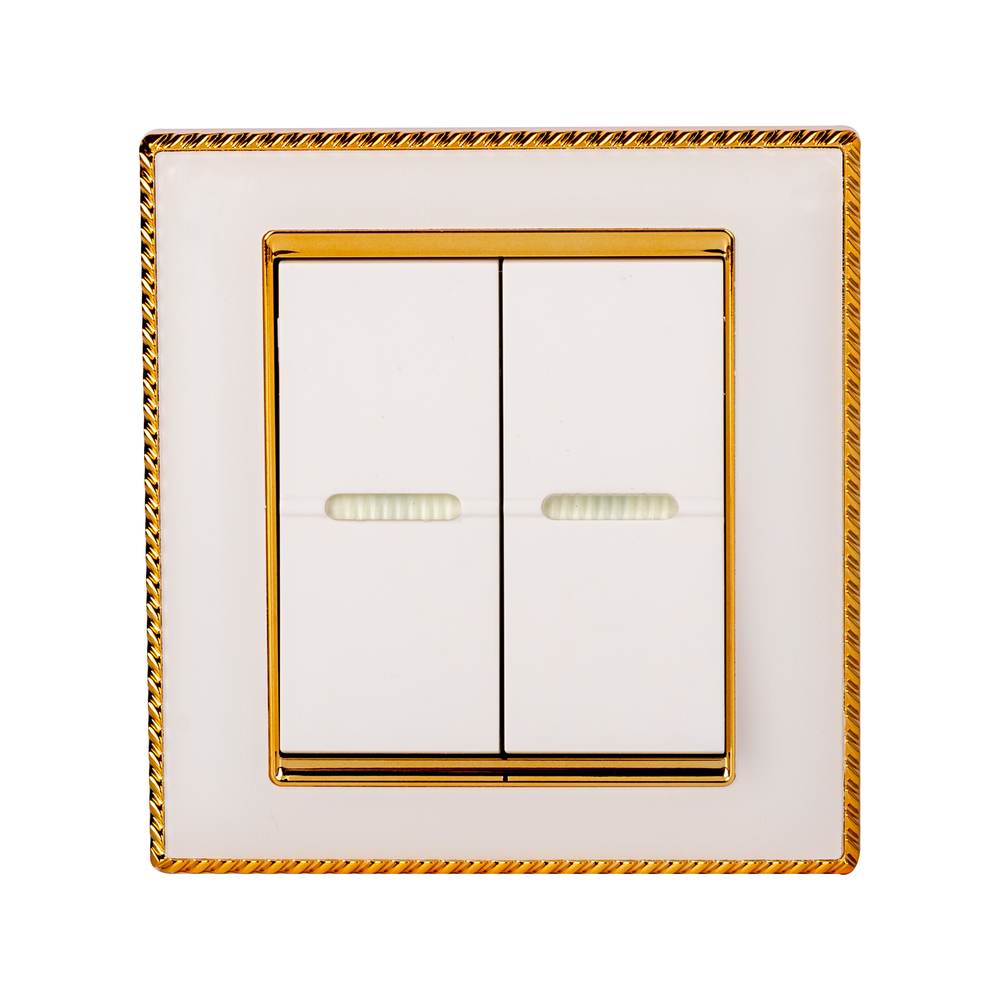
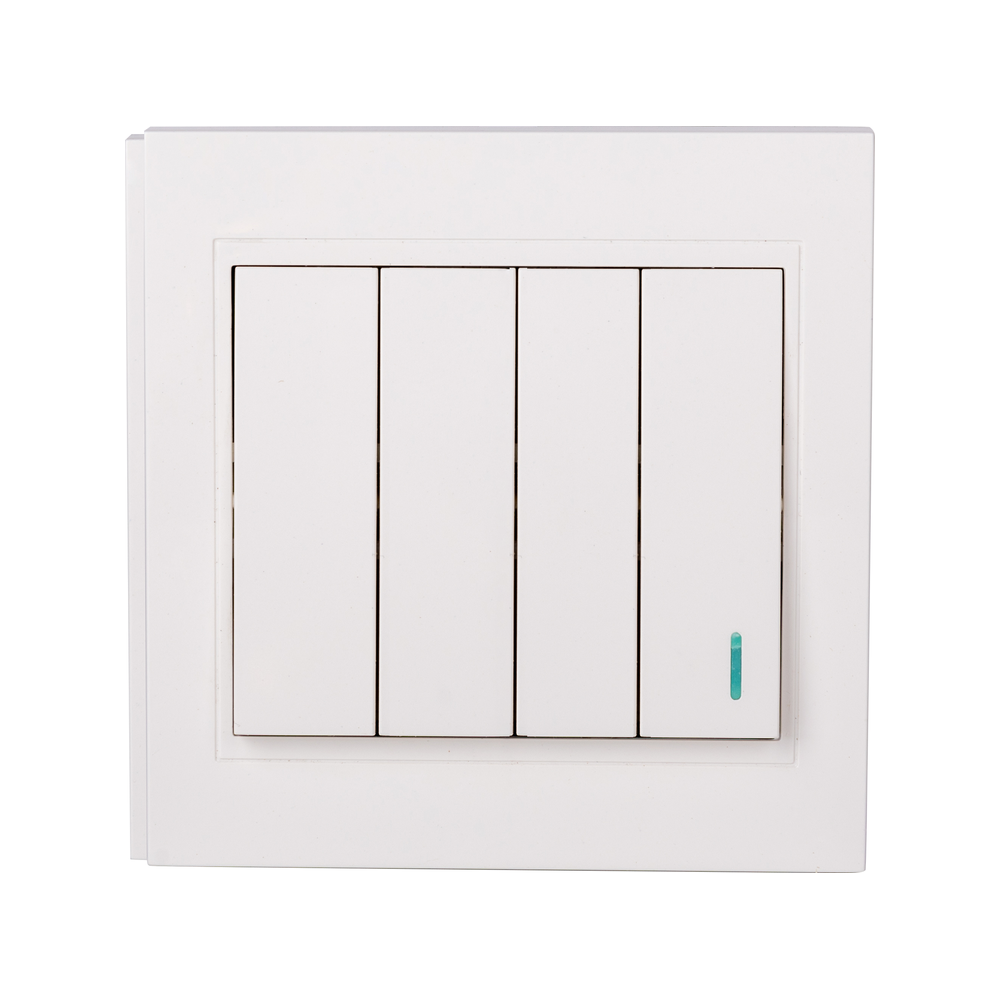
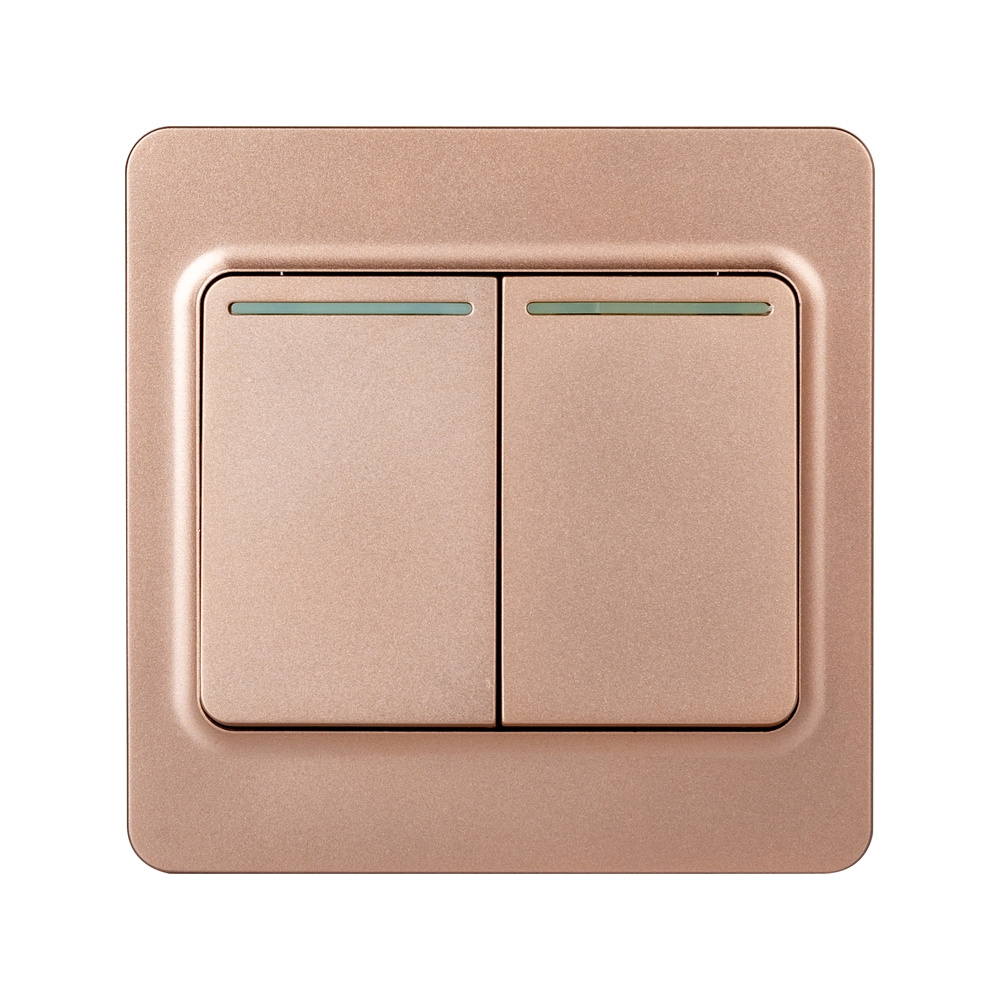
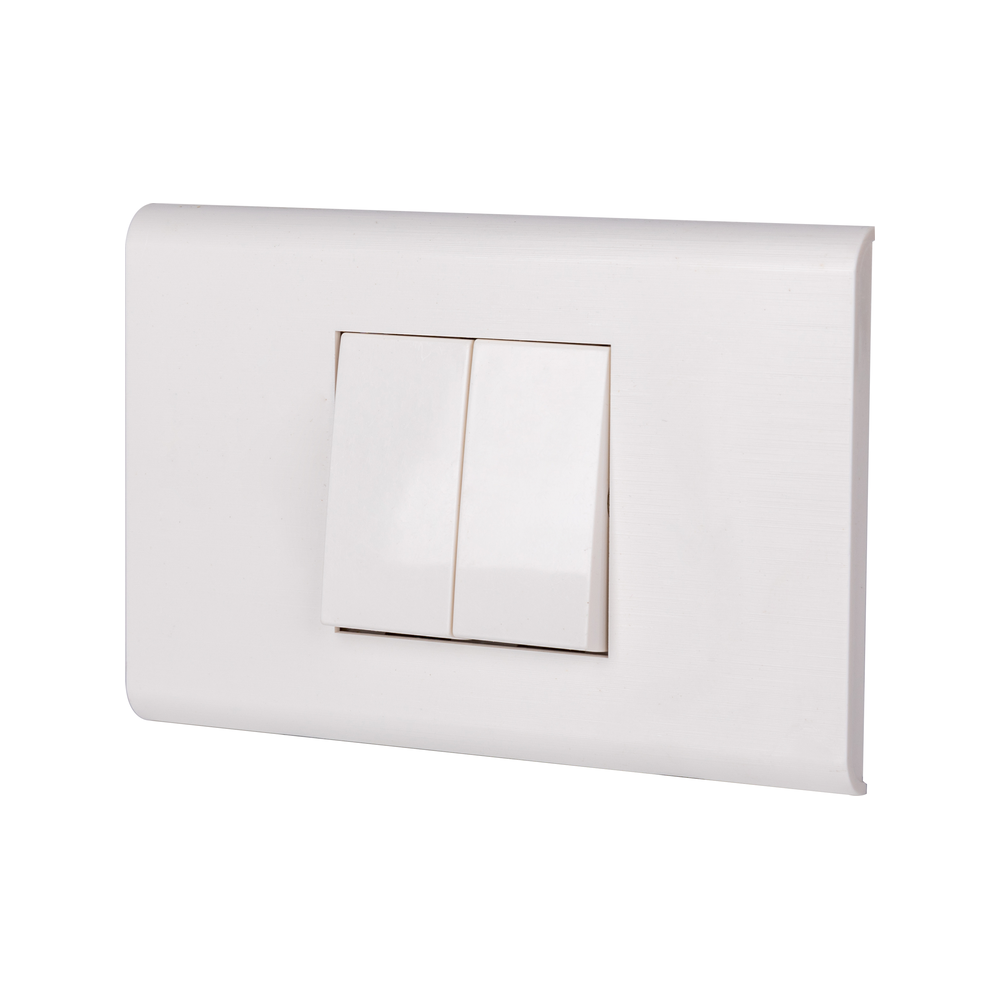
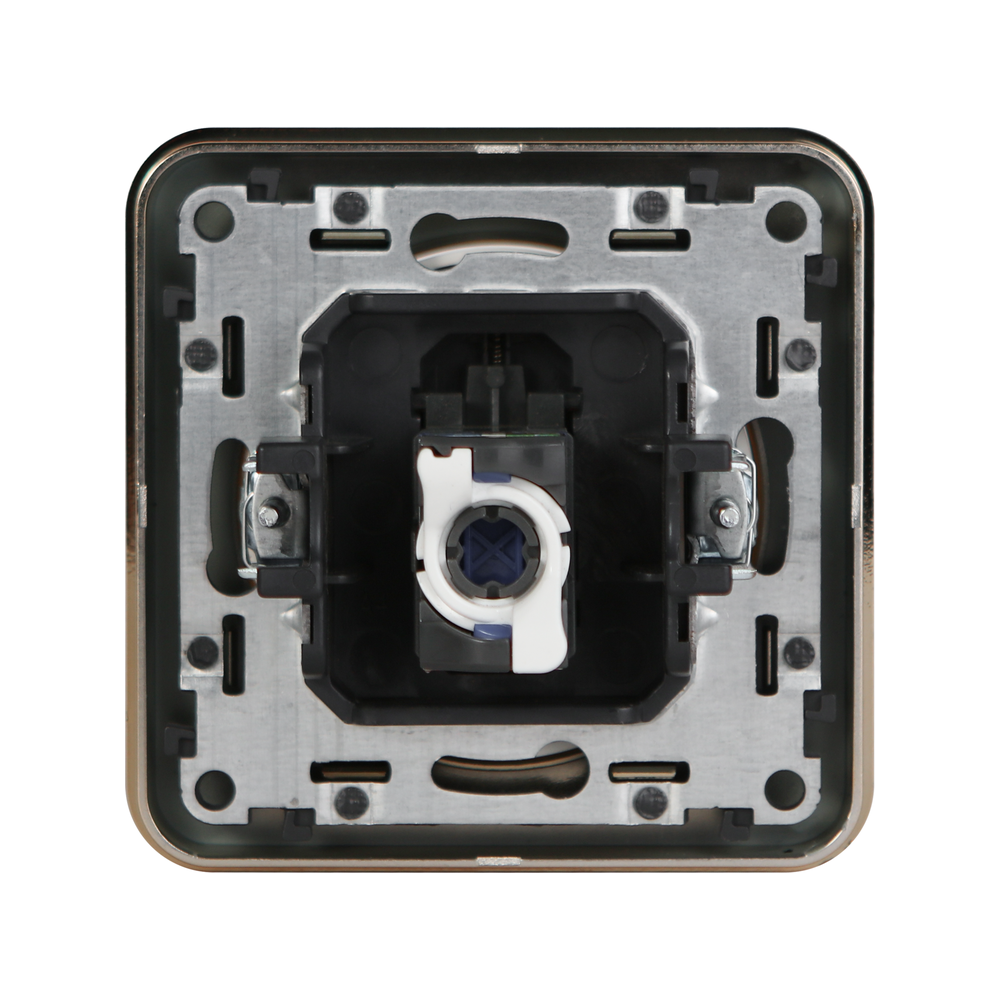
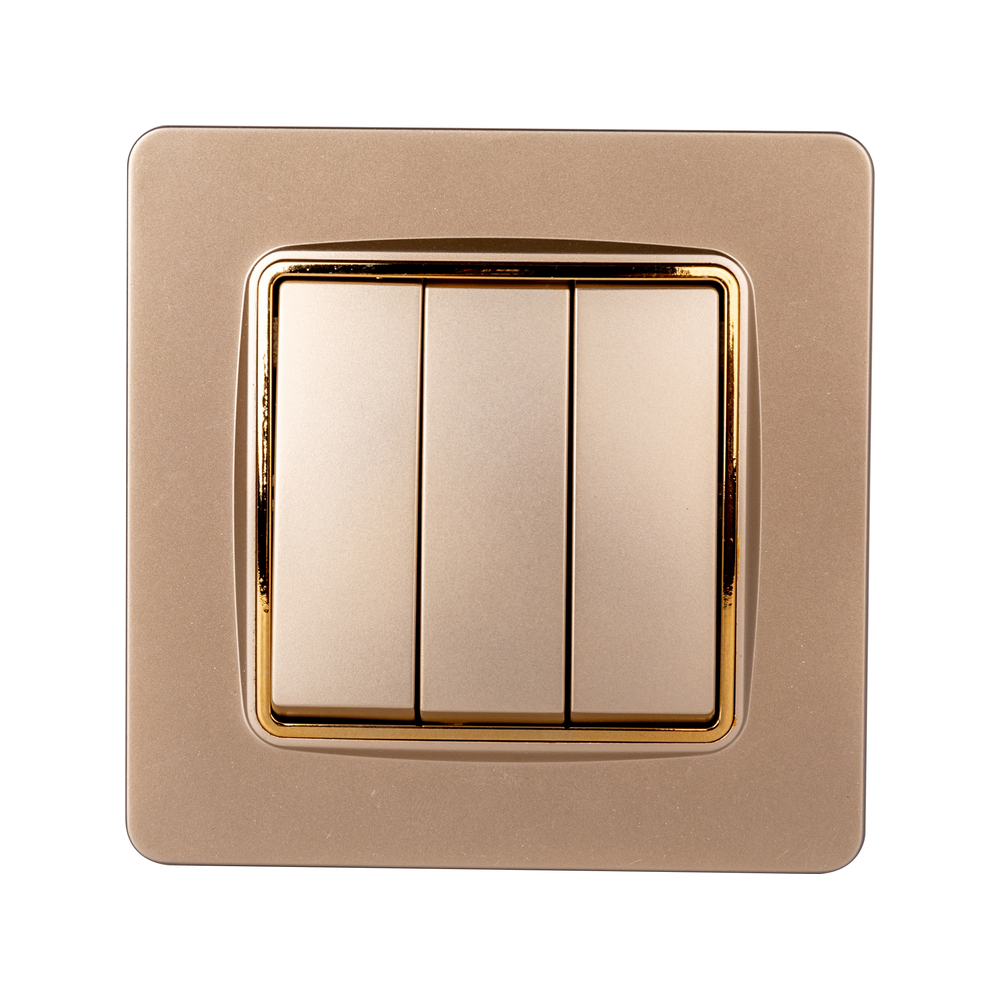
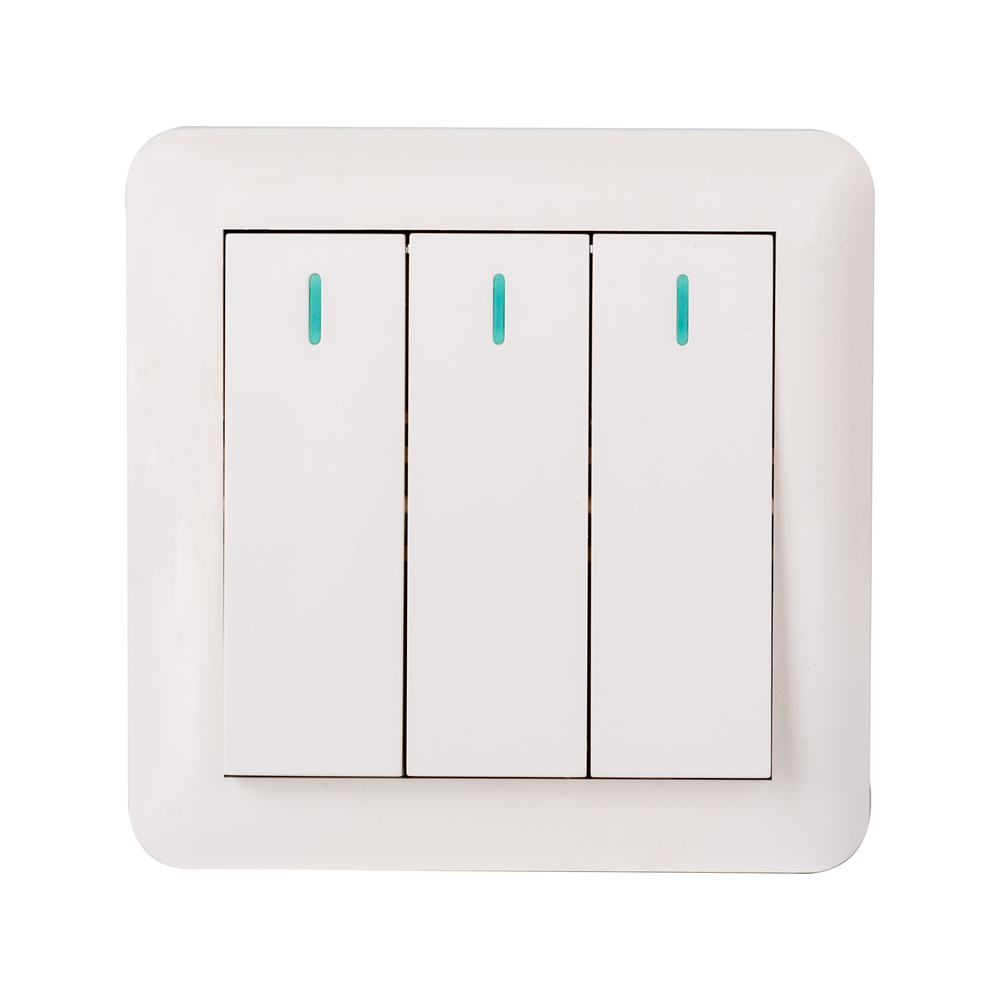
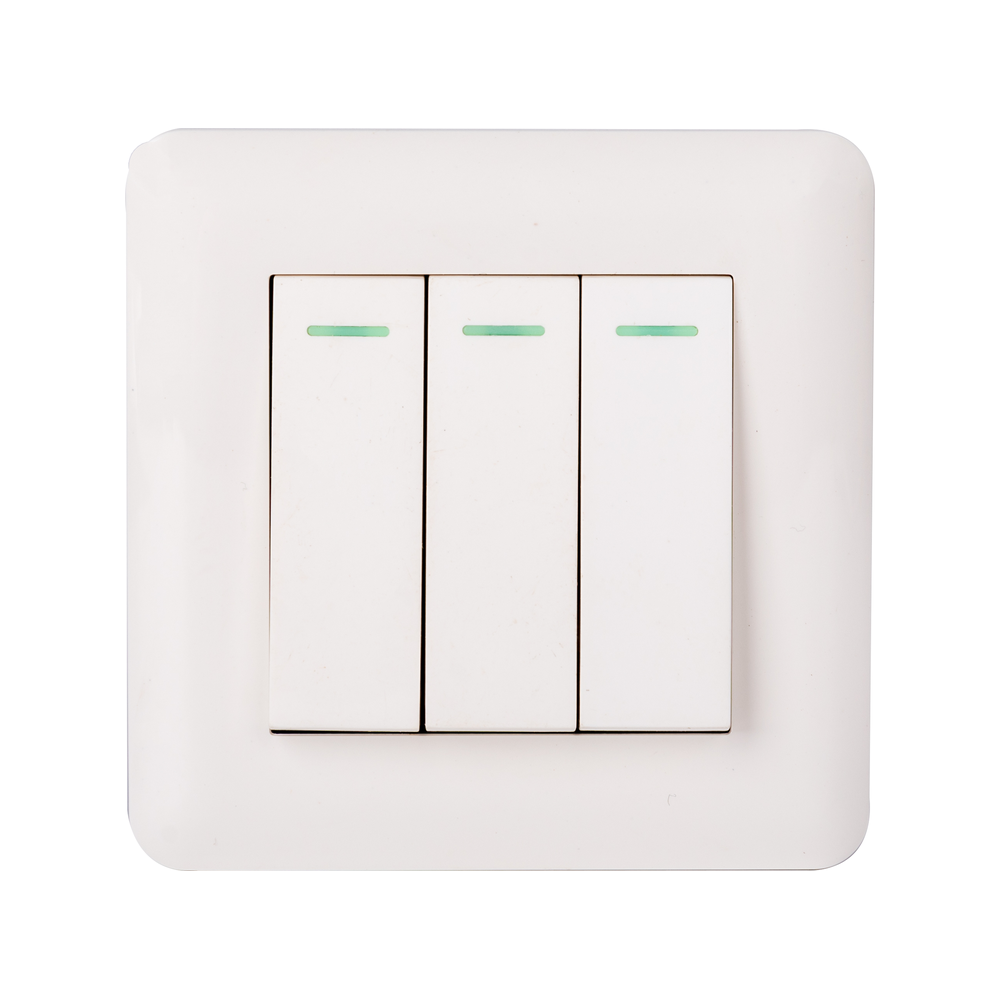
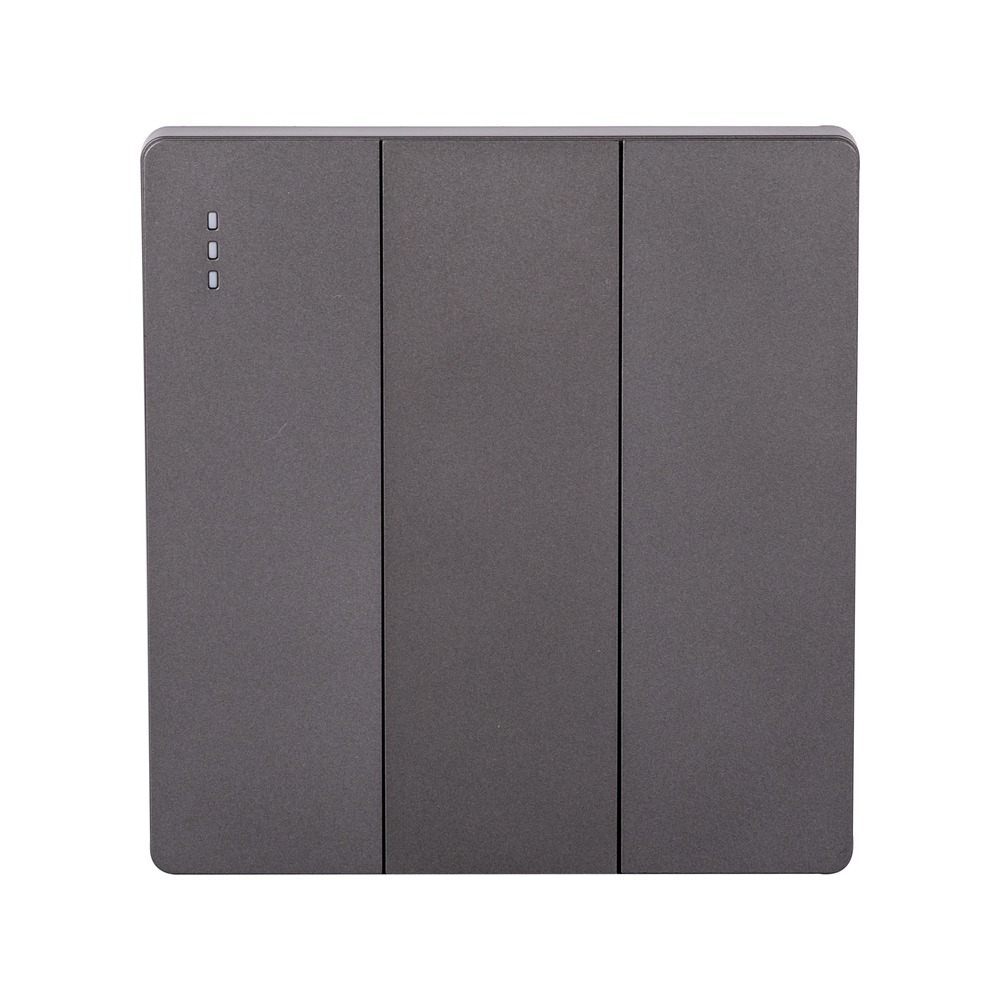
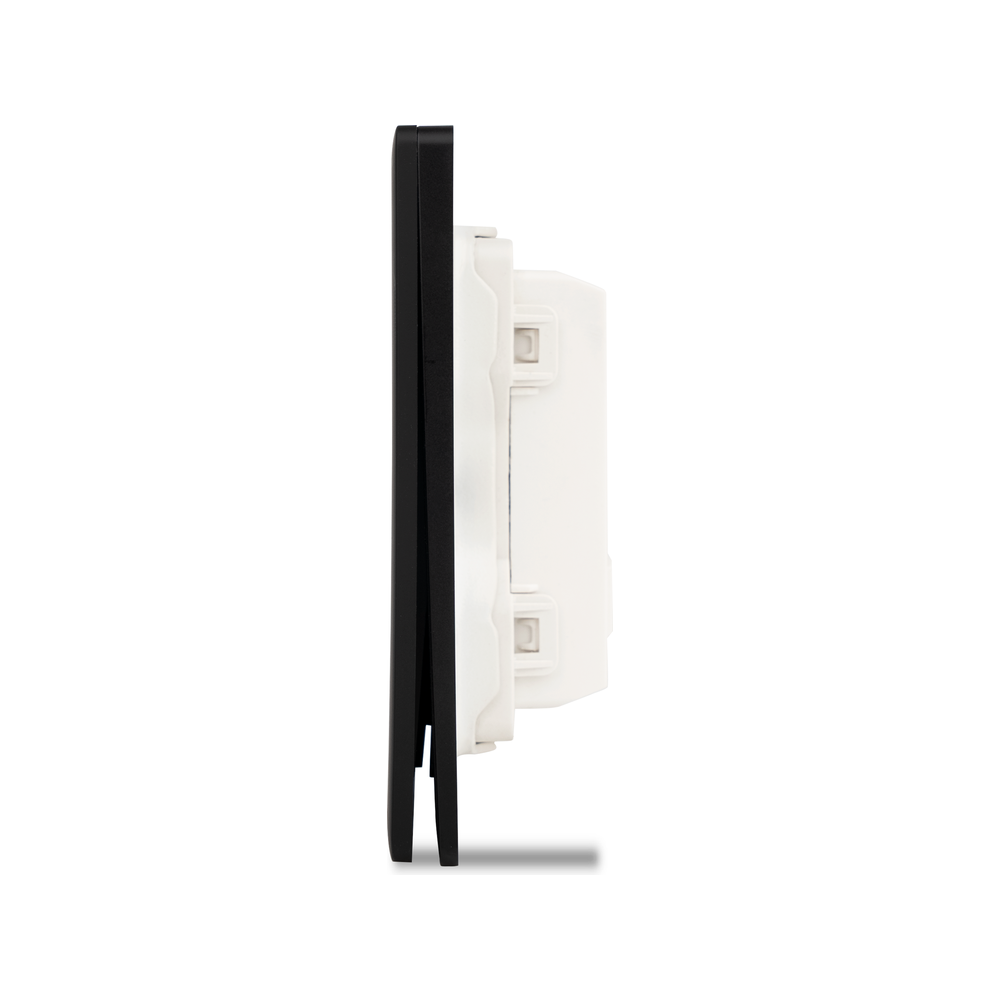
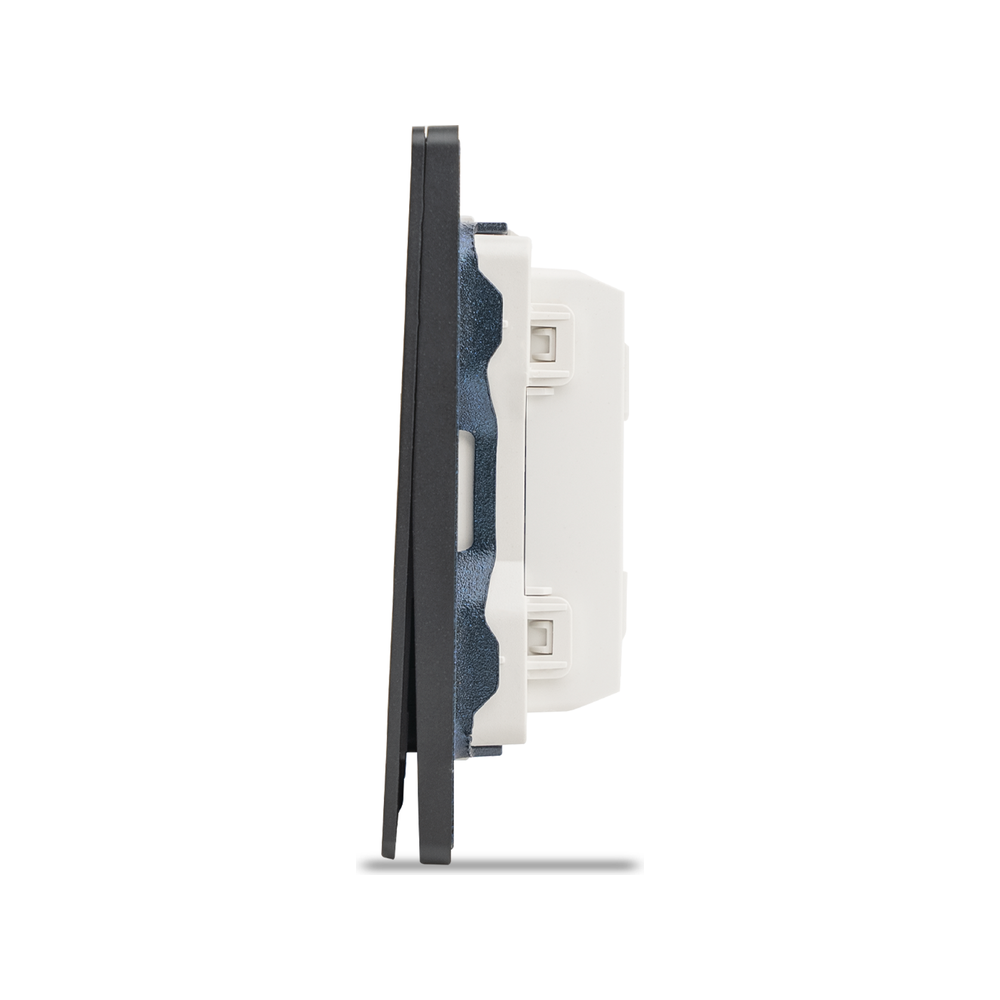
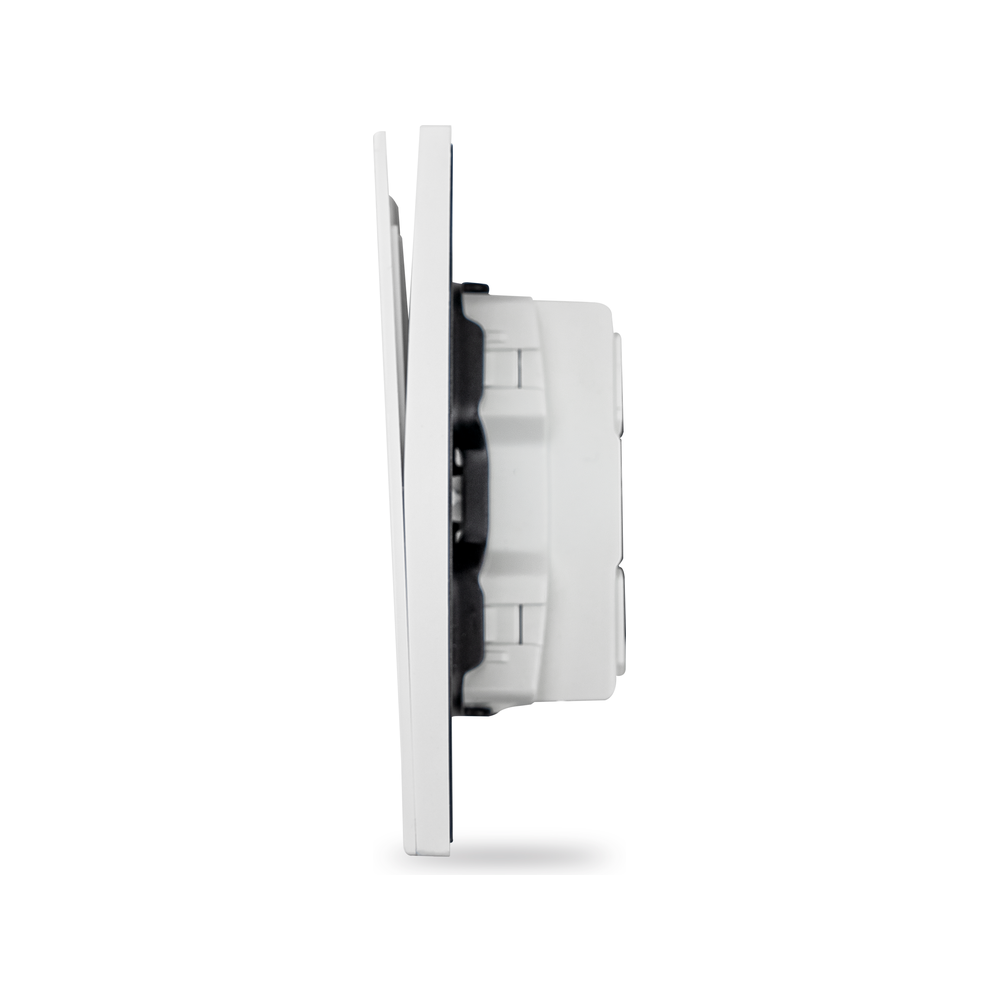
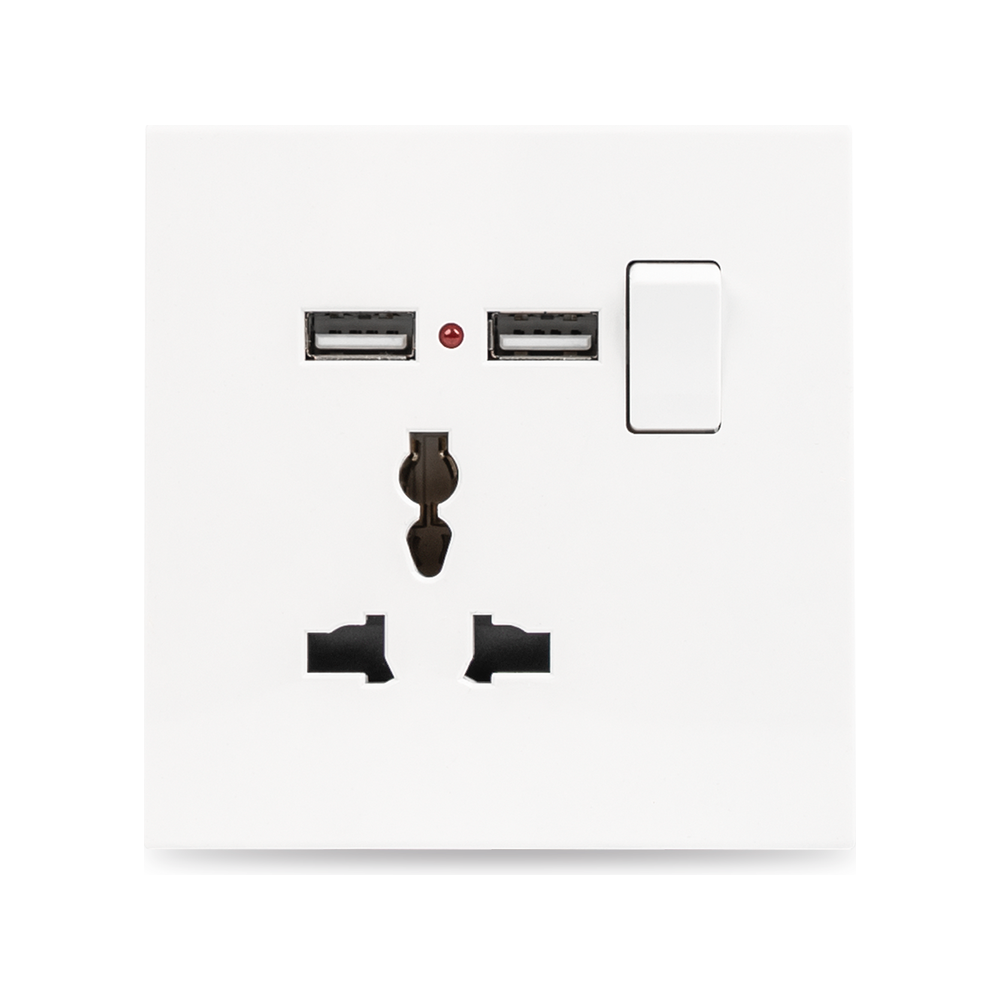
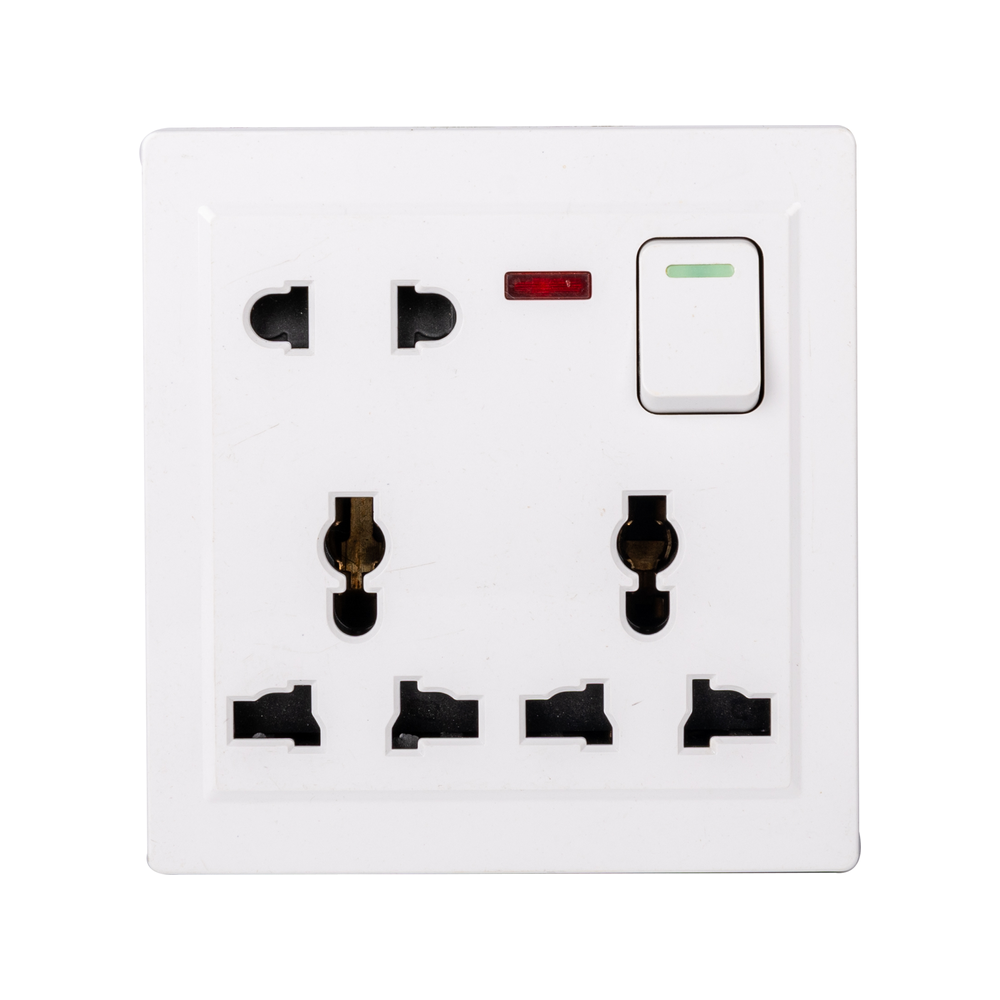
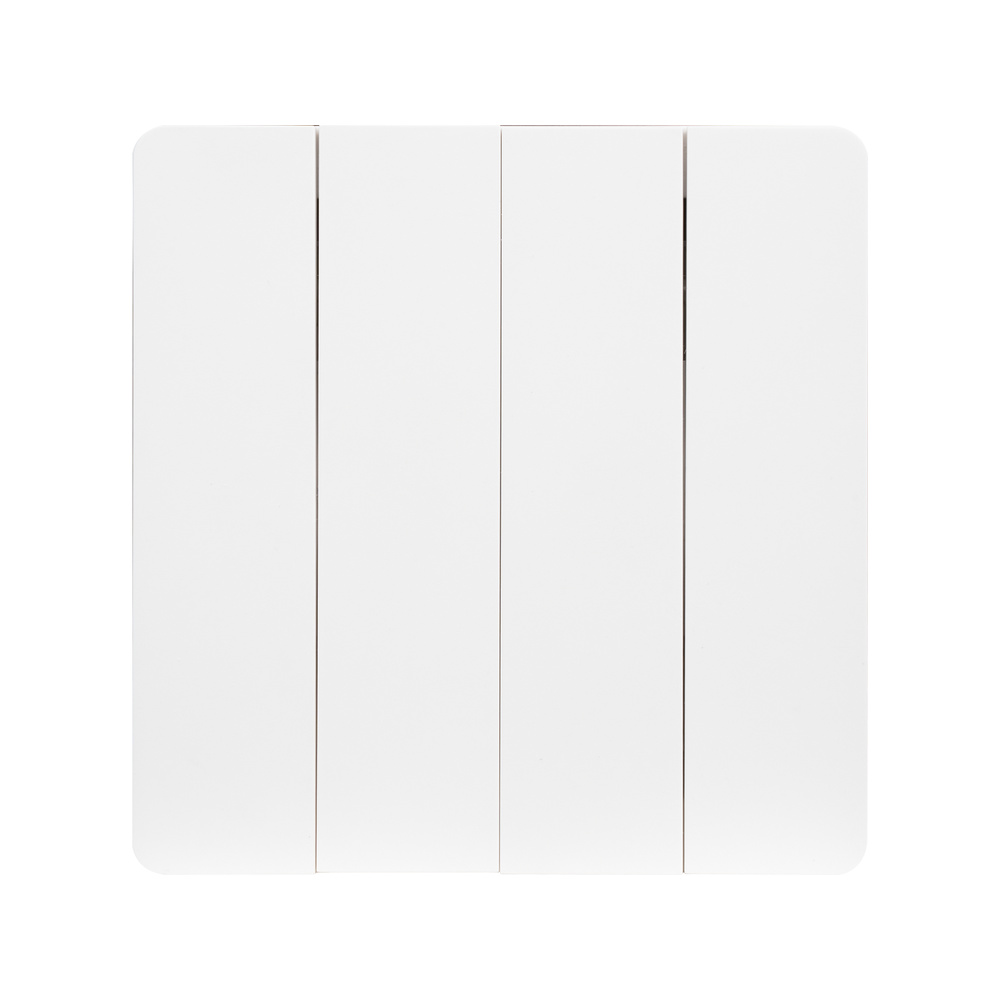
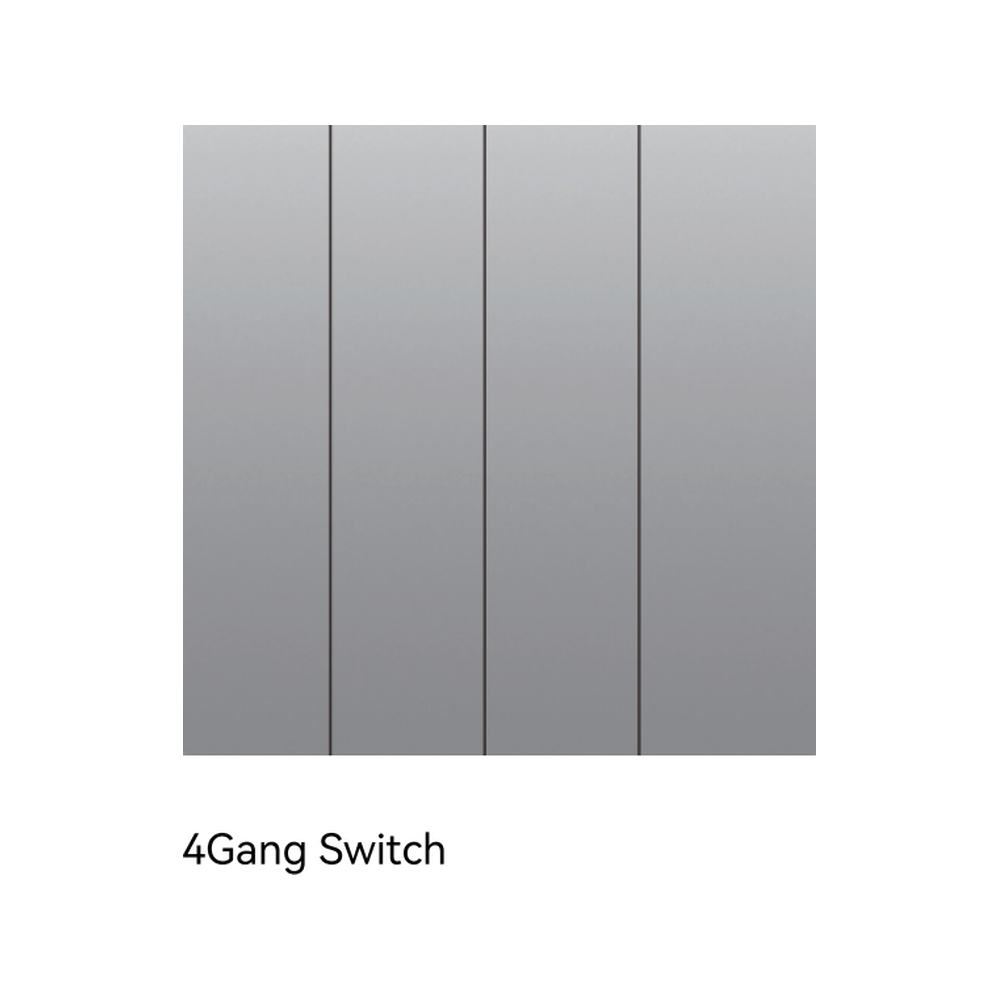
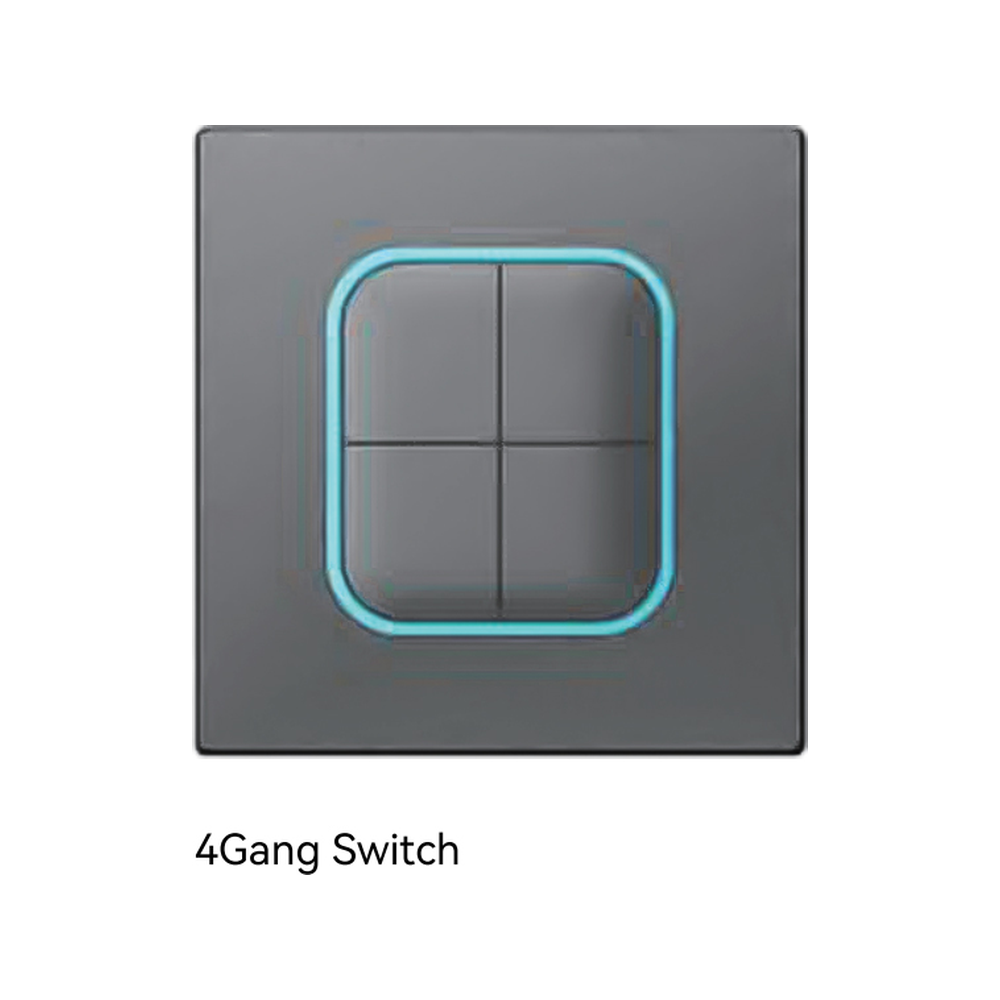
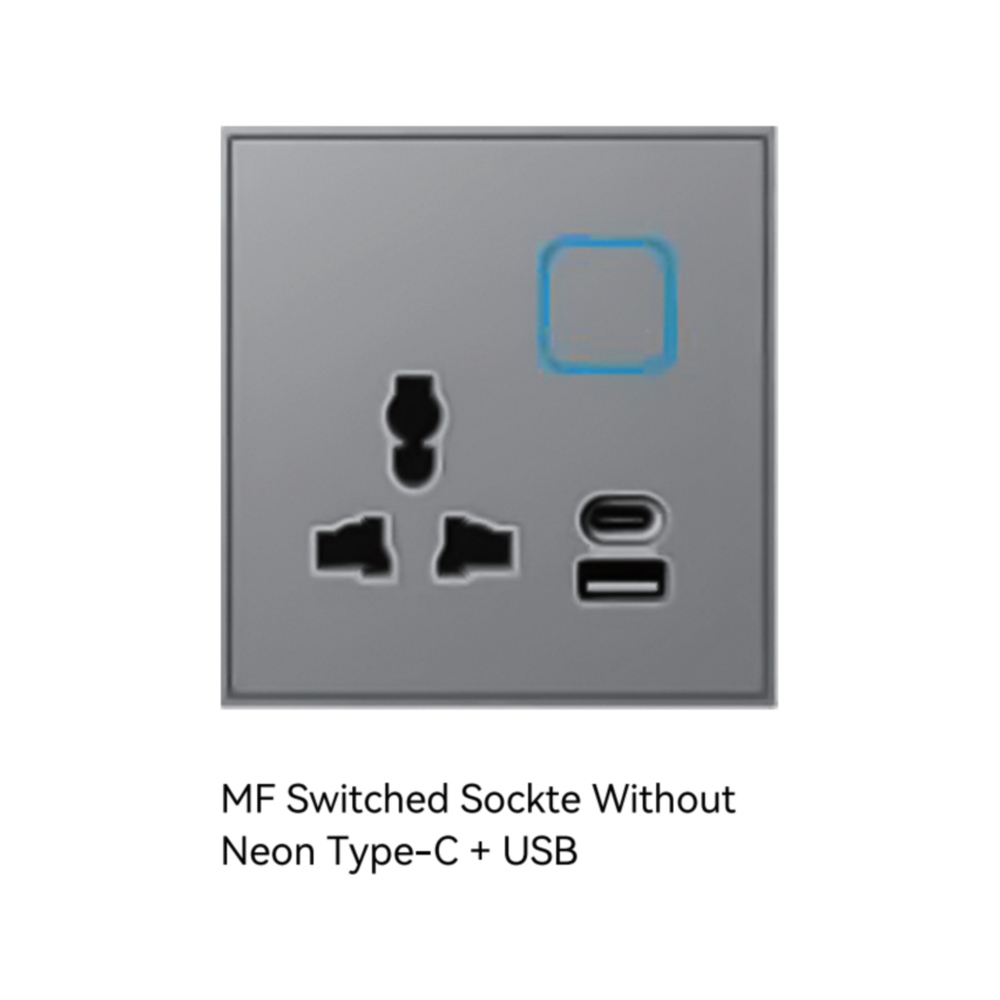
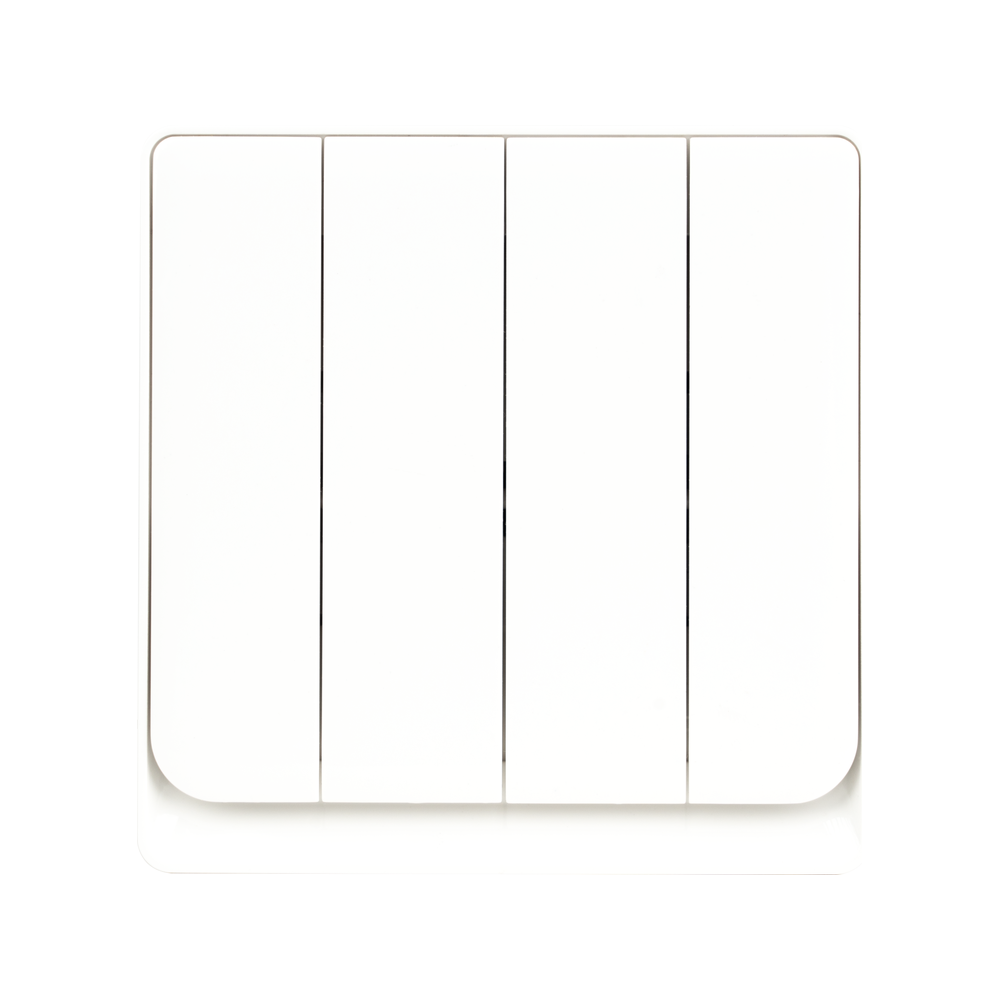
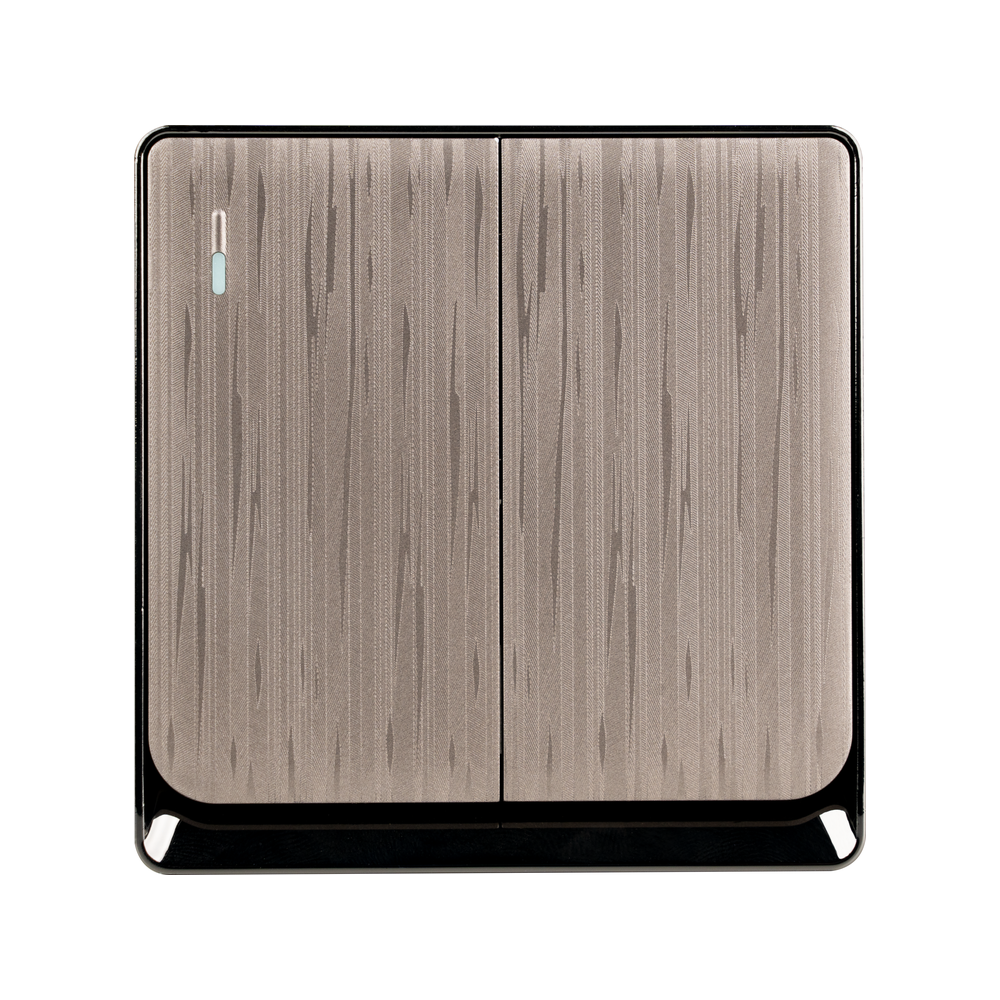
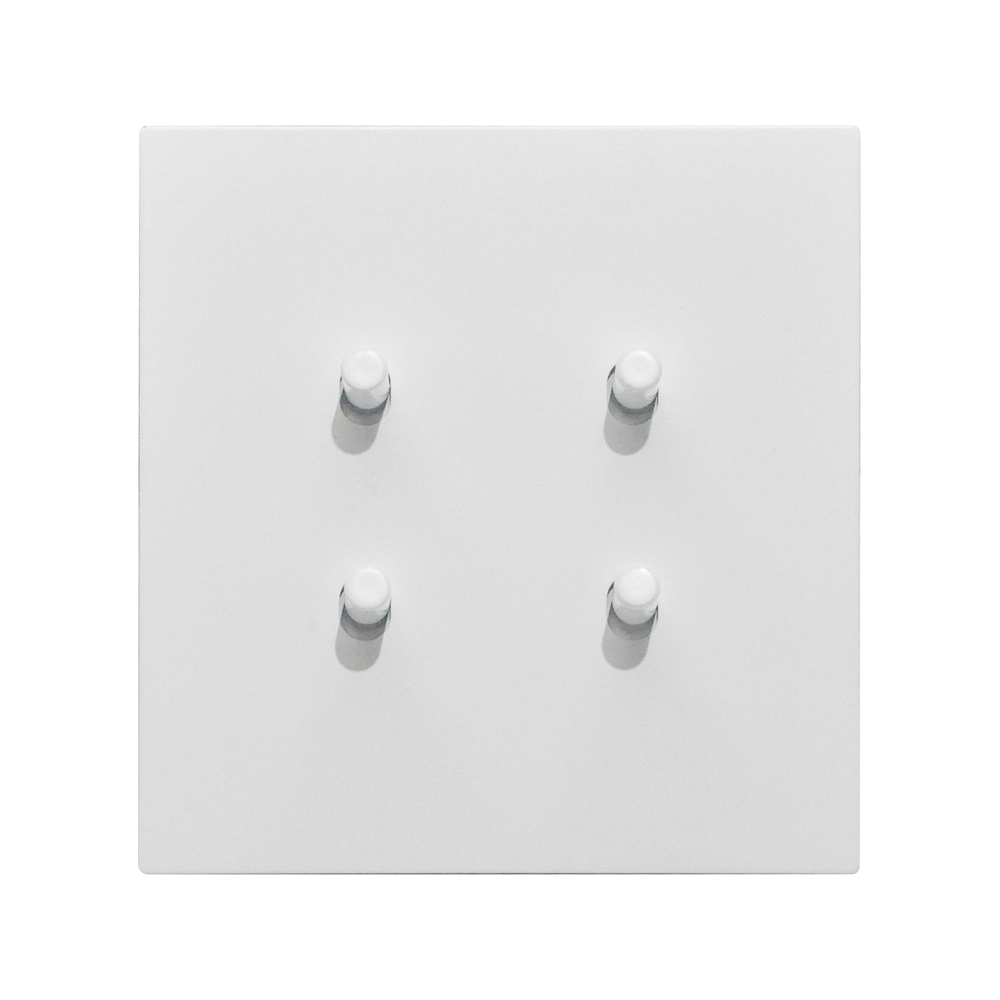
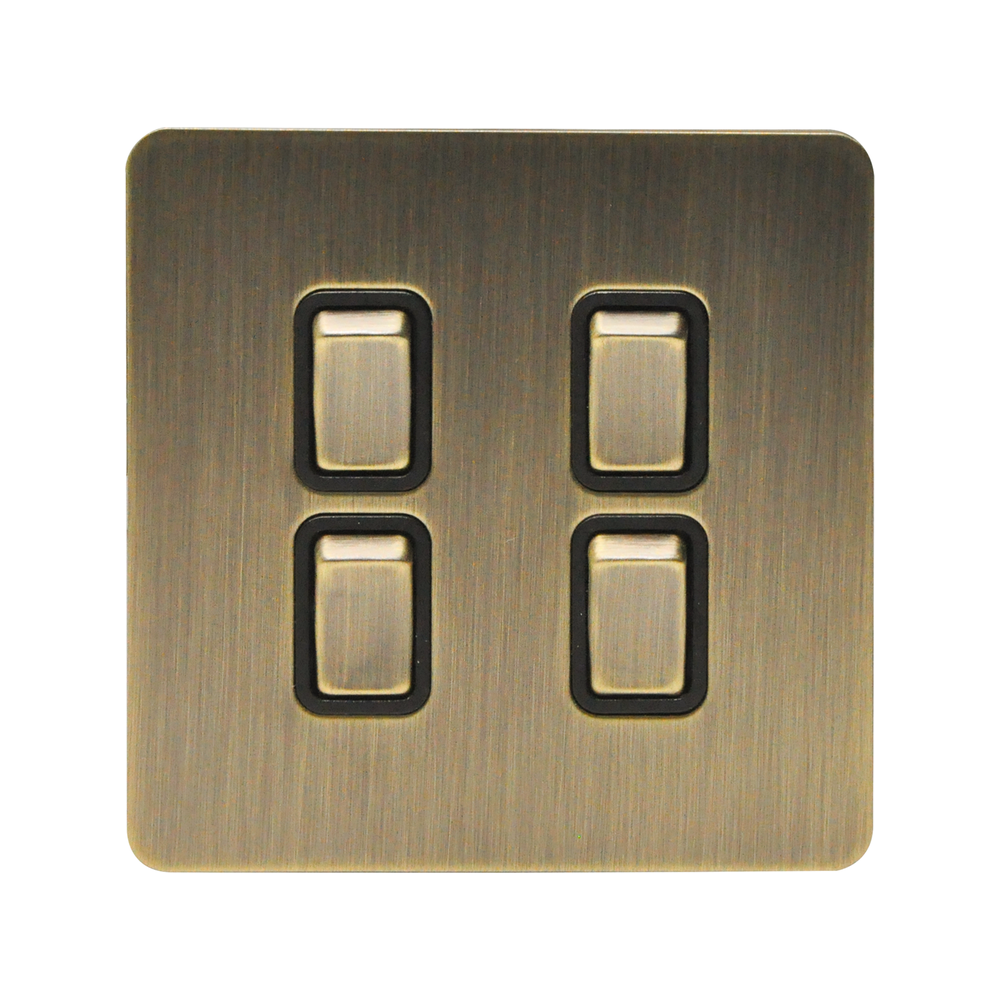
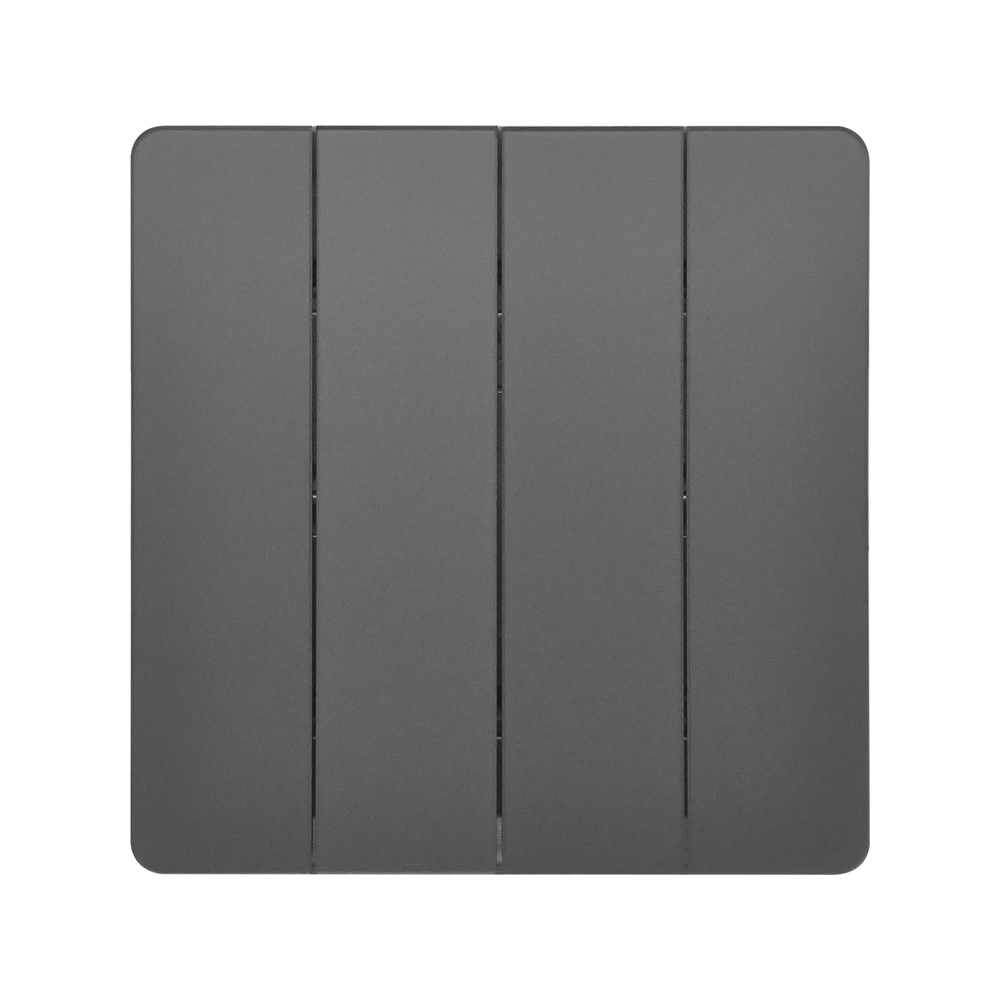
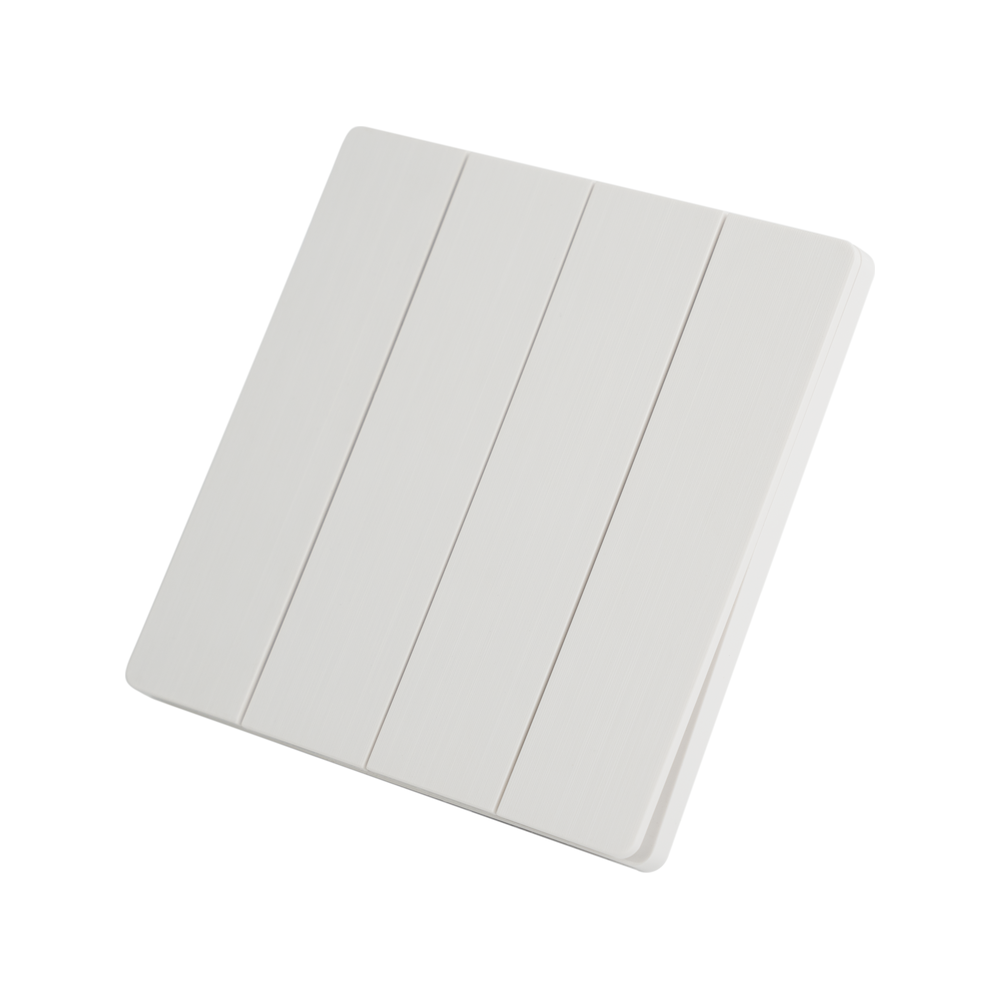
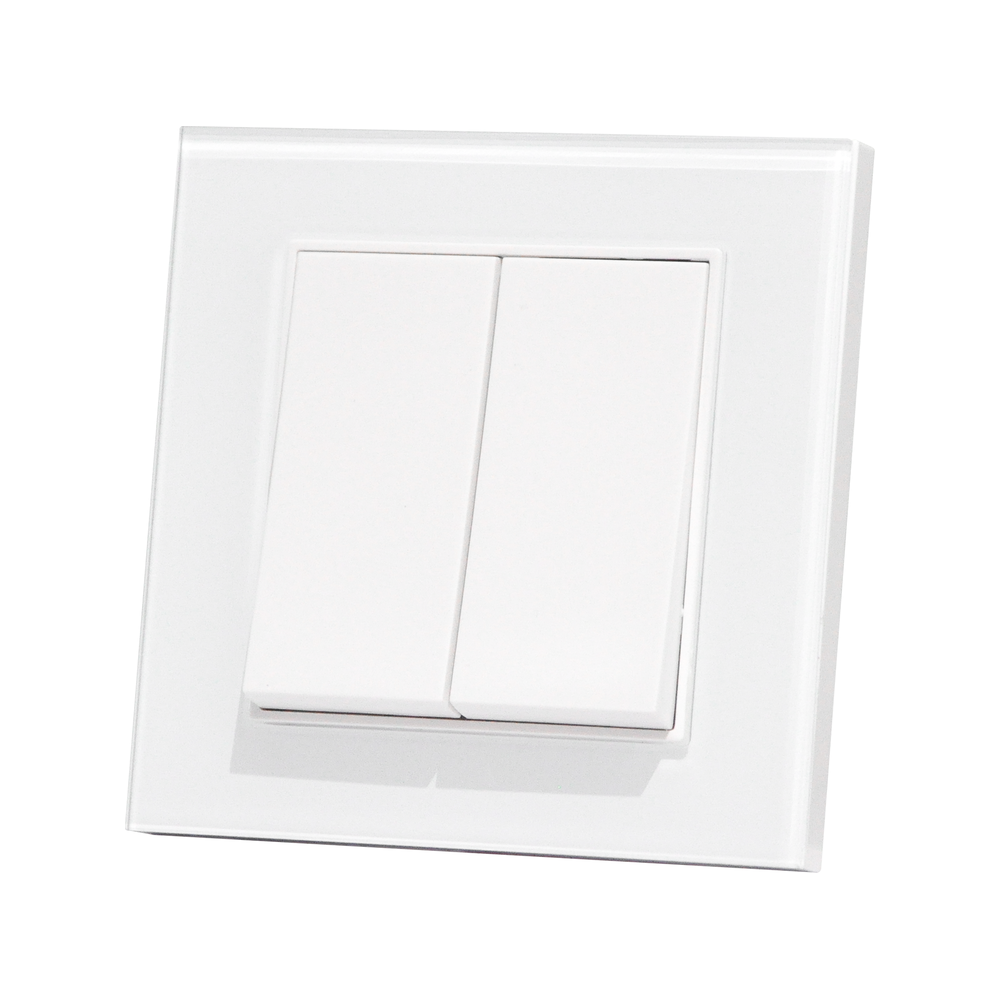
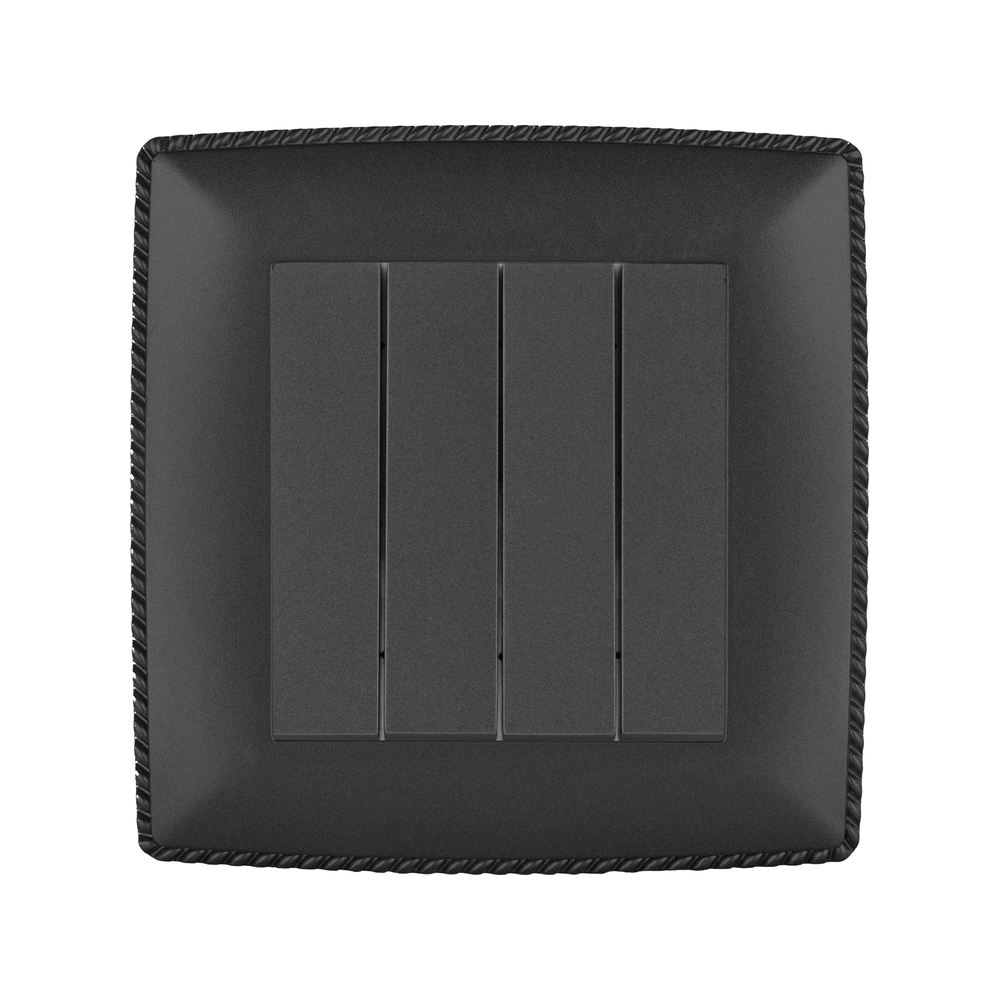
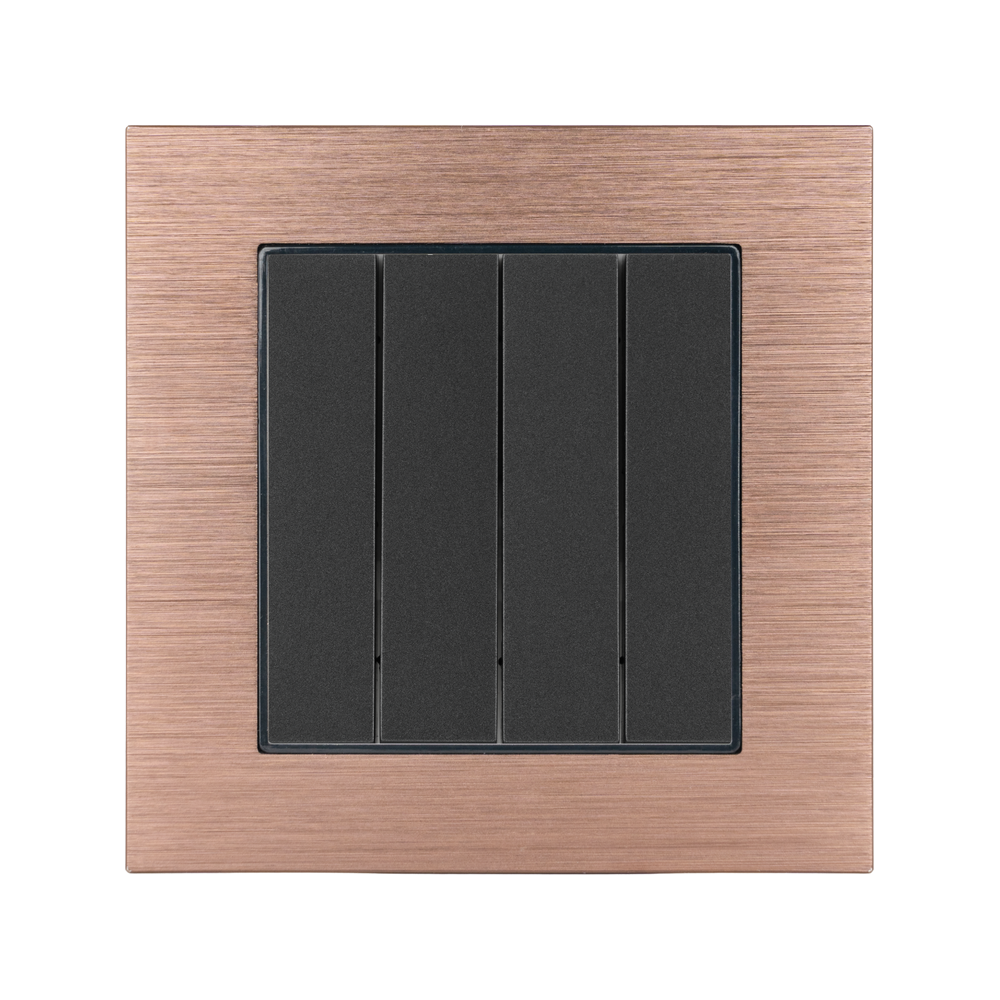
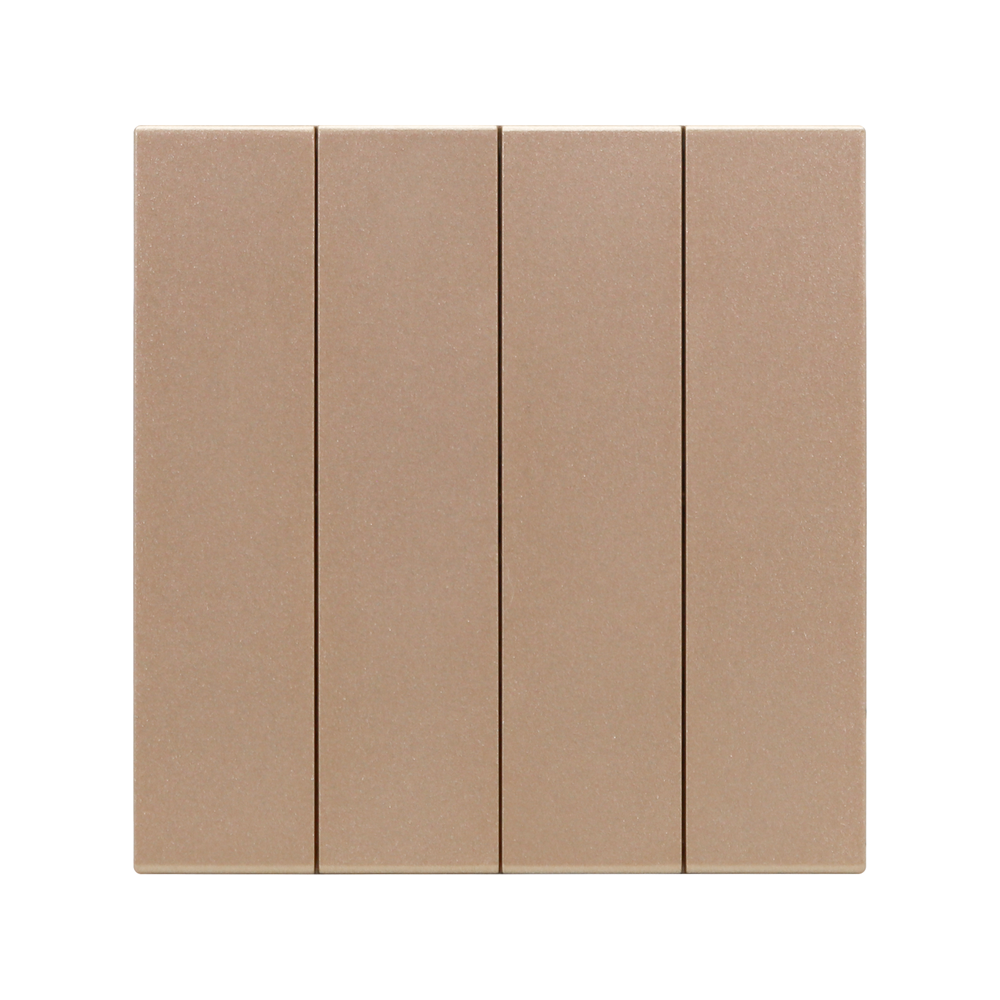
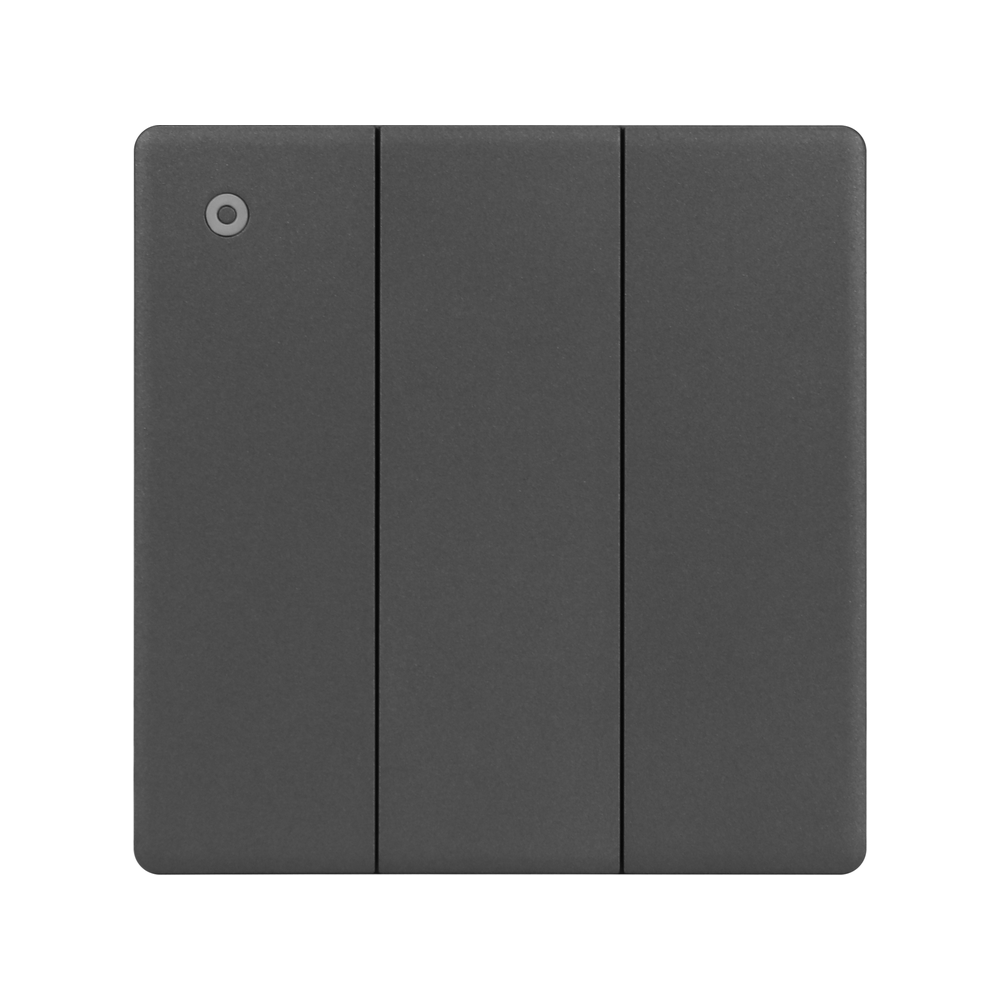
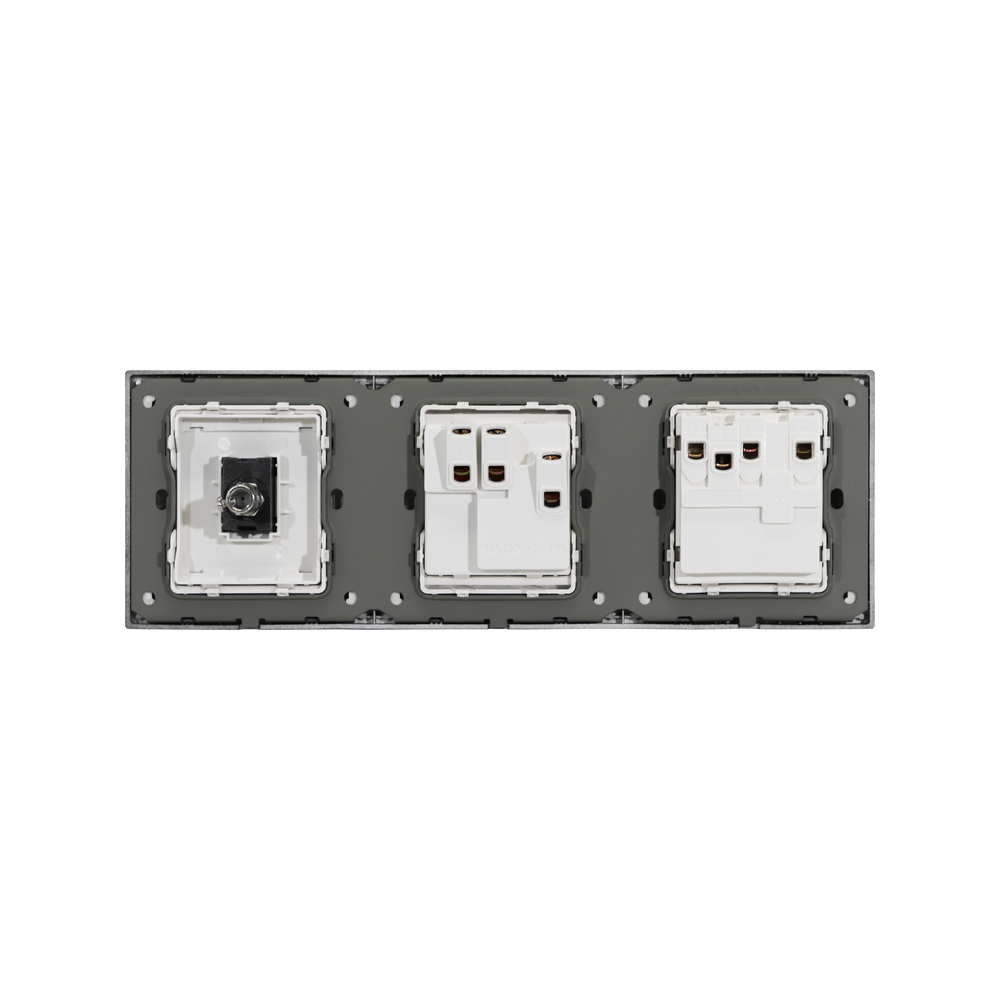
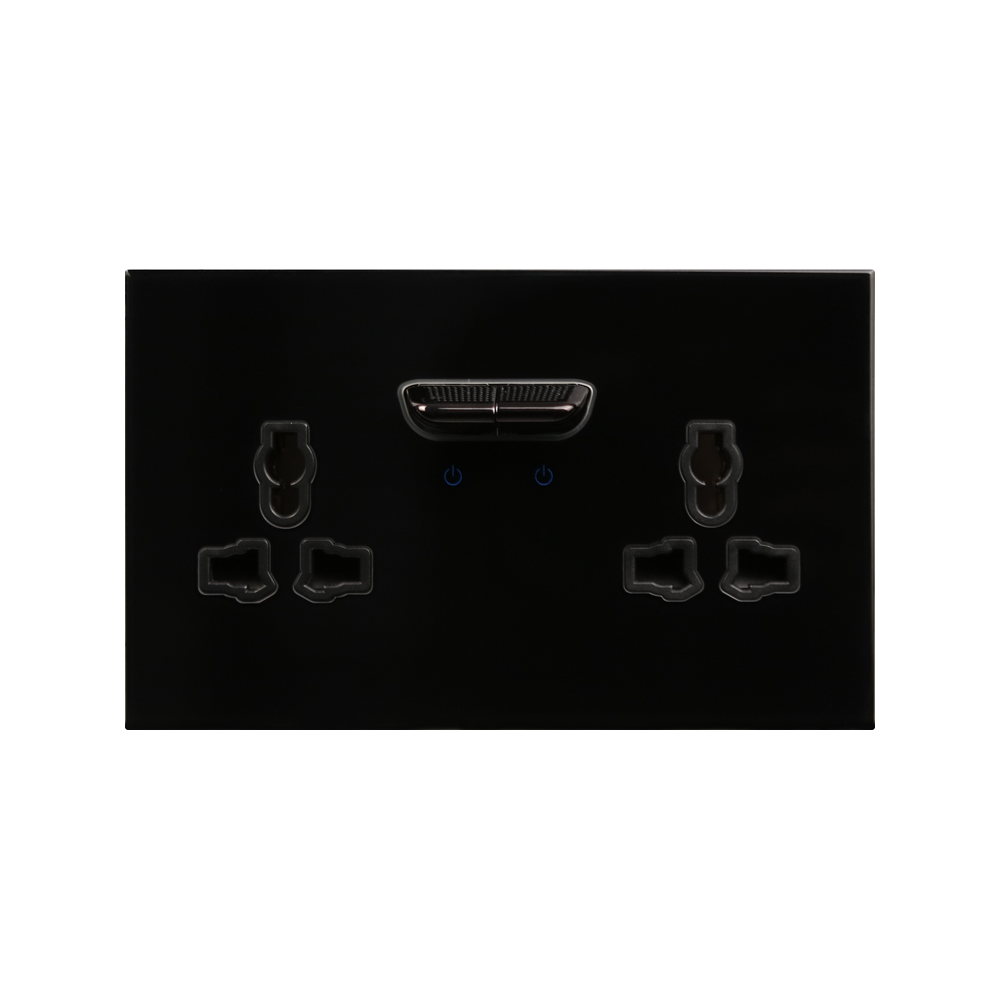
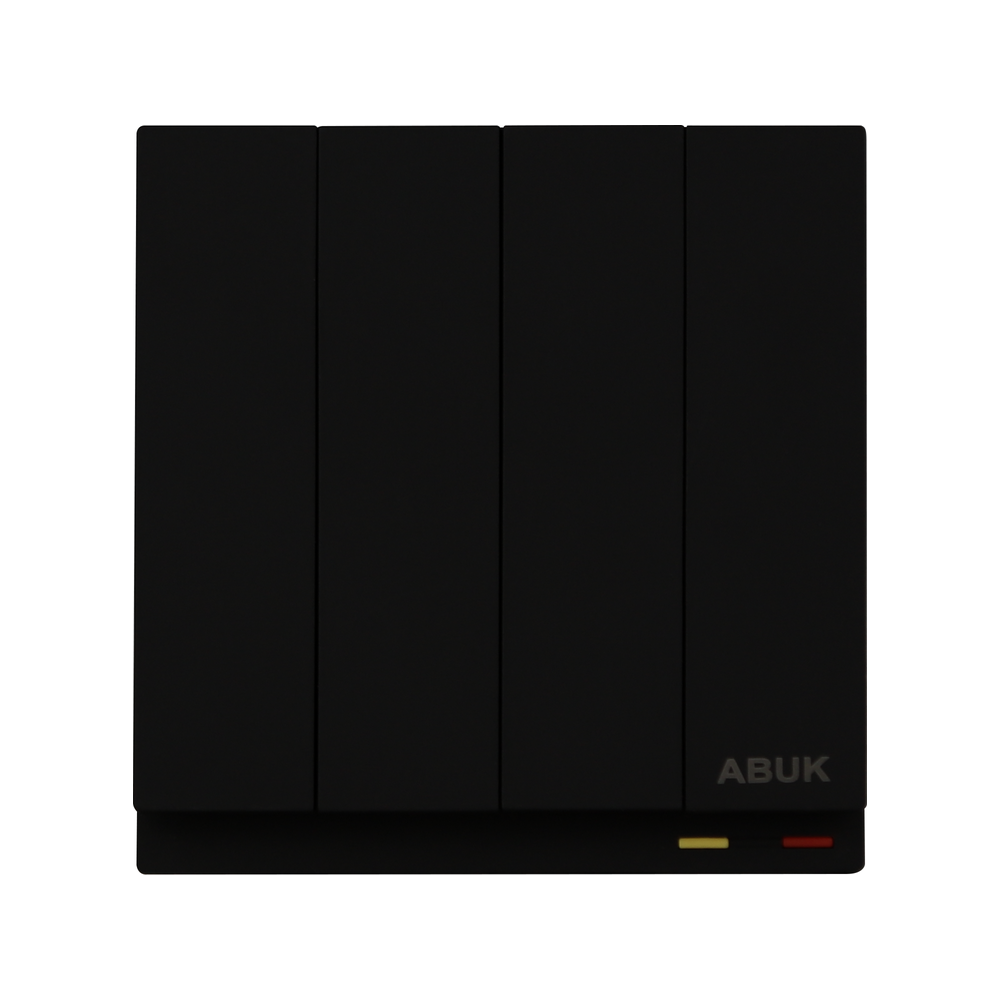
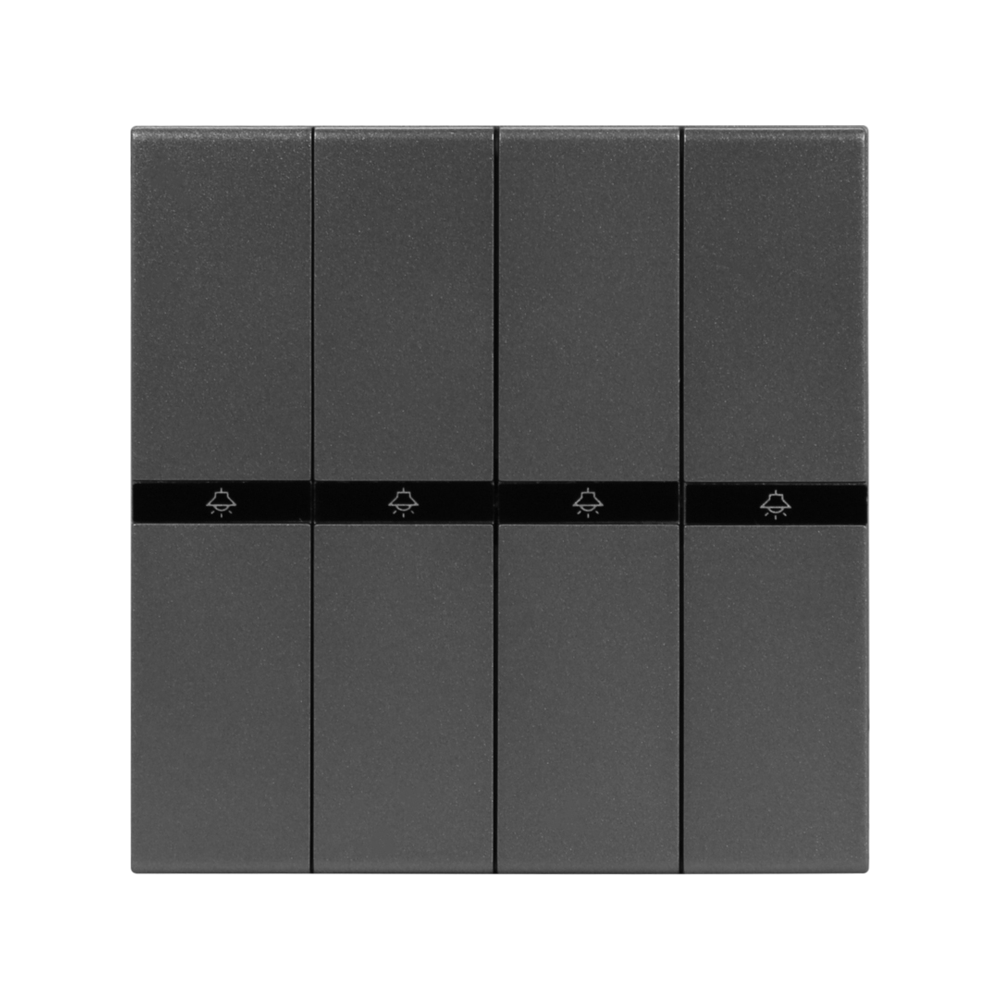
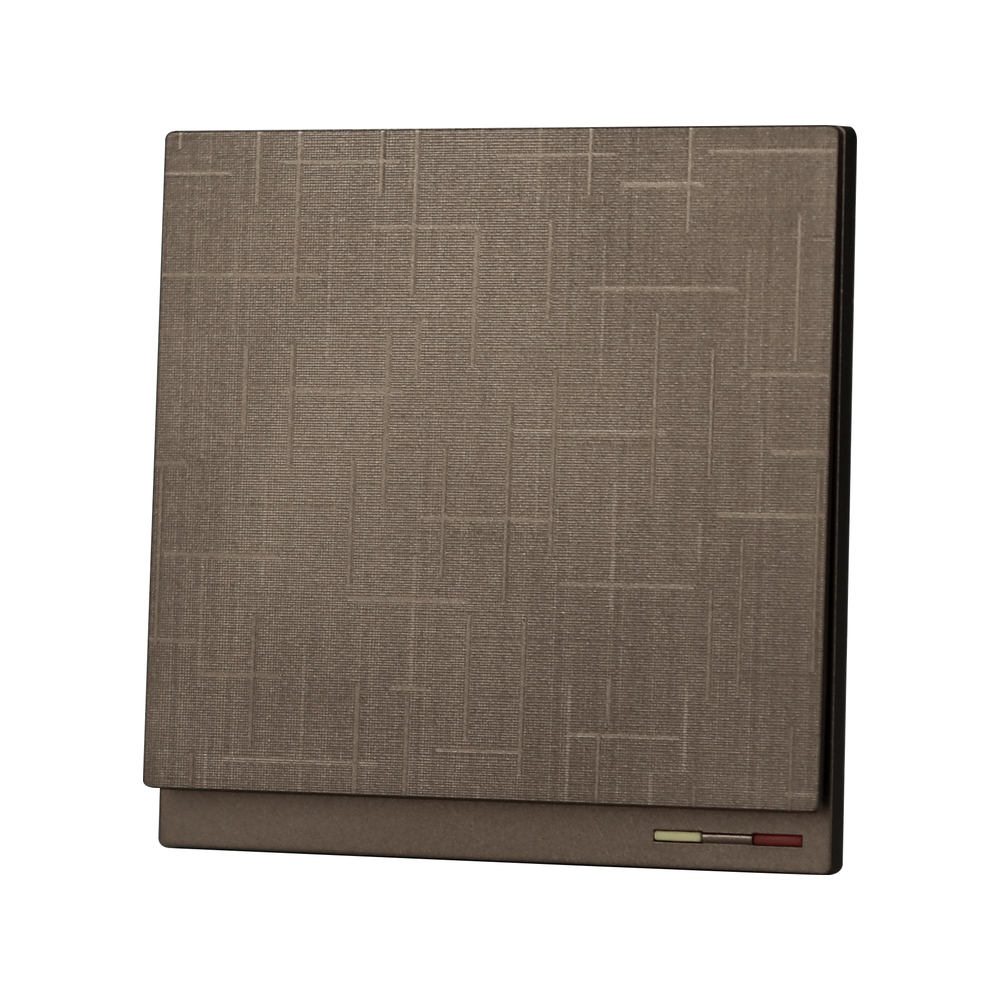
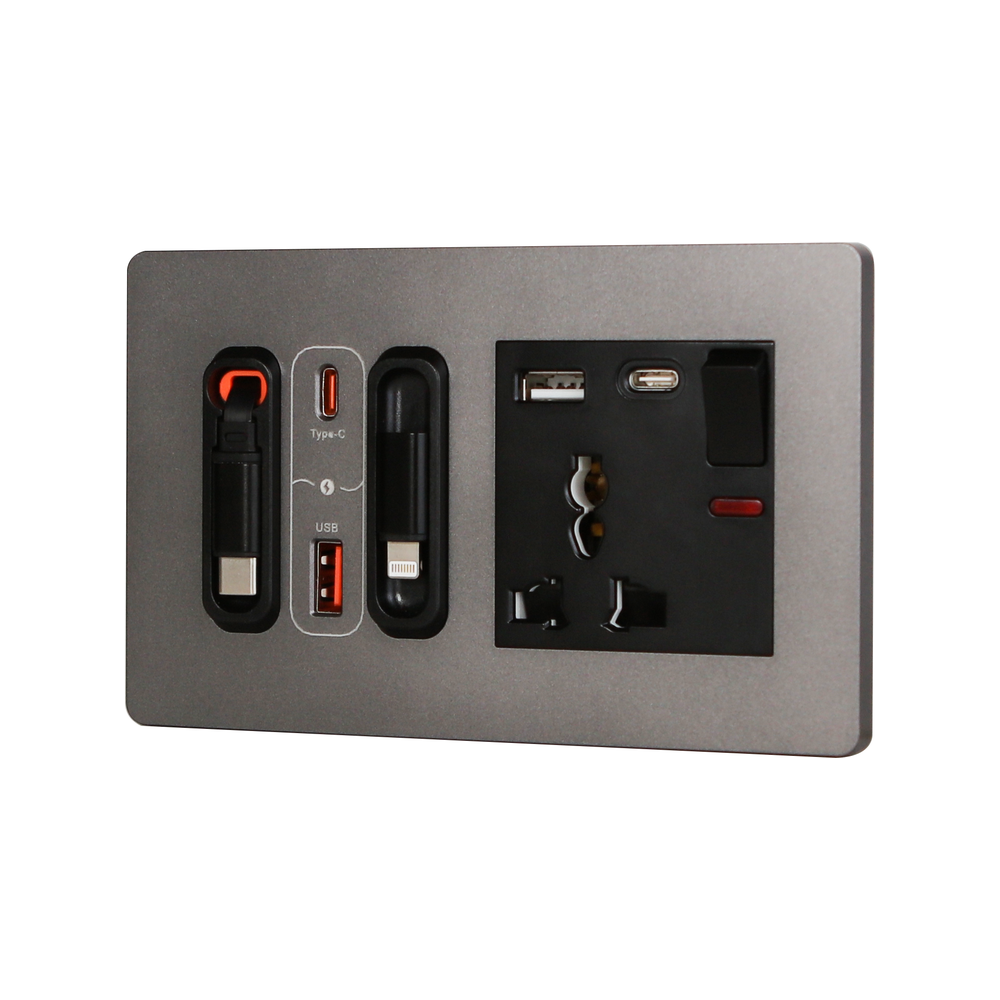
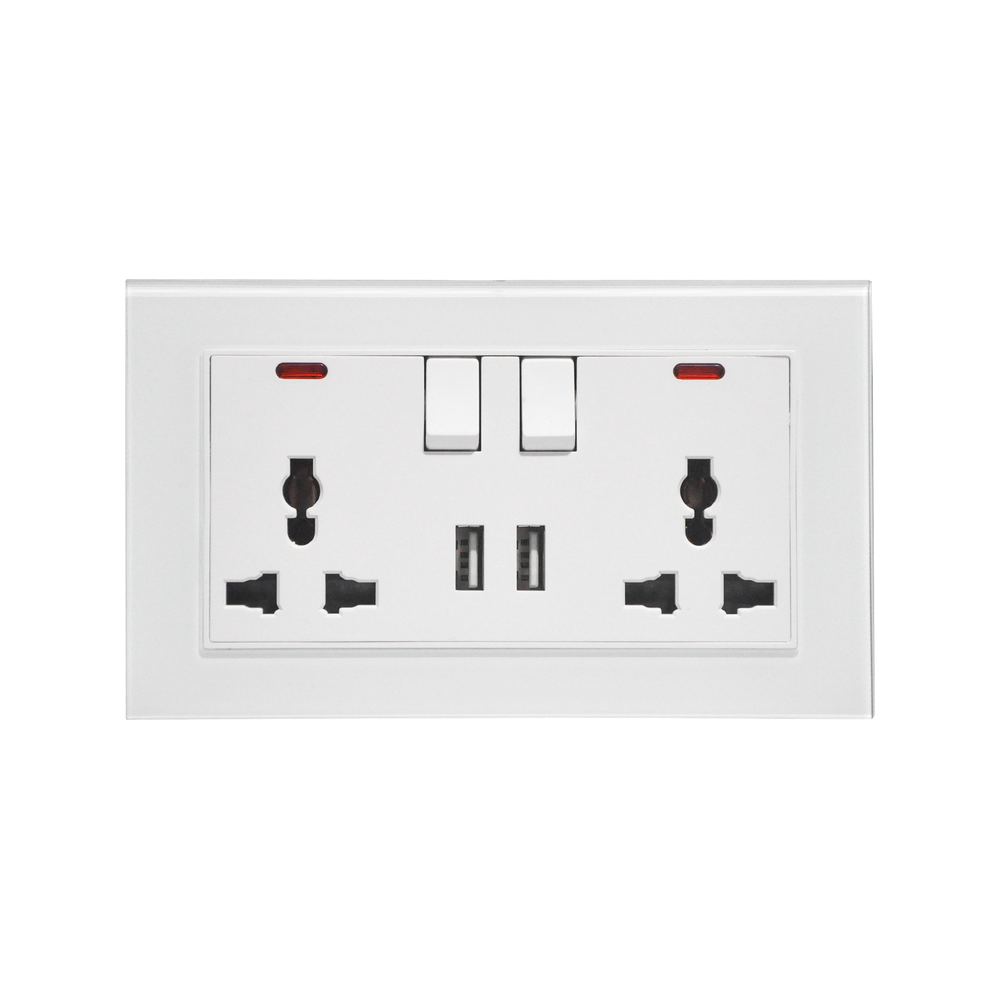
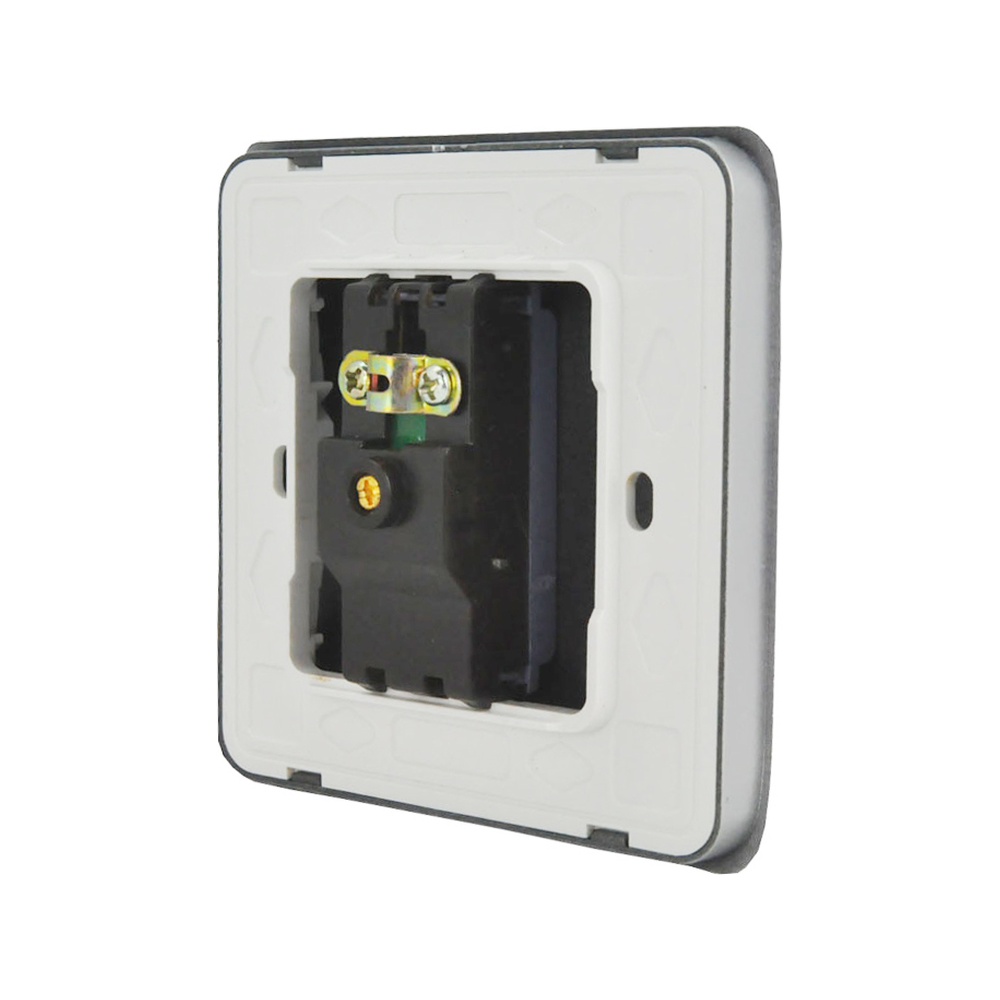
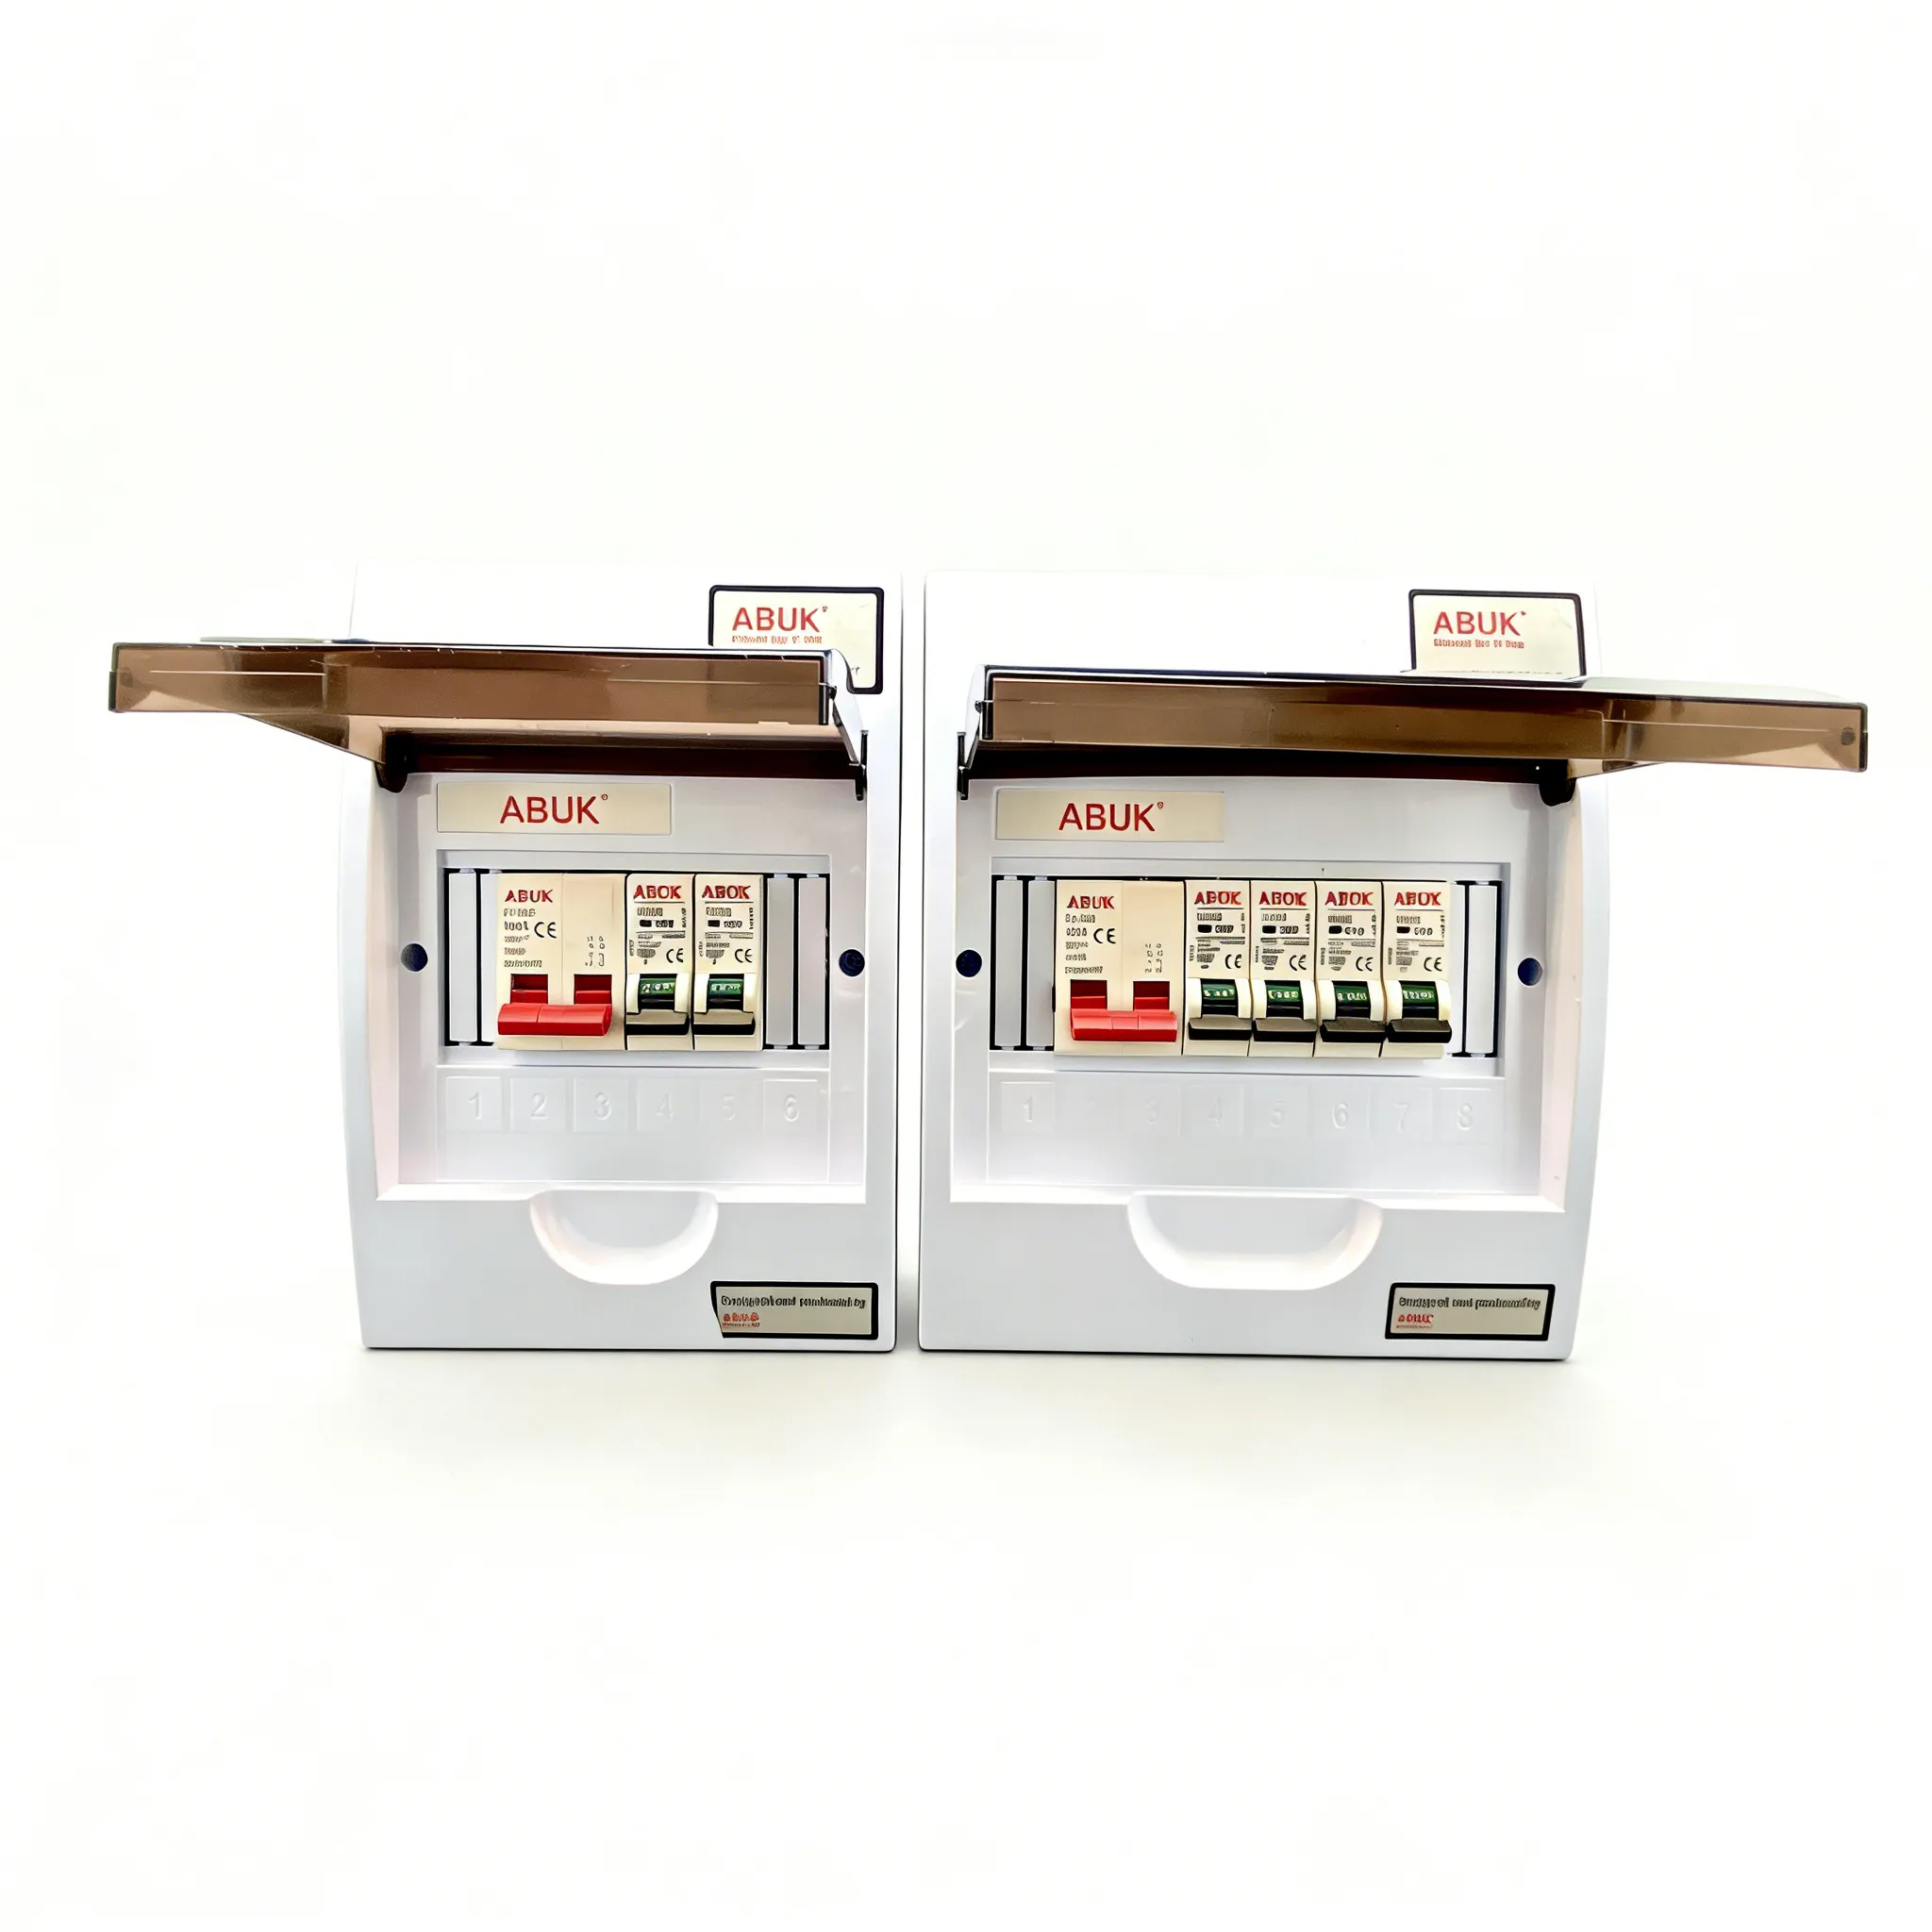

ارتفاع مفتاح الضوء: المعايير والمبادئ التوجيهية
يمكن لمدير الموقع تركيب مفاتيح كهربائية تعمل بكفاءة تامة، ومع ذلك يفشل في إتمام عملية التسليم بسبب تعارض نقطة التركيب مع اتجاه فتح الأبواب أو ترتيب الأثاث أو متطلبات الوصول الشامل أو أحد اللوائح الكهربائية المحلية. وغالبًا ما يُلقى اللوم على المفتاح نفسه، لكن السبب الجذري عادةً ما يكون ناتجًا عن ضعف التنسيق: فقد تم التعامل مع رسم مقتبس من مشروع آخر على أنه معيار عالمي. يوضح هذا الدليل كيفية الإعداد... ارتفاع مفتاح الإضاءة بالنسبة لأعمال البناء الجديدة وأعمال التحديث، كيفية الفصل بين ممارسة سكنية شائعة وبين متطلب قابل للإنفاذ، وما هي الفحوصات التي ينبغي توثيقها قبل الشراء والتنفيذ الأولي.
الجواب السريع: لا يوجد عالمي واحد ارتفاع مفتاح الإضاءة ينطبق ذلك على كل منزل أو بلد أو نوع من المباني. فعلى سبيل المثال، تحدد معايير قانون الأمريكيين ذوي الإعاقة لعام 2010 نطاق وصول الجزء القابل للتشغيل بحيث يتراوح بين 15 و48 بوصة (380 إلى 1,220 ملم) ضمن ظروف محددة؛ وهذا يُعدّ متطلبًا يتعلق بمساحة الوصول، وليس خطًّا محوريًا عالميًا للمفاتيح. تستخدم العديد من المشاريع السكنية نقطة ارتكاز متسقة، إلا أن البُعد النهائي يجب التحقق منه بالمقارنة مع كود البناء المعتمد، ومعيار إمكانية الوصول، والمناطق الكهربائية في الحمامات، واحتياجات المستخدمين، وتخطيط الأبواب والأثاث. يجب تسجيل مستوى الأرضية النهائية، والخط المحوري للجهاز، وحجم اللوحة، والاستثناءات قبل تقديم الطلب.
عندما يؤدي الترميم إلى تغيير الجهاز أيضًا، قم بإقران الجهاز المحدد. ارتفاع التركيب مع عملية آمنة لاستبدال مفتاح الإضاءة لذلك، يُخطط للوصول والعزل معًا.
هل يوجد ارتفاع محدد قانونًا لمفتاح الإضاءة؟
غالبًا ما تُظهر نتائج البحث نتيجة واحدة فقط…“ارتفاع مفتاح الضوء القياسي.” في الواقع، يتم الخلط بين ثلاث أفكار مختلفة:
- عرف السوق: بُعد يشيع استخدامه بين مصممي المساكن والكهربائيين لأنه يوفّر إحساسًا بالراحة ويُنتج خطًّا بصريًا متناسقًا.
- بيانات المشروع: خط مركزي مُنسَّق أو بُعد علوي للصندوق مُختار لمبنى معين، ولتركيب الجدار، وتفصيل القاعدة، ولمجموعة المستخدمين.
- متطلب قابل للتنفيذ: قاعدة واردة في لائحة السلطة المختصة (AHJ)، أو كود البناء المعتمد، أو لائحة إمكانية الوصول، أو معيار التركيبات الكهربائية.
قد تتداخل هذه الفئات، لكنها ليست مترادفة. تُطبَّق أحكام نطاق الوصول بموجب قانون الأمريكيين ذوي الإعاقة (ADA) على المرافق الخاضعة للقانون في الولايات المتحدة؛ أما المشاريع في المملكة المتحدة فقد تخضع بدلاً من ذلك للتقييم وفقًا لقوانين البناء والوثيقة المعتمدة M. لا يمكن لكتالوج الموردين أو الرسم القديم أن يثبت الامتثال القانوني. تعامل مع أي رقم موجود عبر الإنترنت باعتباره نقطة انطلاق للتنسيق، ثم تحقق من الاختصاص القضائي، والاستخدام، ونوع السكن، ومسار الموافقة.
كيف ينبغي قياس ارتفاع المفتاح من مستوى الأرضية النهائية؟
ابدأ بالسطح النهائي للفرش، وليس بالبلاطة الإنشائية. حدد ما إذا كان البعد محسوبًا إلى مركز الجهاز، أو إلى أعلى اللوحة، أو إلى مركز صندوق التركيب. إن الرسم الذي يذكر فقط “المفتاح عند 1,200 مم” قد يُفسَّر بطرق مختلفة بعد تركيب الفرش أو البلاط أو الألواح الجدارية أو لوحة سميكة.
اختبر الجدار في المنظور العرضي. يجب أن يظل المفتاح في متناول اليد عندما تكون الباب مفتوحًا، دون أن يقع خلف لوح الباب، أو يتداخل مع علبة الباب المنزلق، أو يختفي خلف خزانة أو جهاز كهربائي. اترك مساحة حائط واضحة لسهولة الوصول باليد حول الإطار، والحواف، وقضبان التمسك، وحواجز الرذاذ. إن البعد الصحيح هو علاقة بين وحدة التحكم وفتحة الباب والمستخدم، وليس مجرد رقم مكتوب على الواجهة.
بالنسبة للأعمال المراعية لمعايير الإتاحة، استخدم الأحكام المتعلقة بنطاق الوصول المناسبة كإطار تصميمي، وتحقق من اتجاه الوصول، والمساحة الأرضية الخالية، والقوة المطلوبة، ونوع الأجهزة. توضح الهيئة الأمريكية للإتاحة أن نطاق الـ 15–48 بوصة الوارد في القسم 308 من قانون الأمريكيين ذوي الإعاقة (ADA) يتغير عند وجود عائق يعيق الوصول؛ لذلك لا تقم بنقله إلى ولاية قضائية أخرى دون التحقق من مدى اعتماده محليًا. يُعد موجز المشروع المعتمد والمعيار المحلي هما المرجعان الحاكمان.
أين ينبغي وضع مفتاح إضاءة الحمام؟
تتطلب الحمامات اتخاذ قرارين: ارتفاع موضع التبديل وموقع التوصيلات الكهربائية. إن رفع موضع المفتاح لا يجعله آمنًا تلقائيًا. تحدد المواصفة IEC 60364-7-701 مناطق محددة حول أحواض الاستحمام وأحواض الدش؛ بينما تُحدد قواعد التمديدات الكهربائية الوطنية المعدات المسموح بها، وطريقة التمديدات، ودرجة حماية الدخول، وترتيب التبديل. في كثير من الأحيان، يكون المفتاح خارج هذه المناطق، أو يُستخدم فيه سلك شدّ مسموح به أو جهاز تحكم عن بُعد، غير أن حدود هذه المناطق تعتمد على الإصدار المعتمد واللوائح المحلية.
قم بتنسيق المفتاح مع حاجب الدش، ومنطقة تطاير المياه حول الحوض، وخزانة المرآة، وحامل المناشف، واتجاه الباب. قد يظل استخدام اللوحة خارج المنطقة مزعجًا عند وجود اليدين مبللتين أو تكاثف الرطوبة أو عند فتح باب الخزانة. تأكد من البيئة المقصودة ودرجة الحماية IP بالتشاور مع المصمم الكهربائي؛ ولا تستنبط درجة الحماية من المظهر الخارجي فقط.
في حالة إعادة التصميم، قم بفحص مسار الكابلات وأجهزة الحماية قبل نقل المُلحق. قد تتطلب الموقع الجديد إجراء اختبارات، أو توفير حماية إضافية، أو اعتماد طريقة تبديل أخرى. سجّل تقييم المنطقة، وتدابير الحماية، والجهة المعتمدة.
أي نهج للتركيب يناسب مبنىً جديدًا، أو غرفةً يمكن الوصول إليها، أو عملية ترميم؟
| نهج التخطيط | الهدف الأساسي | ما الذي يجب التحقق منه | المخاطر المعتادة في حال النسخ دون تفكير |
|---|---|---|---|
| المرجع السكني التقليدي | الاتساق البصري والوصول اليومي المألوف | الرمز المحلي، منسوب الأرضية النهائية، التشطيبات، اتجاه فتح الباب، الأثاث | عادة تداولية شائعة يُخلط بينها وبين متطلب في الكود. |
| تخطيط يراعي إمكانية الوصول | إمكانية الوصول والتشغيل المستقل للمستخدمين المحددين | نطاقات الوصول المطبقة، مساحة الأرضية الفارغة، العوائق، القوة، نوع التحكم | يُطبَّق نطاق رقمي دون شروطه أو اختصاصه. |
| تعديل التحديث العكسي | تحسين الوصول مع الحد من الهدم وإعادة التمديدات الكهربائية | الصناديق الحالية، طول الكابل، تشطيب الجدار، الحماية، التوصيلات، موجز المستخدم | تستقر اللوحة الجديدة عند نقطة مرجعية مختلفة أو تترك مسارًا غير آمن للكابل. |
| التنسيق التجاري أو متعدد الوحدات | التركيب والفحص والصيانة القابلة للتكرار | أوراق بيانات الغرف، التفاصيل المعتمدة، مراجعة السلطة، وضع العلامات، قطع الغيار | تنمو الانحرافات الصغيرة عبر الطوابق وتتحول إلى تكاليف باهظة عند التسليم. |
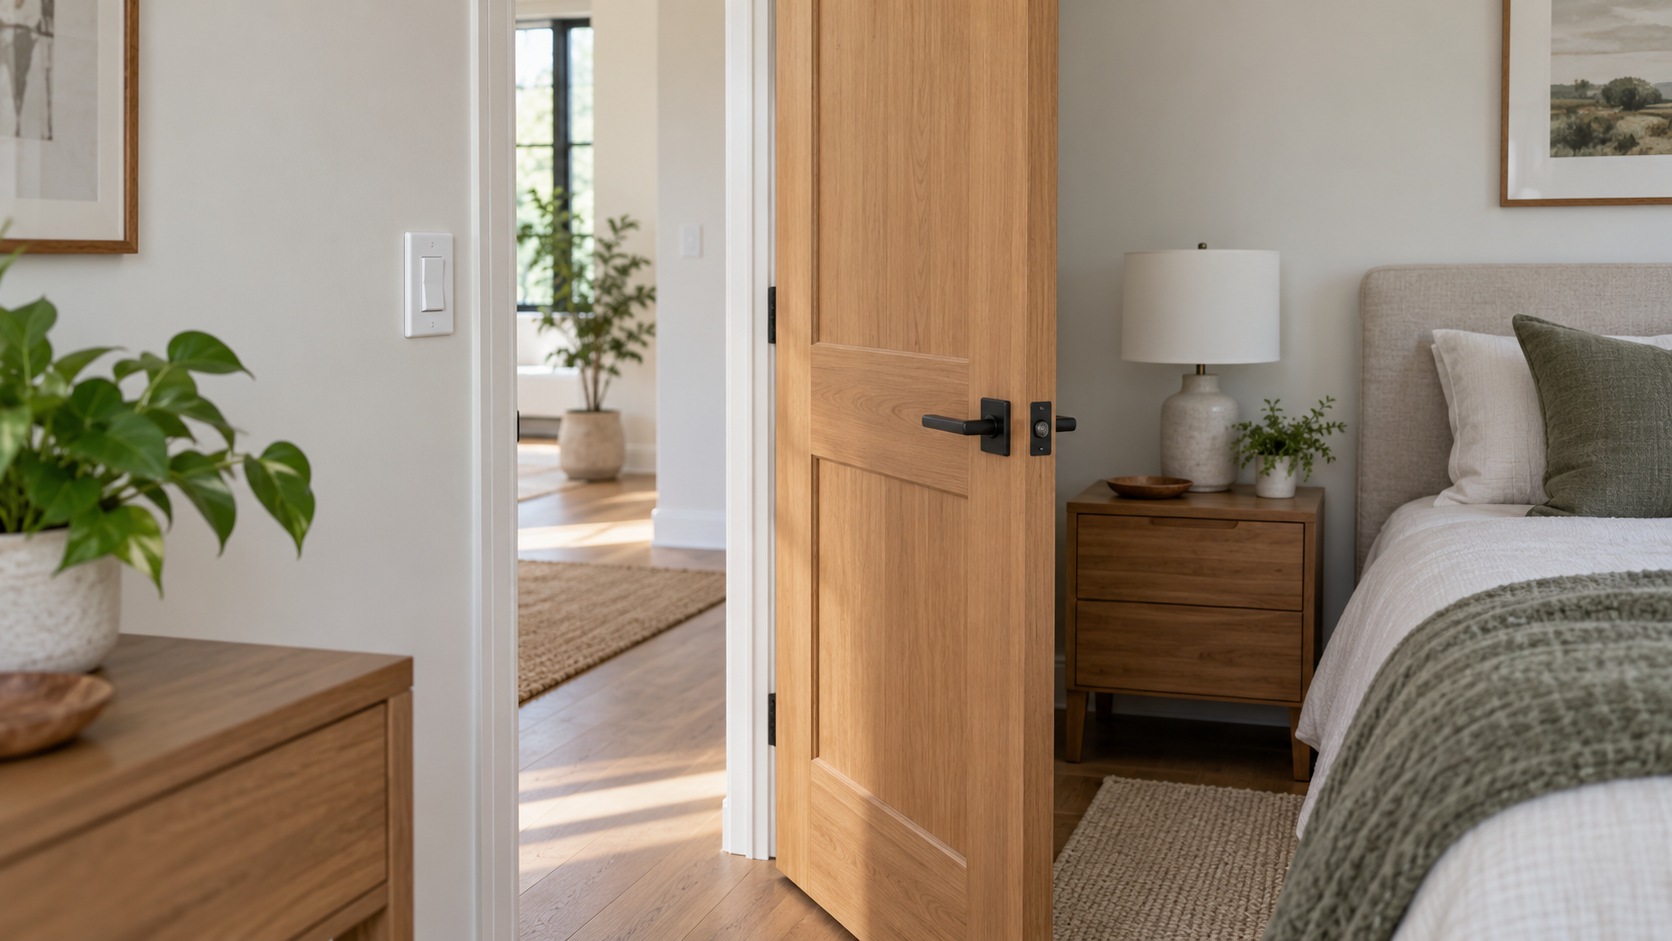
استخدم المصفوفة أدناه كموجه للتنسيق، وليس كبديل عن الكود المعتمد. يُعَد عمود “التحقق أولاً” أكثر أهمية من أي اتفاقية أخرى.
| الغرفة أو التطبيق | أولوية تخطيطية مفيدة | تحقق أولاً | ملاحظة توثيقية |
|---|---|---|---|
| بهو المدخل والمسارات | تحكم يمكن العثور عليه بسهولة بالقرب من جانب المزلاج دون تداخل مع لوح الباب. | اتجاه فتح الباب، الإطار، العرض الصافي للممر، استراتيجية الطوارئ | أظهر المفتاح والباب المفتوح في المخطط. |
| غرفة النوم | Reach from the entry and, where specified, from the bed | Bedside furniture, wardrobes, two-way switching, user brief | Identify which control operates which circuit |
| المطبخ | Keep controls clear of worktop splash and tall units | Appliance layout, backsplash, wet areas, cleaning access | Coordinate with the final kitchen supplier drawing |
| حمام | Safe switching outside restricted zones where required | Bath/shower zones, IP requirements, protective devices, ventilation | Attach the zone assessment and approved product data |
| Accessible dwelling or facility | Meet the project’s defined reach and clear-space requirements | Applicable law, obstruction limits, force, control visibility | Record the user group and compliance reviewer |
| Commercial corridor or hotel room | Repeatability, maintenance access, and intuitive operation | Interior standards, cleaning regime, signage, room data sheets | Use one approved detail with controlled exceptions |
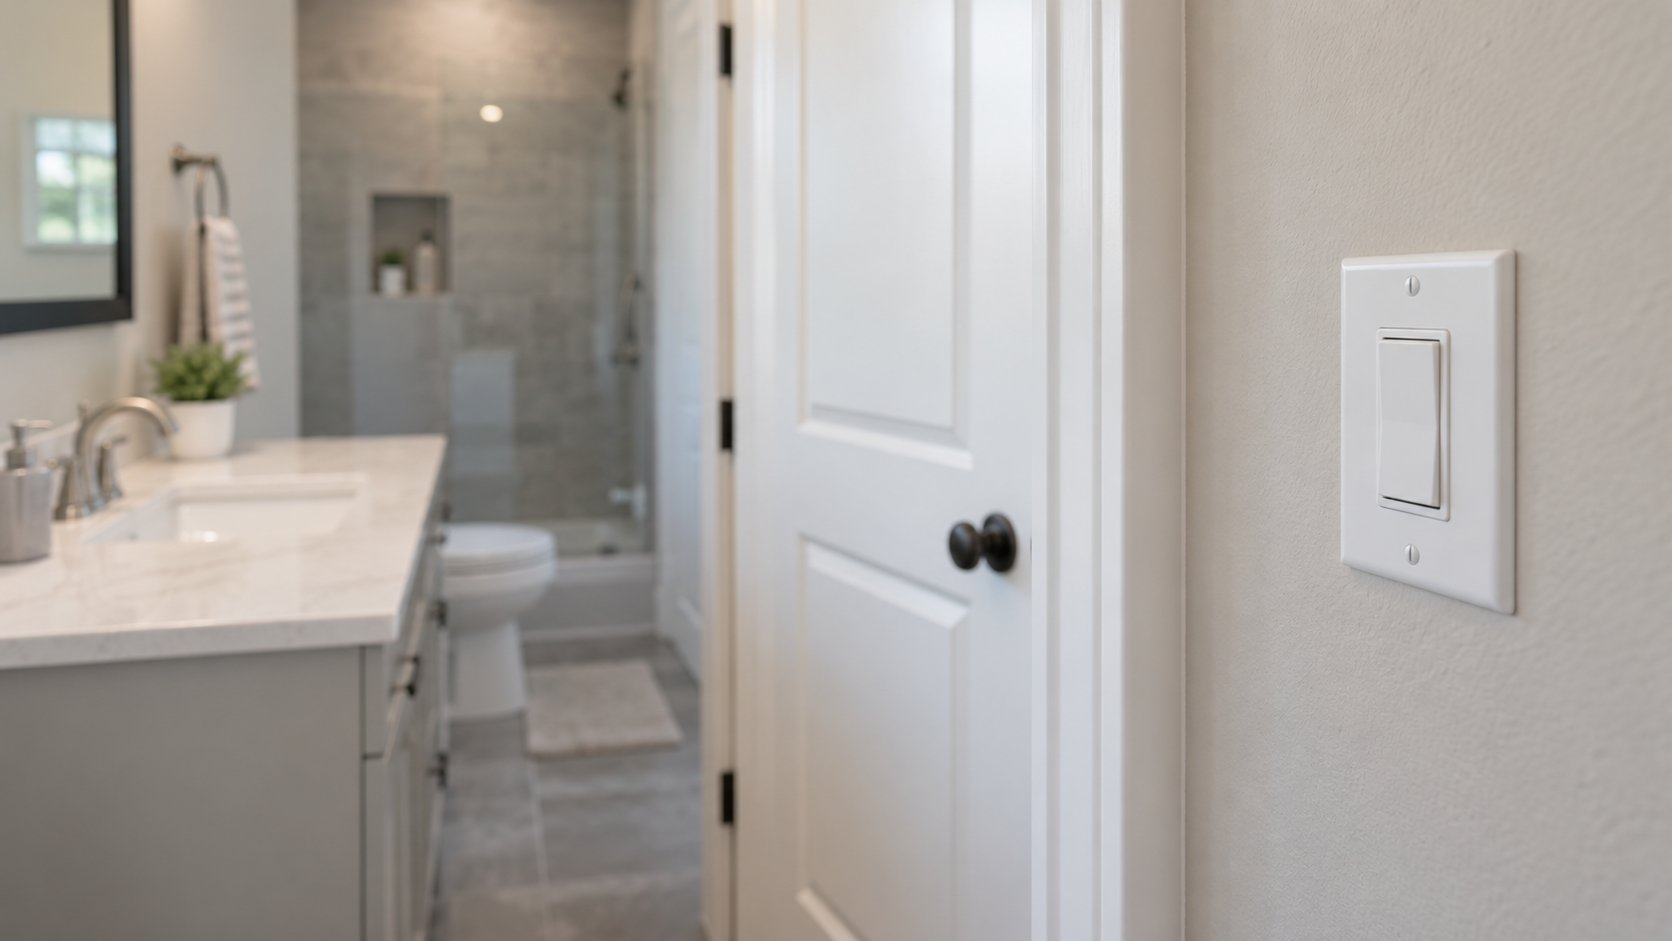
How do obstructions change the ADA reach limit?
The unobstructed upper reach limit should not be copied onto every wall elevation. The U.S. Access Board’s operable-parts guide explains that a forward reach over an obstruction deeper than 20 inches reduces the maximum high reach from 48 to 44 inches, with the required knee and toe space. For a side reach, an obstruction deeper than 10 inches, up to the specified 24-inch maximum reach depth, reduces the upper reach to 46 inches; other obstruction conditions also apply. These dimensions describe covered ADA situations, not worldwide mounting rules.
Measure to the part the user must operate. A rocker or dimmer control can extend above the mounting-box centerline, so a box within a limit does not automatically put every operable part within it. The actual faceplate and control drawing should be checked before the centerline is approved. This is especially relevant beside counters, fitted furniture and other obstructions.
What happens if the floor finish changes after the boxes are installed?
Consider an illustrative coordination example: a box is set 1,200 mm above a structural slab, then a 30 mm floor buildup is added. Its centerline is now 1,170 mm above the finished floor. That calculation does not establish compliance; it shows why the drawing must state its datum and why flooring changes need to be passed to the electrical installer.
The reverse issue can occur when a thicker finish is removed during a retrofit. Record the final flooring and plate geometry before accepting as-built dimensions. A useful inspection record identifies the room, drawing revision, finished-floor reference, measured operable-part position and any approved exception. For related device positioning, compare the standard light switch height and outlet-height planning guidance while keeping each device’s applicable requirements separate.
How can a sample installation prevent height errors across a project?
Choose one reference convention and state it in the electrical legend. Define the finished-floor-to-centerline dimension while separately listing outlets, thermostats, data points, and accessibility exceptions. This prevents drift when trades read “height” differently.
Run a pre-close-up sample check in one representative room: box position, plate orientation, screw access, door clearance, skirting intersection, and floor buildup. Measure a sample on each floor or room type. Record drawing revision, room, centerline, tolerance, installer, date, and disposition for deviations. Consistency helps, but a kitchen unit, grab bar, or accessible route may require an exception.
What should the switch schedule contain before installation?
- Define the control type: toggle, rocker, push, dimmer, sensor, pull-cord, or remote control. The user’s hand motion and required operating force can change the best location.
- State the mounting datum, tolerance, plate dimensions, and finished-wall assumption on the schedule.
- List room-specific exclusions and accessibility exceptions instead of hiding them in a general note.
- For wet rooms, attach the zone drawing, product data, environmental limits, and protective-device requirements.
- Require a sample installation and a signed as-built measurement before production installation.
أبوك مجموعة المقاومات والفتحات الجدارية can be evaluated after the project team has fixed the control type, plate format, and compliance requirements. The product catalogue is the appropriate place to confirm available configurations and request current technical documentation; it should not be used to replace the project’s code review.
What else should be checked before choosing a switch height?
Is there one standard height for a light switch?
There is no single standard height that is legal worldwide. Residential projects often adopt a consistent centerline for comfort and appearance, while enforceable requirements come from the local building code, accessibility rules, and electrical regulations. Confirm the finished-floor datum, room layout, and authority requirements before setting the schedule.
Can a bathroom switch be made safe simply by mounting it higher?
Set the height only after the bath or shower electrical zones and the user reach requirement have been reviewed. In many jurisdictions the switch is kept outside restricted zones, but the exact boundary, permitted equipment, and protective measures vary. Have the electrical designer document the zone assessment and verify the selected product’s environmental suitability.
Do ADA requirements set one switch centerline for every accessible home?
No. The applicable accessibility provisions describe the operable part and its approach conditions, not one mounting centerline for all controls. ADA Section 308 includes a conditional 15–48 inch unobstructed reach range; obstructions can reduce the upper limit. Confirm project coverage and the actual control geometry, clear floor space and operating requirements.
Should every light switch in a building be at the same height?
Consistency is normally helpful, but it is secondary to safe access and functional clearance. A switch may need to shift around a door casing, cabinet, grab bar, splash zone, or accessible route. Keep the project datum consistent where conditions allow, and record every deliberate exception on the room schedule and as-built drawings.
Which sources should the design team verify?
- U.S. Access Board, Chapter 3: Operable Parts — explains the conditions behind ADA operable-part reach ranges; it is not a global mounting-height rule.
- U.S. Department of Justice, 2010 ADA Standards for Accessible Design — establishes the U.S. accessibility scope and definitions for covered facilities.
- UK Government, Approved Document M: Access to and use of buildings — provides guidance for the relevant English Building Regulations context; local project applicability must be confirmed.
- IEC 60364-7-701:2019, Locations containing a bath or shower — addresses electrical installation requirements for bath and shower locations; national adoption and amendments control the installation.
- IET, BS 7671 resources — identifies the UK wiring-regulation framework and related guidance; the adopted edition and project jurisdiction matter.
These references inform design but are not legal advice. The AHJ or licensed designer should confirm the applicable edition and amendments.
How should the final mounting height be approved?
The reliable way to determine ارتفاع مفتاح الإضاءة is to separate convenience from compliance. First identify the jurisdiction, occupancy, user group, and adopted accessibility and electrical rules. Next coordinate the control with the finished floor, door swing, furniture, fixtures, wet-room zones, and the selected switch type. Then document one project datum, test a representative installation, and record any exception rather than forcing every room to match. Do not treat a common residential number as legal advice, and do not approve a bathroom position without a documented zone review. ABUK can support the final selection with wall-switch configurations and product documentation after those design conditions are fixed. Review the قائمة منتجات ABUK, and use the the product enquiry facility when a project requires configuration or technical information.