
 Wenzhou Lita Electric Co., Ltd.
How to Remove a Wall Socket Cover
When a refurbishment supervisor in Manchester encountered a socket frame covered by an old paint line, he assumed it would pull off like the trim in a tutorial. In this hypothetical job, one corner cracked and the wired accessory began moving with it. The mistake was not insufficient force; two different cover constructions had been treated as the same mechanism.
Summary: Before removing a wall socket cover, identify whether it is a separate decorative trim, a screw-fixed plate or part of the wired accessory. Isolate the circuit and follow a proper proving-dead procedure before work that could expose electrical parts. HSE GS38 describes suitable voltage indicators, including equipment to BS EN 61243-3. Use the exact manufacturer’s removal instructions rather than a generic prying method.
“Cover” is an imprecise word in renovation work. On one product it means a cosmetic outer frame; on another it means the front assembly carrying the socket mechanism. That difference determines the tools, the risks and who should do the job.
Which part of the socket is actually being removed?
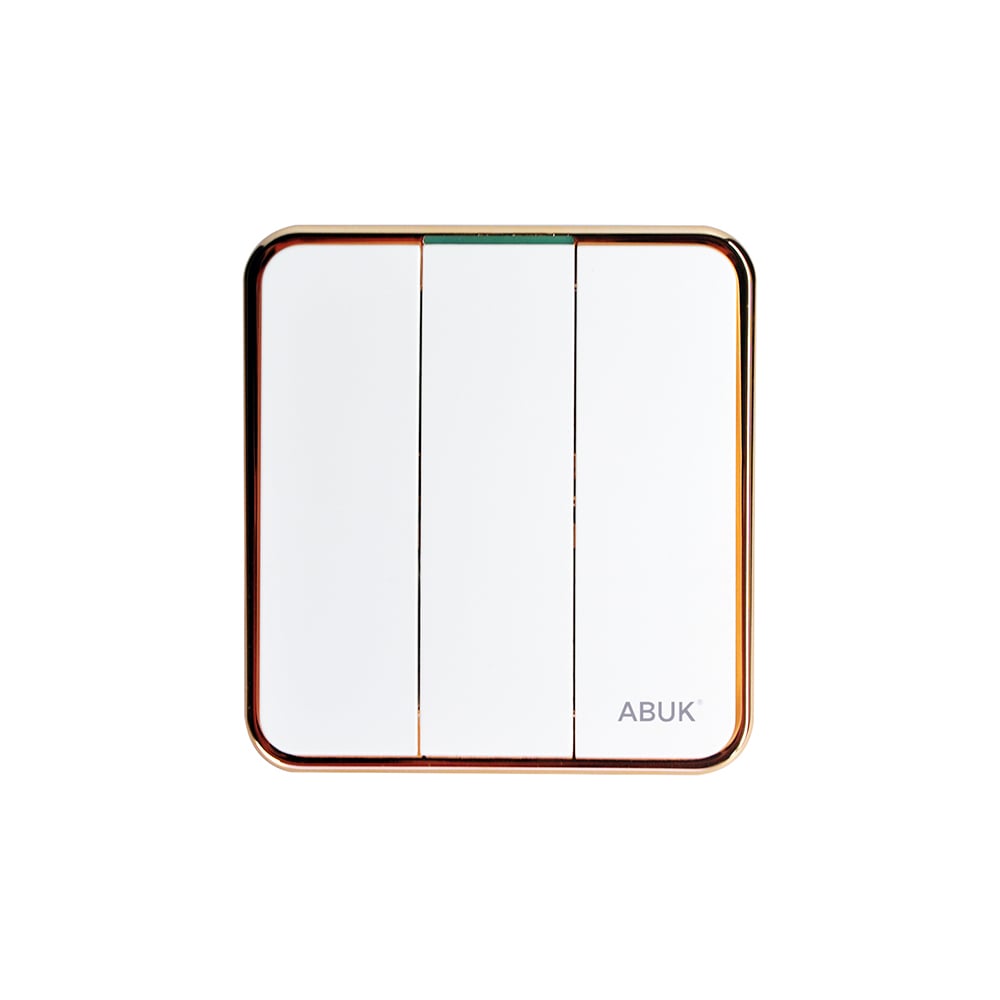
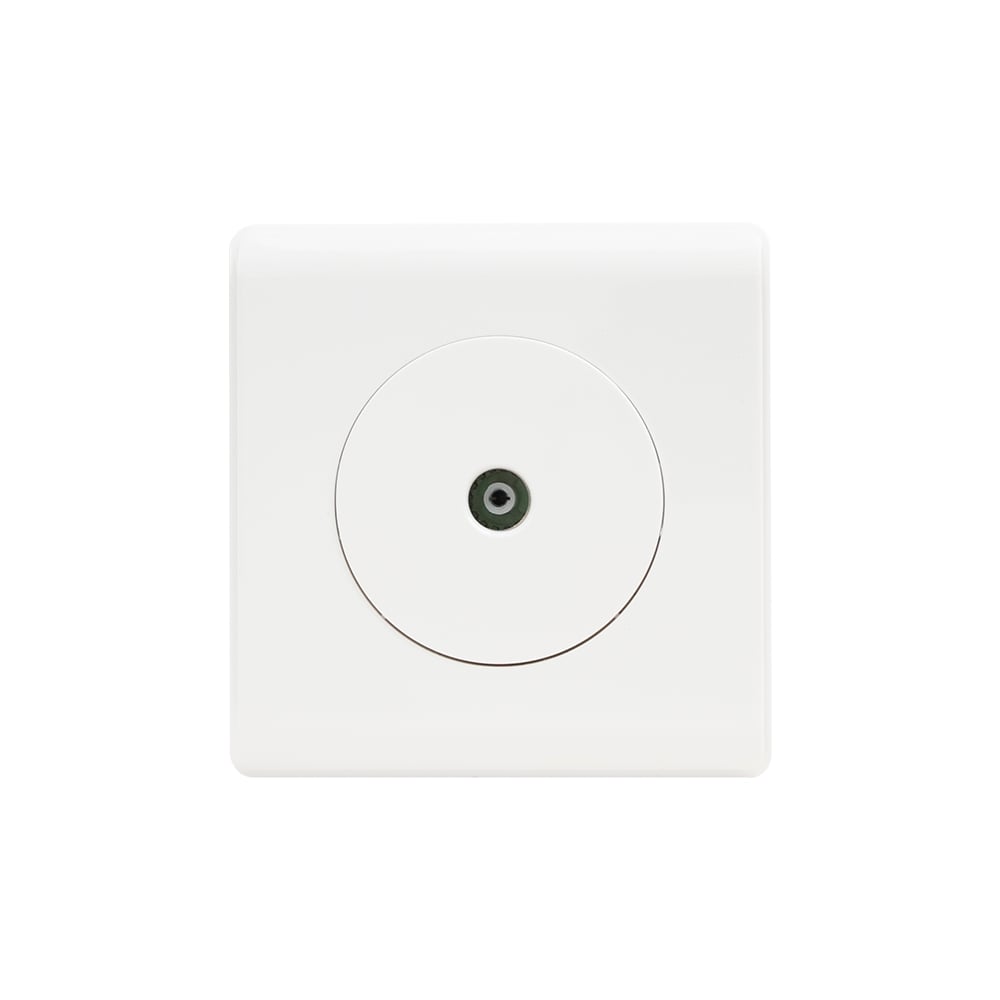
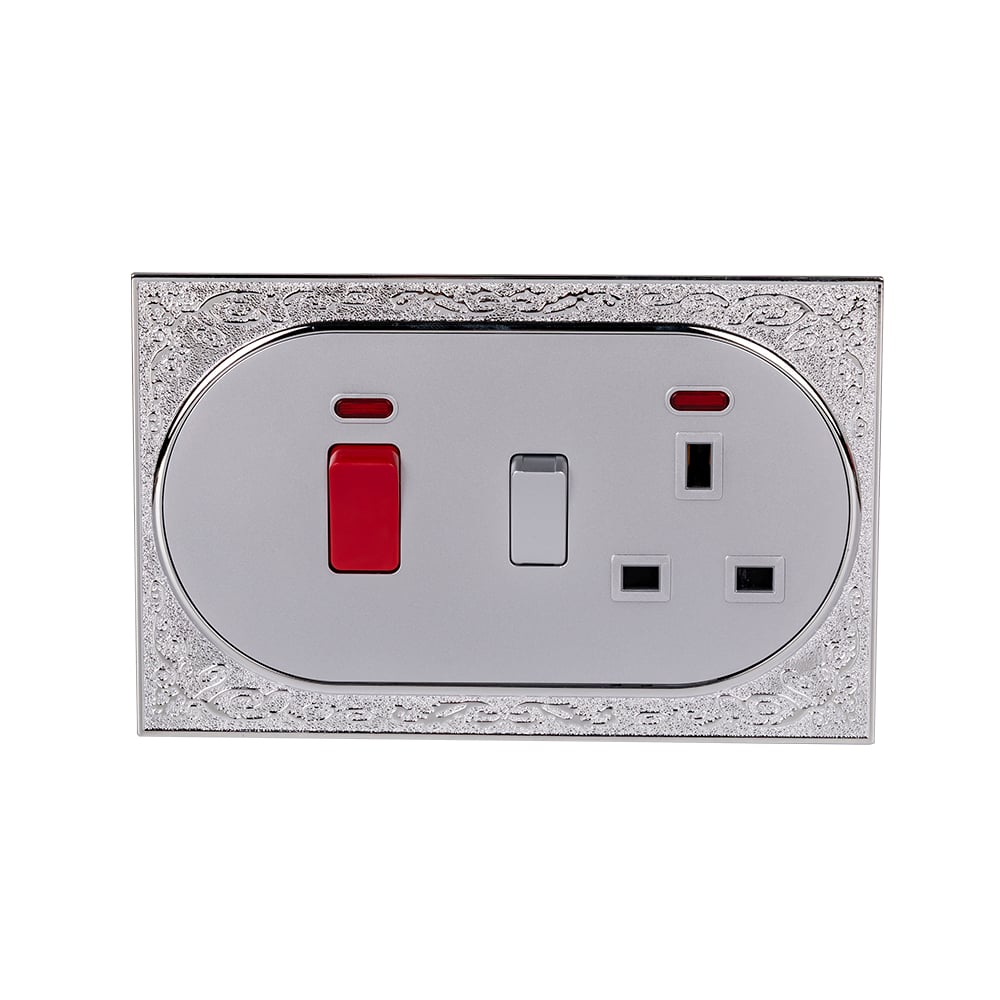
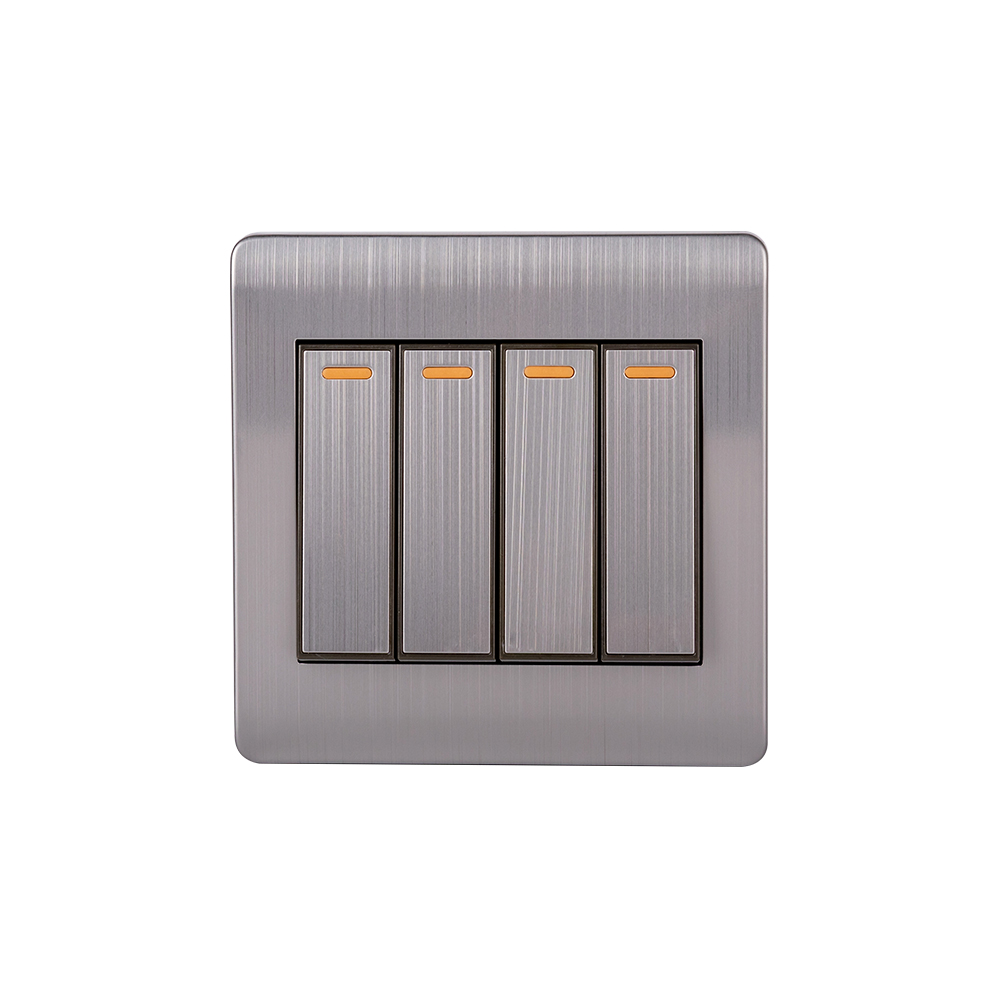
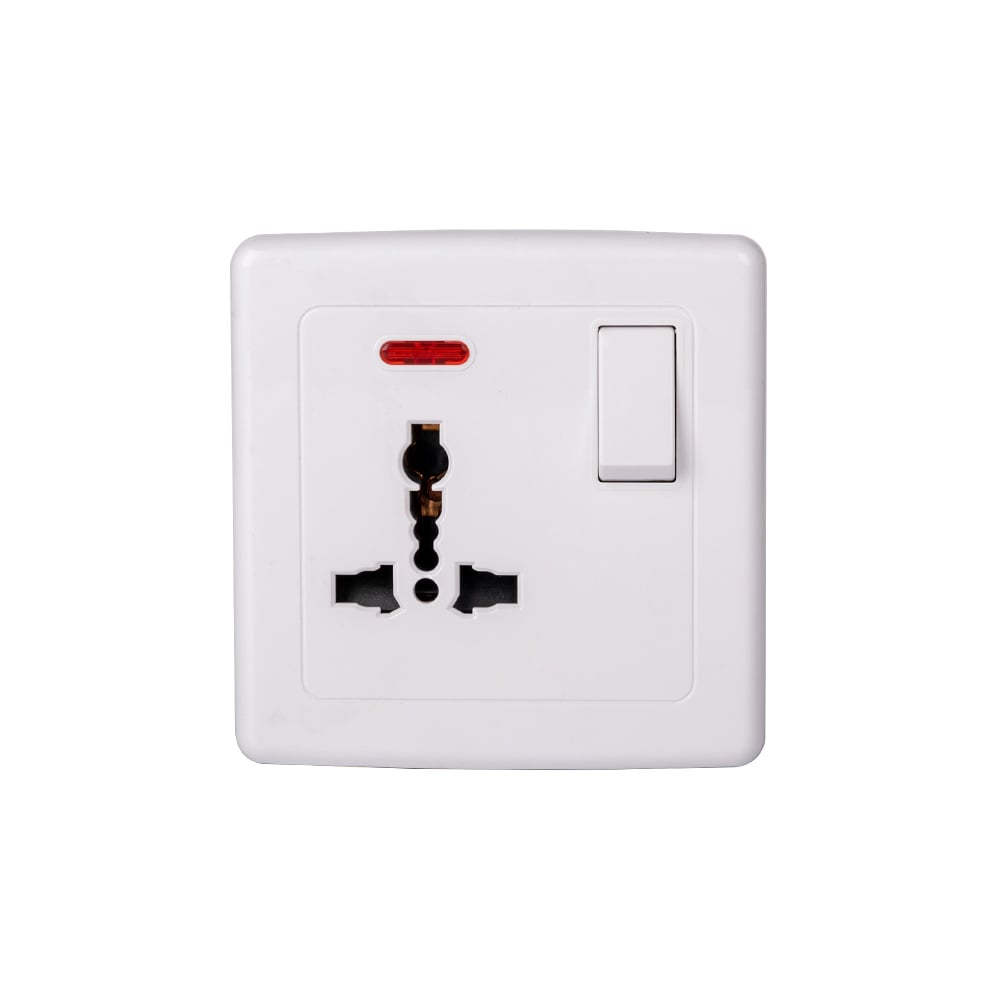
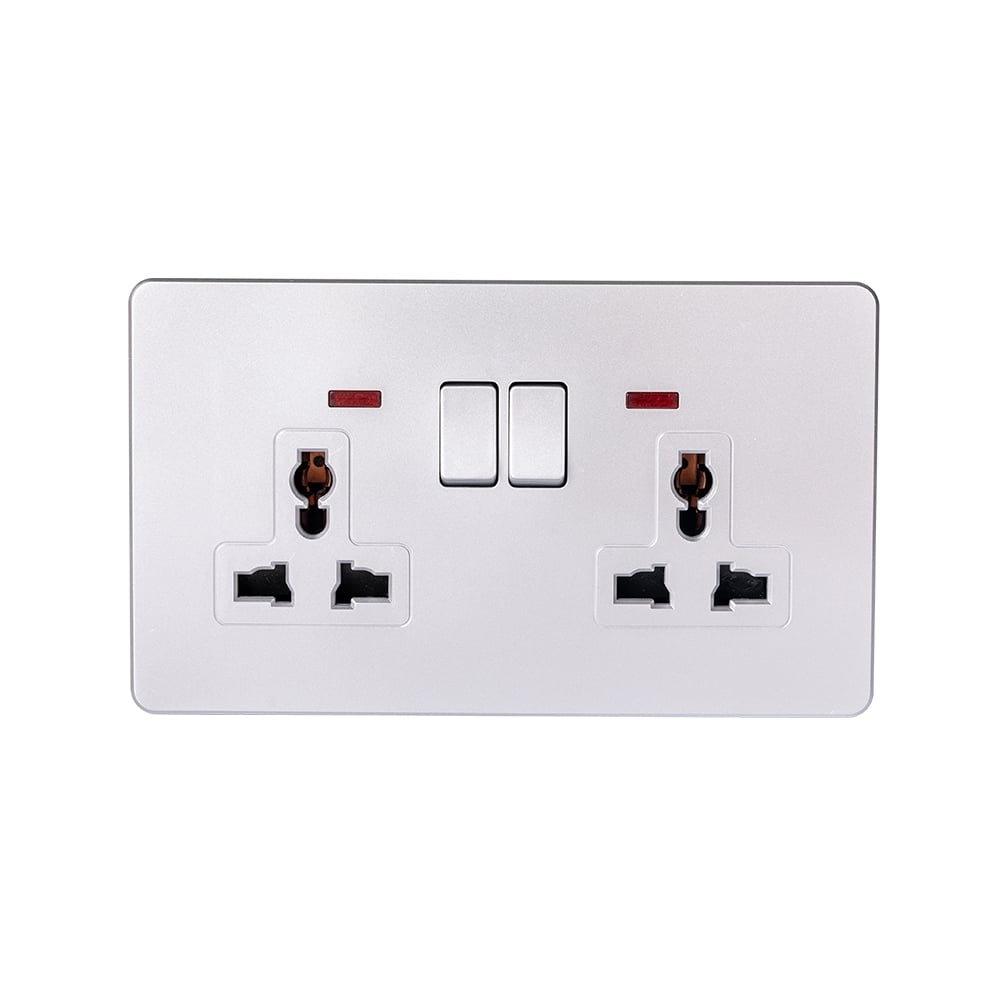
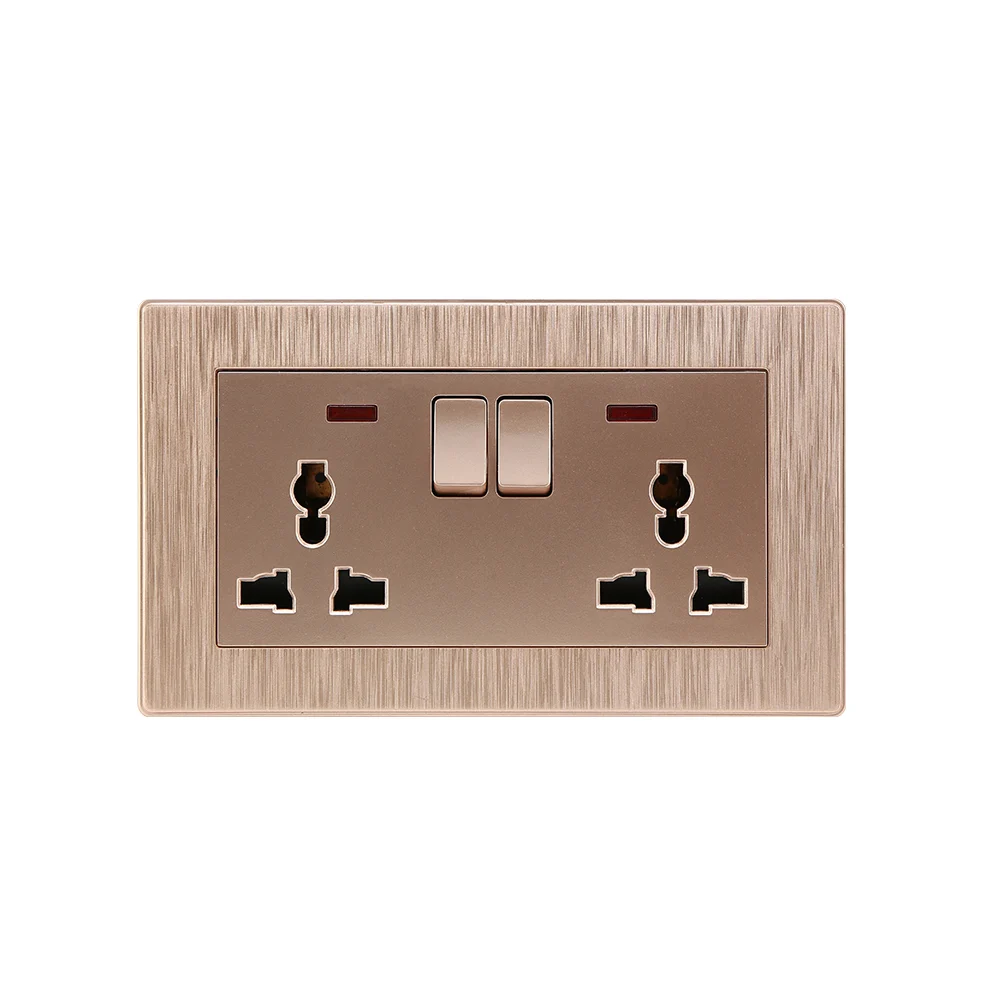
A wall socket can have an exposed screw-fixed faceplate, a clip-on decorative frame hiding the mounting screws, or an integrated front attached to the wired mechanism. A screwless appearance does not reveal where the clips are, which direction they release, or whether the front can be removed independently.
The manufacturer’s exact model instructions are the reliable starting point. IEC 60884-1 addresses general requirements for household and similar socket-outlets; it does not prescribe one universal decorative-cover removal technique. Even two accessories from the same supplier can use different retention arrangements.
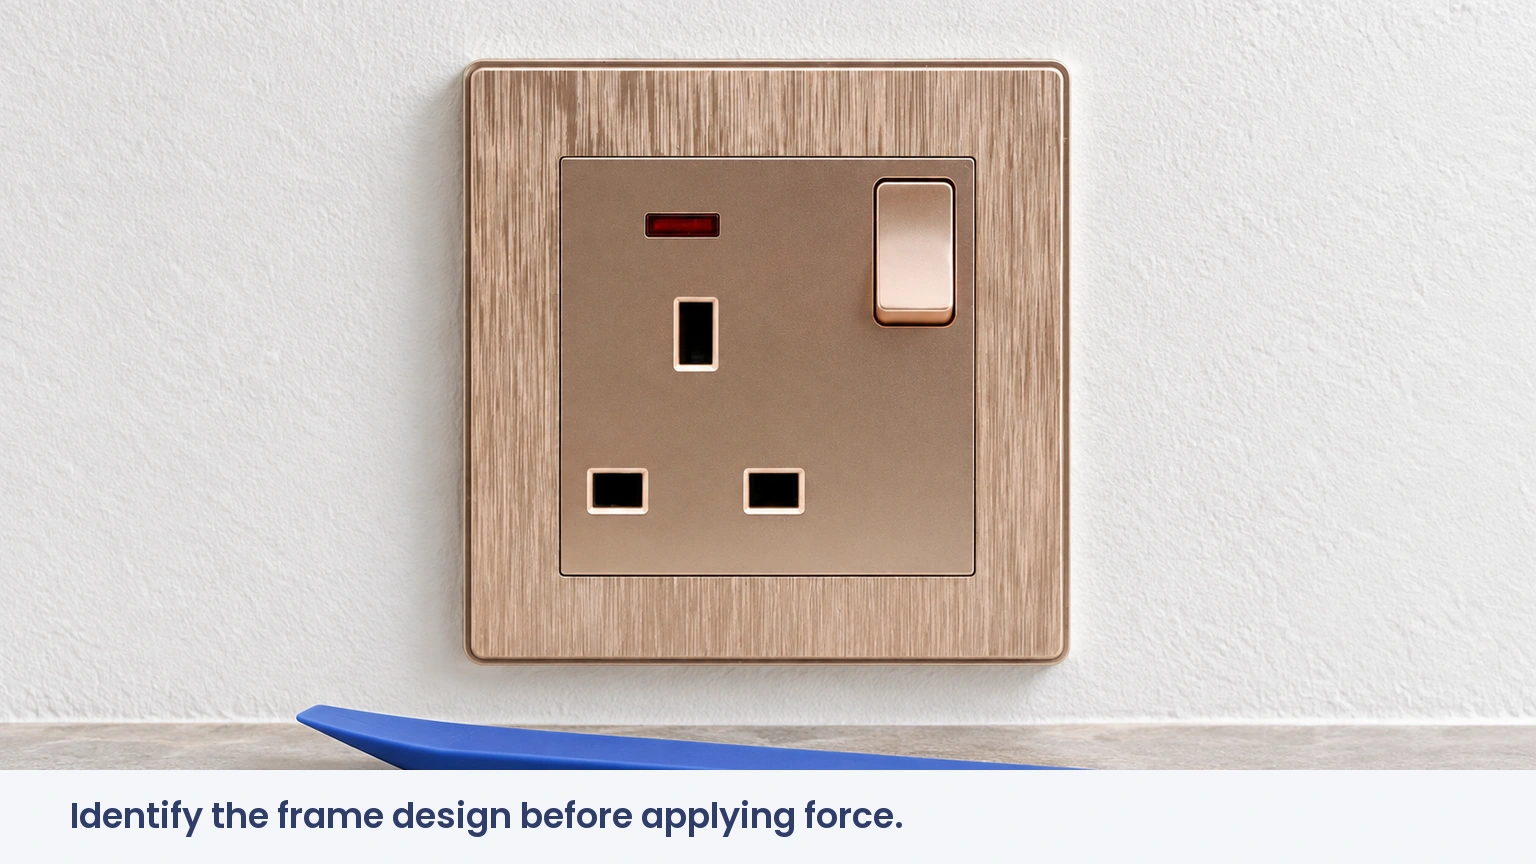
If the model cannot be identified, stop before inserting a tool into an unknown seam. A photograph of the intact front and accessible markings may help the supplier identify the assembly. Removing a wired mechanism just to discover how its trim works turns a decorating task into electrical work.
Does power need to be switched off for a decorative cover?
For cover removal around a mains socket, isolation is the appropriate precaution because the front assembly may move or expose parts unexpectedly. The socket’s own rocker switch does not establish that all internal terminals are dead. The correct circuit must be identified, isolated and protected against accidental reconnection.
HSE guidance requires checking that an isolated circuit is dead before work. GS38 distinguishes suitable voltage indicators from non-contact devices that cannot prove dead on their own; BS EN 61243-3 covers relevant two-pole voltage detectors. The indicator is checked before and after the proving procedure.
A decorator or occupant who cannot safely complete that process should arrange an electrician. The need for professional help is especially clear when the mounting assembly is loose, more than one circuit may enter the box, or no reliable circuit identification exists.
Which tools prevent damaged screws and broken clips?
The correct screwdriver fits the actual screw head fully. A universal size cannot be specified from the words “socket cover”; slotted, cross-head and other fasteners vary. The 1-gang or 2-gang description does not identify the screw recess, thread or appropriate tightening torque.
Where a manufacturer specifies a release tool or a particular access point, follow that instruction after isolation. A plastic trim tool is not automatically safe to insert into an electrical accessory, and a larger screwdriver is not a cure for an unidentified clip. Unsupported prying can damage both the frame and the mechanism behind it.
- Support the plate rather than allowing it to hang from conductors.
- Keep the original fasteners separate from similar-looking building screws.
- Stop if the wired mechanism starts moving unexpectedly.
- Do not replace a mounting screw with a longer or differently threaded screw by guesswork.
Replacement fasteners must match the accessory and box. A screw that appears to tighten may strip a lug, fail to retain the device or project into a space where it should not be. The cost of the correct fastener is usually minor compared with repairing a damaged box.
How should paint, plaster and overtightening be handled?
Paint bridging the frame edge can make a removable cover behave as if it were glued to the wall. Pulling harder transfers that force to the weakest point: a clip, thin corner or paint surface. Once the assembly is safely isolated and identified, any paint bond needs careful treatment consistent with the manufacturer’s instructions; blades must not be pushed blindly into the box.
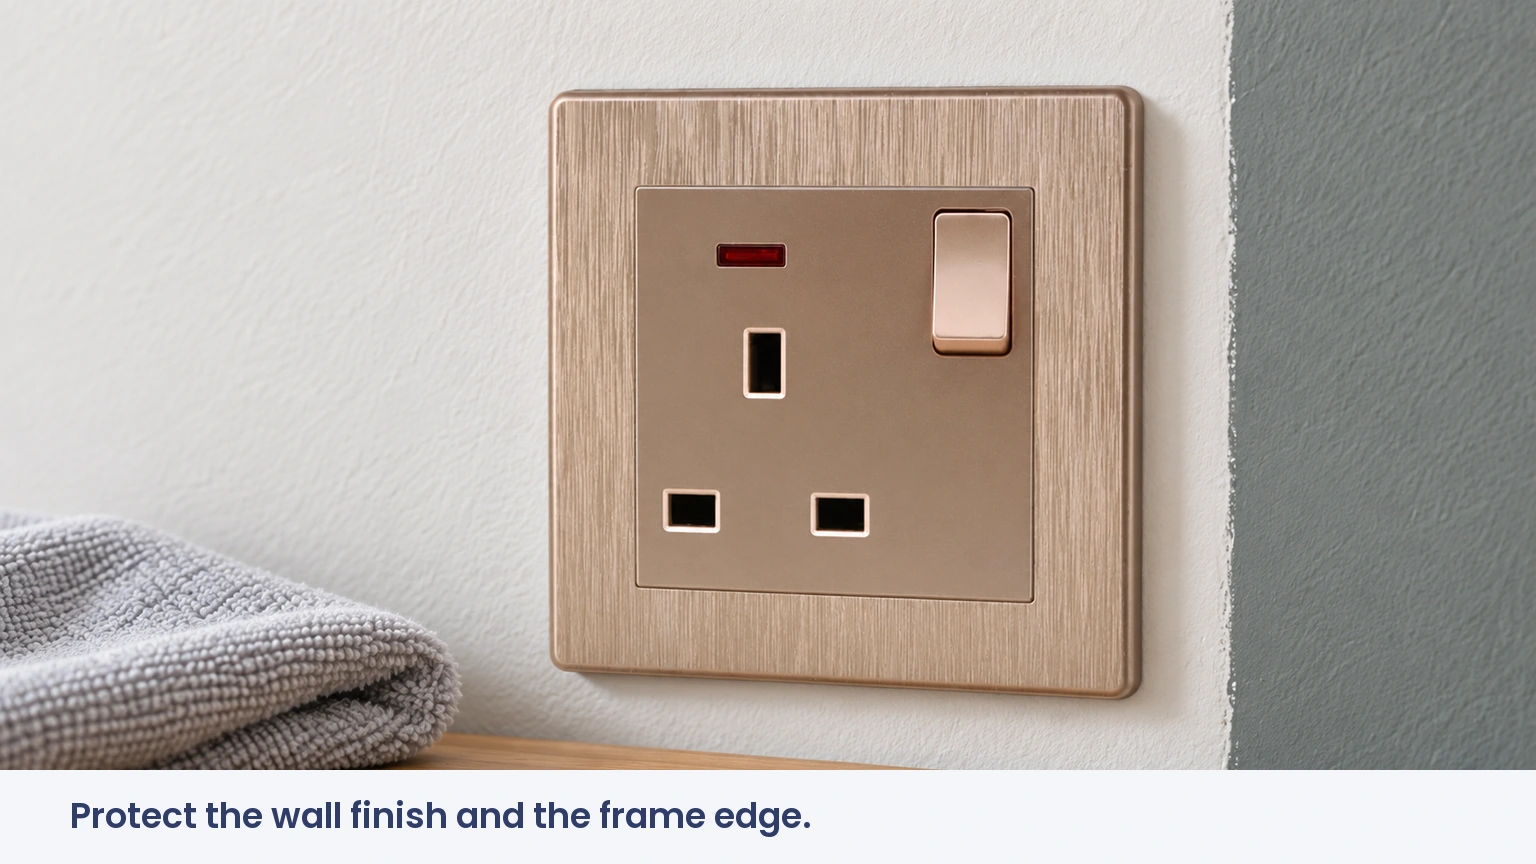
On reassembly, the plate should sit naturally without using its screws to force a bowed accessory against uneven plaster. Applicable installation rules, including BS 7671 in UK work, require sound equipment and connections; a flush-looking finish is not a substitute for a securely mounted mechanism.
A visible gap can mean the box is proud, recessed incorrectly, obstructed by plaster or mismatched to the accessory. These are fit issues to resolve, not reasons to tighten until the cover cracks. Where a manufacturer supplies a torque value, use it; no single torque applies to every decorative frame.
How do common cover designs change the removal decision?
| Design | What must be identified | Typical avoidable damage |
|---|---|---|
| Visible screw-fixed plate | Whether the plate also carries the wired mechanism | Stripped heads or strained conductors |
| Clip-on decorative frame | Documented release point and direction | Snapped clips and chipped corners |
| Integrated front assembly | Electrical removal procedure | Mistaking wired parts for cosmetic trim |
| Paint-bound frame | Paint bond versus mechanical retention | Torn finish or broken frame |
A project team should count the cost of identifying the assembly as part of preparation. One incorrectly removed sample can damage the very pattern needed to source replacements, particularly in older buildings with discontinued finishes.
When can the job remain decorative, and when must it expand?
| Finding | Next action | Effect on scope |
|---|---|---|
| Intact identified removable trim | Follow documented removal after safe isolation | May remain limited to decoration |
| Broken clip or cracked plate | Source the correct replacement part or assembly | Do not rely on glue to restore retention |
| Loose box or wired mechanism | Electrician checks mounting and connections | Electrical repair and testing |
| Scorching, unusual heat or brittle insulation | Keep isolated and investigate | Fault diagnosis before replacement |
Which documents matter when a cover is replaced?
The replacement should belong to the correct accessory family, retain the required protection against access to live parts and fit the mounting system. Local installation rules and manufacturer instructions govern the work. Matching color and nominal dimensions do not establish compatibility.
CE, RoHS and GCC documentation should be assessed for the exact product and destination. Those documents do not show that a third-party frame fits safely or that a cracked assembly can remain in use. Record the model and replacement part rather than keeping only a generic supplier catalogue.
How can buyers prevent repeat damage during refurbishment?
- Identify the accessory family before the decorating crew starts.
- Keep a complete approved sample and its removal instructions on site.
- Order compatible replacement trim and fasteners, not lookalike parts.
- Separate cosmetic work from any task that disturbs conductors or protective connections.
ABUK’s electrical socket outlets can be reviewed by model and finish when replacements are needed. For home electrical outlets requiring more than trim replacement, the wall socket replacement guide explains the broader scope. A persistent loose or faulty accessory also warrants the checks discussed in socket switch repairs.
Frequently asked questions
How do you remove a wall socket cover safely?
Identify the exact assembly, isolate and prove the relevant circuit dead, then follow its manufacturer instructions. Stop if removing the cover moves wired parts or exposes an unfamiliar mechanism.
Do I need to turn off power before removing a socket cover?
Yes. Isolate the circuit rather than relying on the socket switch; proper verification is needed before work that may expose electrical parts.
What screwdriver fits a wall socket faceplate?
The one matching the actual fastener’s recess and size. There is no universal screwdriver specification for all faceplates, and some decorative frames use clips instead.
How do I avoid cracking a decorative socket cover?
Use the documented release method, address paint bonding carefully and avoid bending the frame or overtightening it on reassembly. A cover that resists removal needs identification, not more force.
References
- HSE: isolation, competent work and electrical safety
- HSE GS38: voltage indication and test equipment
- European Commission: scope of RoHS
A clean finish begins with understanding what holds the accessory together. Ask ABUK about matching socket accessories using the model reference and project requirements before ordering replacement frames.